70
3
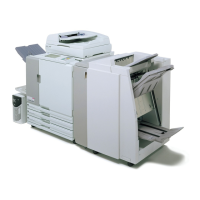
Select [PIN code] and enter a PIN code.
As the PIN code, specify a number up to eight digits.
To hide the job names usually displayed on the
machine and in the RISO Console, select [Hide job
name].
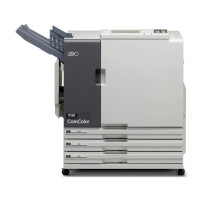
4
After input is nished, click [OK].
Complete other settings as needed.
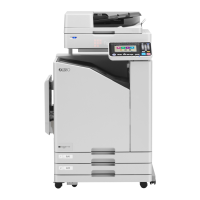
5
In the printing dialog box, click [OK] (or [Print]).
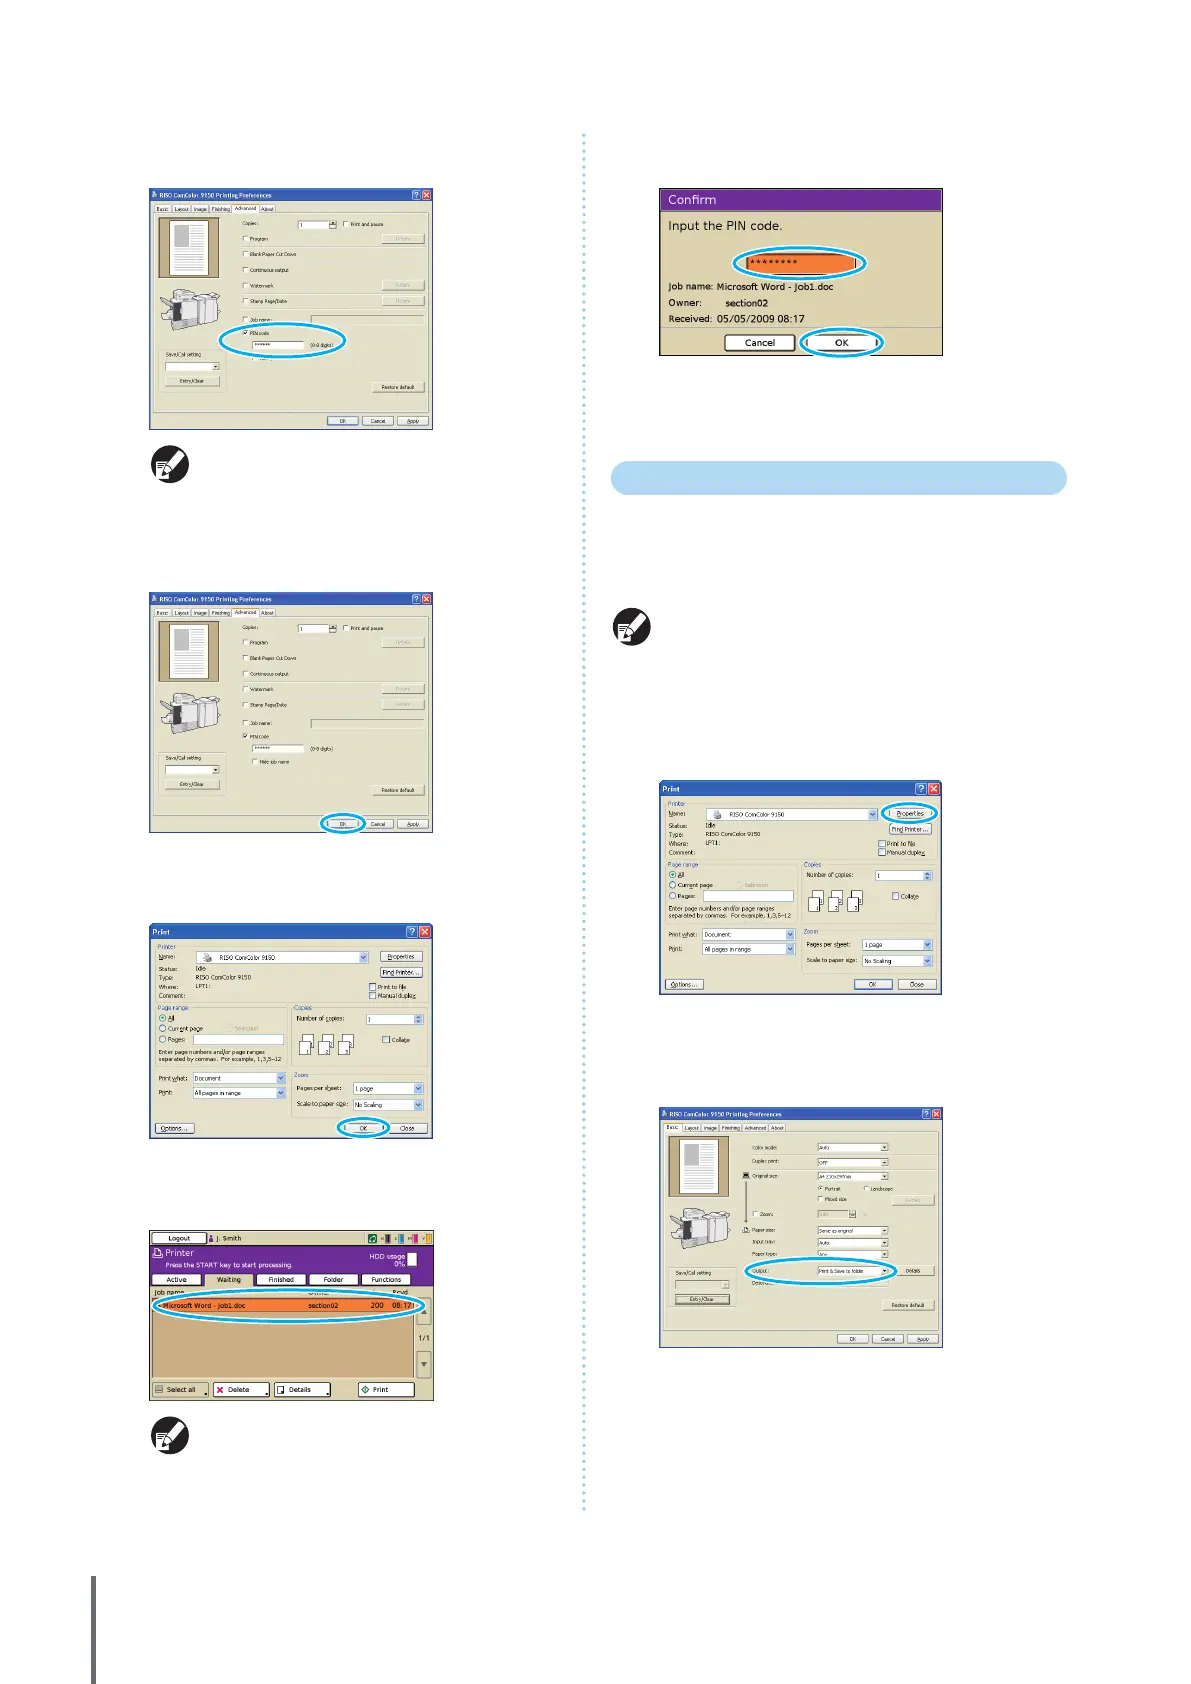
6
On the touch panel of the machine, select the job
you sent and press the [START] key.
Jobs sent from the computer are displayed in the
[Waiting] screen list in printer mode.
7
Enter the PIN code and press [OK].
The job is moved from the [Waiting] screen to the [Active]
screen, and then it is printed.
Saving Print Jobs in Job Folders/USB Folders
Print jobs can be saved in job folders or USB folders on the
machine.
Jobs in job folders can be accessed from the operation
panel later and printed as many times as needed.
Even if your network has not been well arranged, you can
output print jobs saved in a USB ash drive or save in a
USB folder.
1
Click [Properties] (or [Preferences]) in the printing
dialog box of the source application.
If you save in a USB ash drive, connect it to your PC.
2
In the [Output] pull-down menu, select [Print & Save
to folder], [Save to folder] or [Save to USB ash
drive].
[Print & Save to folder]
Print and save print jobs in a folder.
[Save to folder]
Save print jobs in a folder.
[Save to USB ash drive]
Save print jobs in a USB ash drive in PRN le format. Do not
pull out the USB ash drive before saving is completed.
ComColor Series Basic Guide 06
 Loading...