Page 3
Sub-section 2:
Setting up the paper receiving tray
Step 1
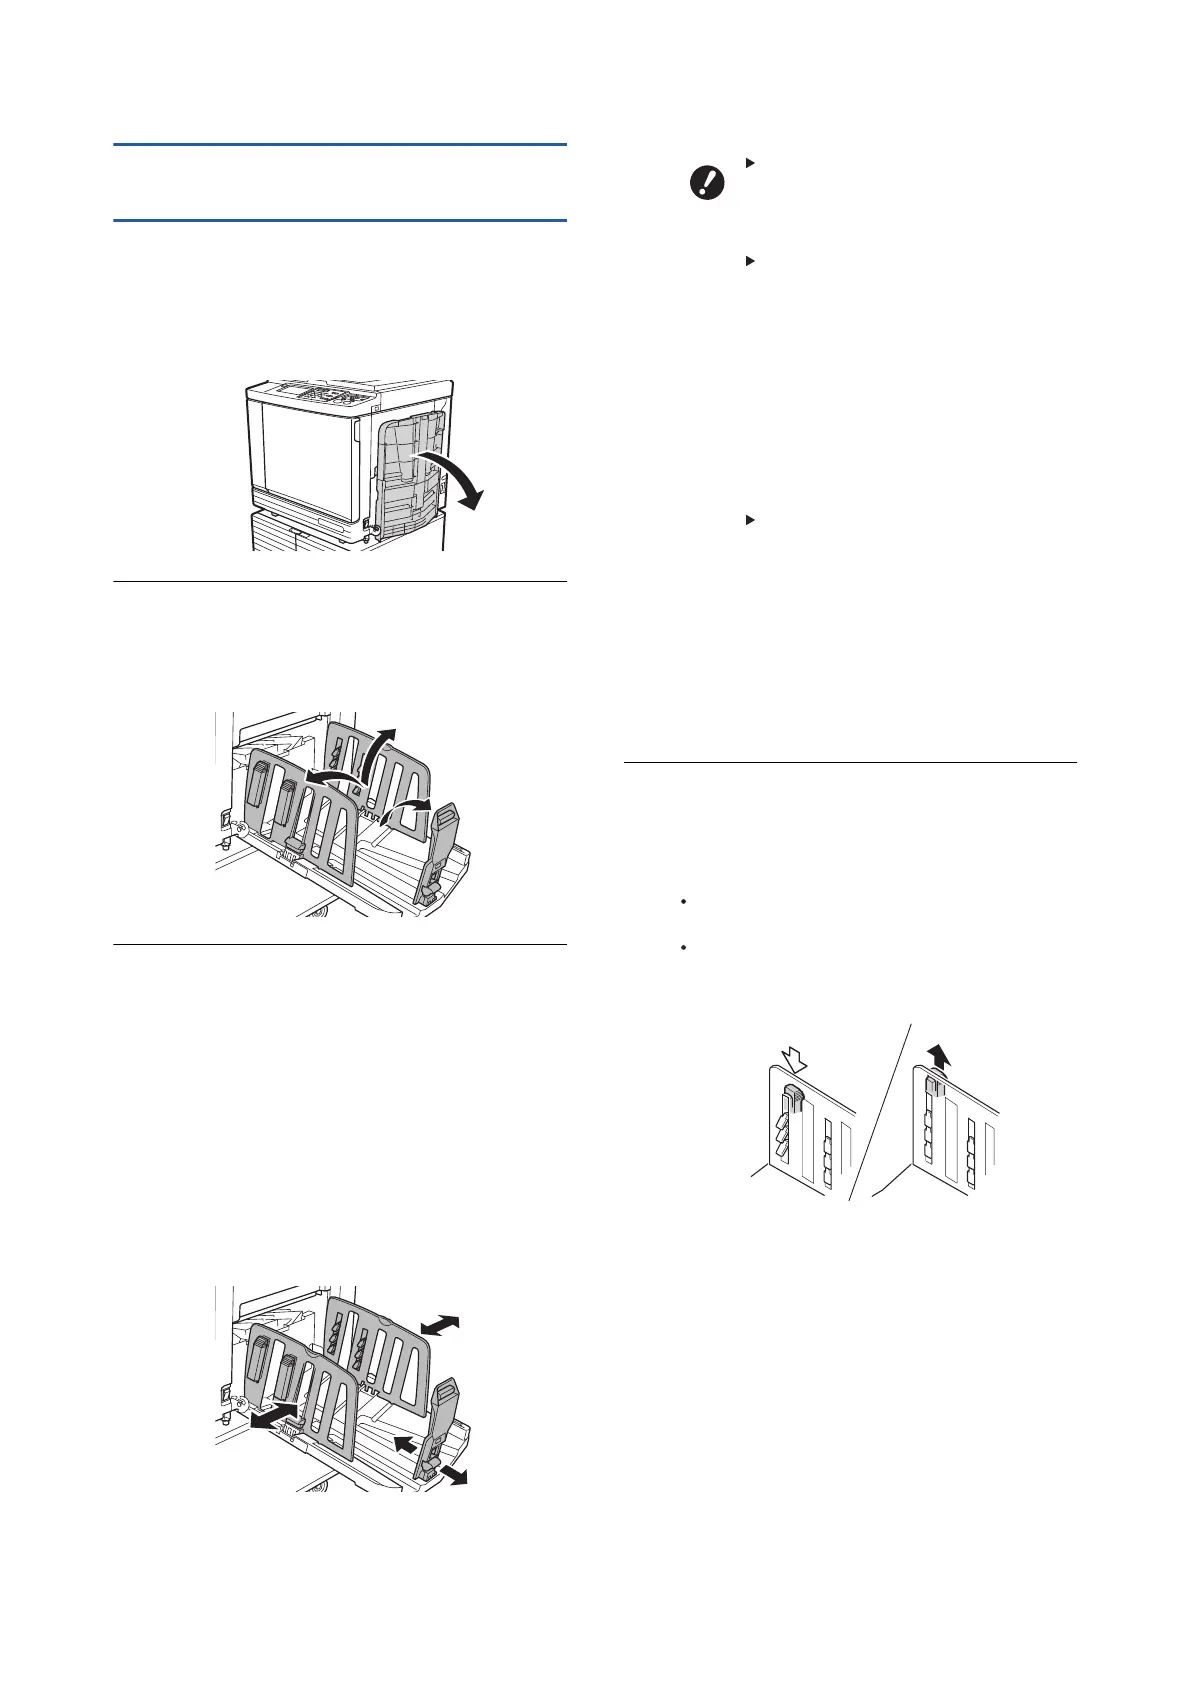
Open the paper receiving tray.
While holding the paper receiving tray with your
hand, open it until it stops.
Step 2
Raise the receiving-tray paper
guides and the paper stopper.
Step 3
Fit the receiving-tray paper guides
and the paper stopper to the paper
size.
Hold the lower parts of the receiving-tray paper
guides and the paper stopper, and then slide
the guides and the stopper.
Adjust each position while referring to the scale
marks on the paper receiving tray
.
The paper stopper stops with a click sound at
each position corresponding to the standard
size of a paper type.
When using thick paper, set the
receiving-tray paper guides a
little wider than the actual paper
width.
The optimal position of the
receiving-tray paper guides
varies depending on conditions
such as the paper type, print
speed, and operation
environment. Use the scale
marks on the paper receiving tray
as a reference only
. Adjust the
position of the receiving-tray
paper guides based on the actual
arrangement of the printed paper.
When adjusting the horizontal
position of the paper feed tray,
also adjust the position of the
receiving-tray paper guides. If the
positions of the paper feed tray
and the receiving-tray paper
guides are not aligned, a paper
jam may occur
.
Step 4
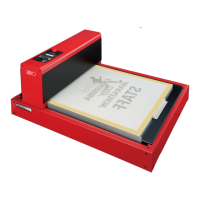
Adjust the paper arrangers.
Adjust the paper arrangers so that printed
paper is aligned.
To open a paper arranger, press down the
paper arranger knob.
To close a paper arranger, pull up the paper
arranger knob.