3
ATTACHING THE TRACKER — CLASSIC BASEPLATE
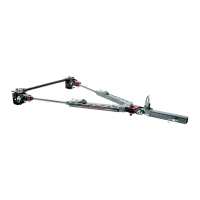
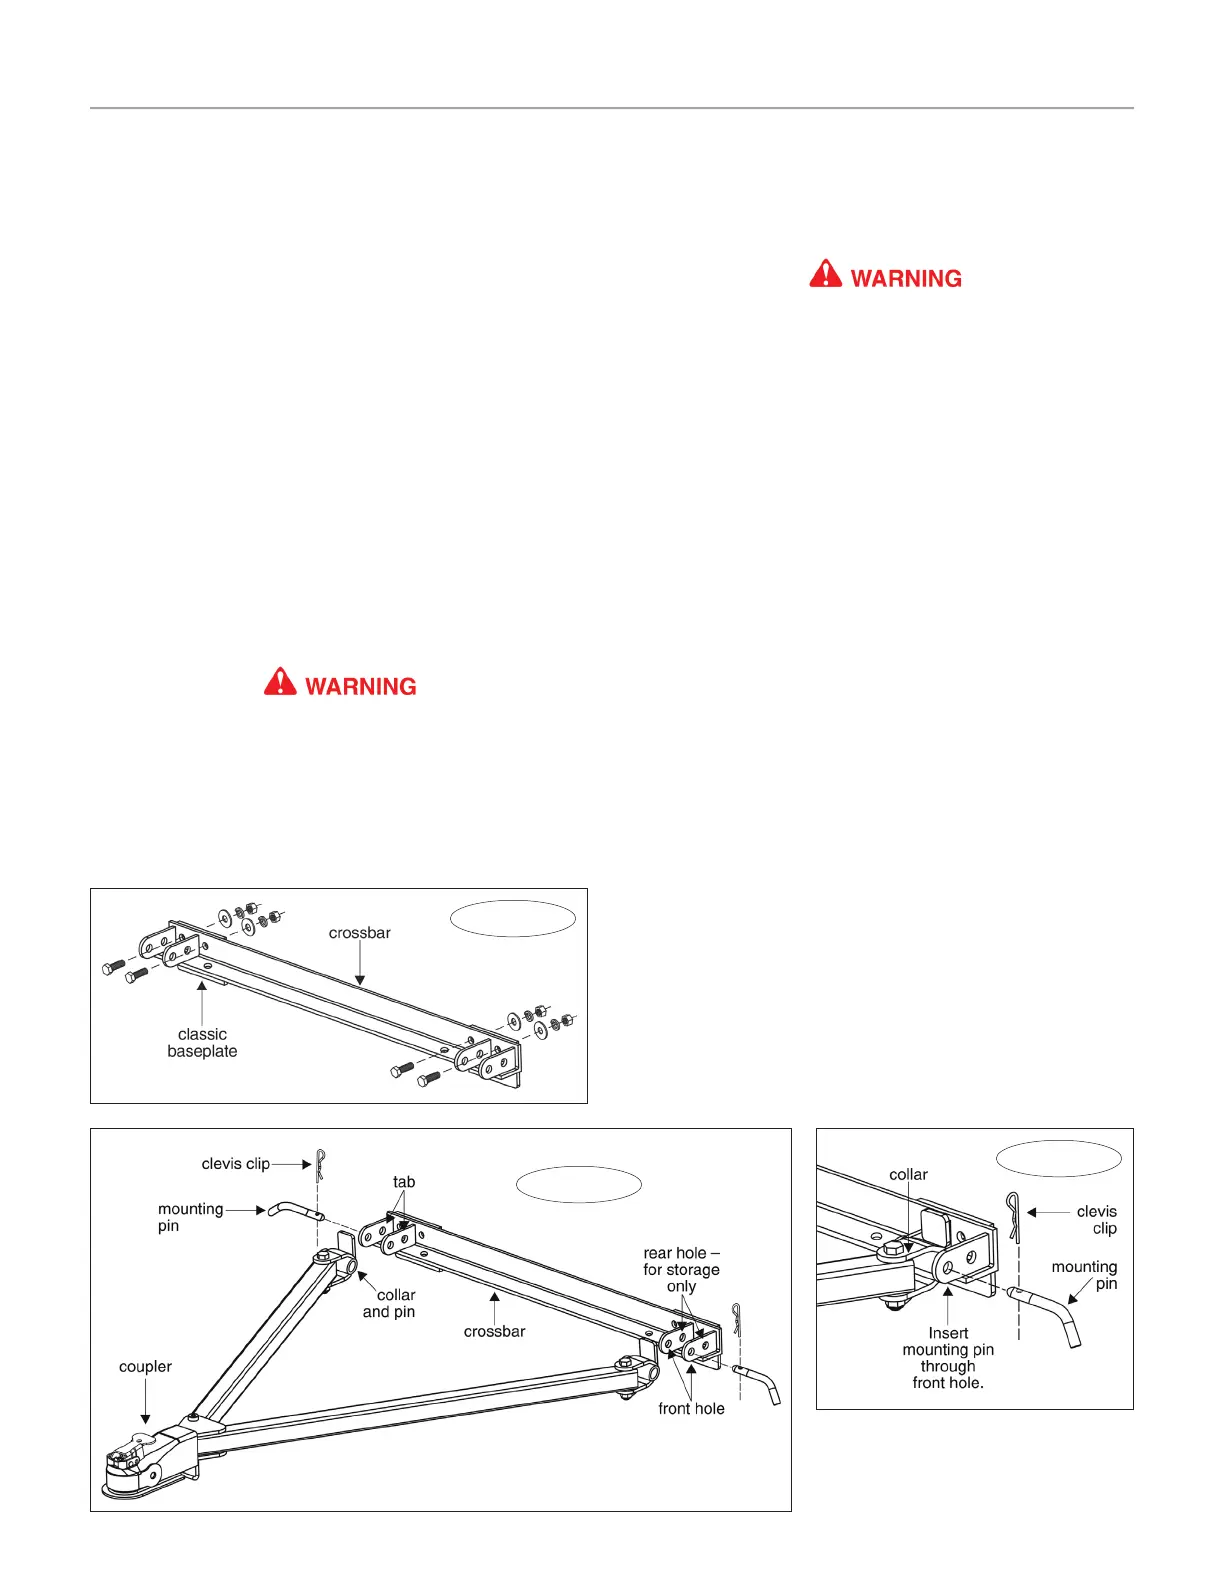
Figure 4
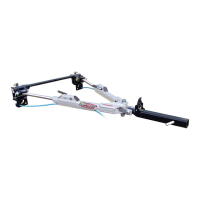
Figure 5
There are two ways to attach the Tracker to the towed
vehicle. They depend on the type of baseplate:
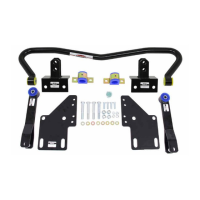
1) If the towed vehicle has a classic baseplate (Figure
3), the crossbar (Figure 3) is bolted to the baseplate. With
this method, the crossbar remains attached to the front of
the towed vehicle.
Use the instructions below to attach the Tracker to a
classic baseplate.
2) If the towed vehicle has a removable baseplate
(ROADMASTER XL
™
or EZ Twistlock
™
series), the cross-
bar, as well as the front extensions of the baseplate, can
be easily removed from the front of the vehicle when it is
not being towed.
An optional set of “quick-disconnects” (or, “QDs”, part
number 201) is required for this method.
Use the instructions beginning on the next page to at-
tach the Tracker to a removable baseplate.
Attaching the Tracker — classic baseplate
1. Attach the crossbar to both ends of the baseplate, us-
ing the supplied bolts, washers, lock washers and nuts,
as shown in Figure 3. Torque all bolts to 75 ft./lbs.
Use all mounting hardware. If all supplied materials
are not used, the crossbar or other components may
vibrate loose, which may cause property damage, per-
sonal injury or even death.
2. Position the collars (Figure 4 and 5) on the tow bar
inside the tabs (Figure 4 and 5) on the crossbar.
3. Insert the mounting pins (Figure 4 and 5) through the
front holes on the tabs, and then through both collars
(Figure 4).
4. Secure both mounting pins with the clevis clips (Figure
4 and 5).
The mounting pins must extend through both tabs
and through both tow bar collars, as shown in Figure
5. Both mounting pins must be secured with clevis
clips.
Failure to attach the mounting pins correctly will
cause the tow bar to separate from the crossbar, which
may cause property damage, personal injury or even
death. You will lose your towed vehicle.
Figure 3