Do you have a question about the Rockwell Automation PowerFlex and is the answer not in the manual?
Ensure all power to the drive is removed before making or breaking cable connections to prevent electrical arcs and potential injury.
Remove the bottom protective cover by loosening two screws and sliding it off the drive chassis.
Carefully remove the fan cover plate using a flathead screwdriver and slide the existing fan out of its housing.
Install the new cooling fan in the reverse order of removal, ensuring the air flow arrow points inward towards the drive top.
Install the air flow plate in the reverse order of its removal.
Record the installation of the new cooling fan and the date on the drive's Field Installed Option label.
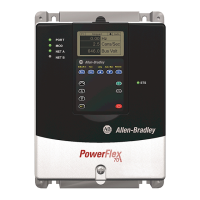
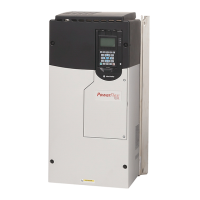
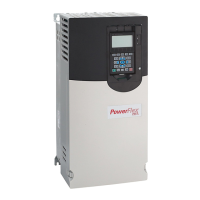
This document describes the installation of a cooling fan for PowerFlex® DC Drives, specifically for Frame A drives rated 73A and higher with 230V and 460V AC input. The kit includes the cooling fan, a fan cover plate, a fan terminal block and screw, and a static strap. Tools required for installation are a Phillips® screwdriver and a flathead screwdriver.
The cooling fan is an essential component for maintaining the operational temperature of the PowerFlex® DC Drive. It ensures proper airflow to dissipate heat generated during the drive's operation, preventing overheating and potential damage to internal components. This specific fan is designed as an upgrade or replacement for Frame A drives that operate at higher current ratings (73A and above) and utilize 230V or 460V AC input, where increased heat generation necessitates enhanced cooling. The fan works by drawing air into the drive chassis, facilitating heat exchange, and expelling warmer air, thereby maintaining the drive within its optimal operating temperature range. Proper cooling is critical for the longevity and reliable performance of the DC drive, especially in demanding industrial environments.
While specific fan technical specifications like CFM (cubic feet per minute) or power consumption are not explicitly detailed in this document, the context implies it is a specialized fan designed to meet the thermal requirements of PowerFlex® DC Drive Frame A units at higher current ratings. The installation process involves a tightening torque of 1.5 N•m (13.3 lb•in) for certain screws, indicating precision in assembly. The drive itself operates with 230V and 460V AC input, which implies the fan's power requirements are compatible with the drive's internal power supply. The fan's design is integrated into the drive's airflow plate and chassis, suggesting a custom fit for the PowerFlex® DC Drive architecture. The importance of proper air flow direction, with the arrow pointing inward towards the top of the drive, highlights a critical design aspect for effective cooling.
The cooling fan is an internal component of the PowerFlex® DC Drive, meaning its "usage" is primarily in its function within the drive's overall operation. It operates continuously or as needed to regulate the drive's internal temperature. The drive itself is used in various industrial applications to control DC motors, offering precise speed and torque control. The fan's role is to support the reliable operation of the drive in these applications by preventing thermal overload. The documentation emphasizes the importance of proper installation to ensure the fan functions correctly, including marking connections and wires to avoid incorrect reassembly. The fan's integration into the drive's design means it operates automatically as part of the drive's thermal management system, requiring no direct user interaction during normal operation.
The document outlines a clear procedure for installing the cooling fan, which can also be interpreted as a guide for replacement or maintenance. Key maintenance features include:
Overall, the cooling fan is a critical component for the PowerFlex® DC Drive, and its proper installation and maintenance, as detailed in this document, are essential for the drive's safe, reliable, and long-term operation.
| Brand | Rockwell Automation |
|---|---|
| Model | PowerFlex |
| Category | Computer Hardware |
| Language | English |