R&S FSH-Z2 Spare Part Replacement
1145.5767.02 3.9 E-1
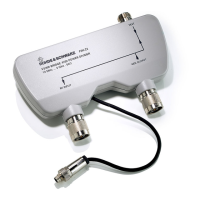
Replacing the N connector of the TEST Port
½ Open the instrument as described earlier.
½ Loosen the 6 screws (S3) from the metal top cover.
½ Loosen the top two screws (S2) from both N-connectors.
½ Remove the metal top cover (item 03).
½ Remove the bottom two screws (S2) from the N-connector of the TEST port.
½ Remove the faulty N-connector of the TEST port.
½ Mount the new connector (item 09) by first screwing it onto the SMA connector of the PCB.
½ Fasten the N-connector with 2 screws (S2) into the metal bottom cover
½ Mount the metal top cover (item 03).
½ Fasten the other four screws (S2) from the N connectors.
½ Fasten the 6 screws (S3) of the metal top cover.
½ Close the instrument as described earlier.
Replacing the N connector of the GEN OUTPUT Port
½ Open the instrument as described earlier.
½ Loosen the 6 screws (S3) from the metal top cover.
½ Loosen the top 2 screws (S2) from both N-connectors.
½ Remove the metal top cover (item 03).
½ Remove the bottom two screws (S2) from the N-connector of the GEN OUTPUT port.
½ Remove the faulty N-connector of the GEN OUTPUT port.
½ Mount the new connector (item 07)by first screwing it onto the SMA connector of the PCB.
½ Fasten the N-connector with 2 screws (S2) into the metal bottom cover
½ Mount the metal top cover (item 03).
½ Fasten the other four screws (S2) from the N connectors.
½ Fasten the 6 screws (S3) of the metal top cover.
½ Close the instrument as described earlier.
 Loading...
