3
Panel Descriptions
6
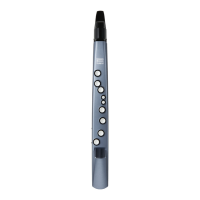
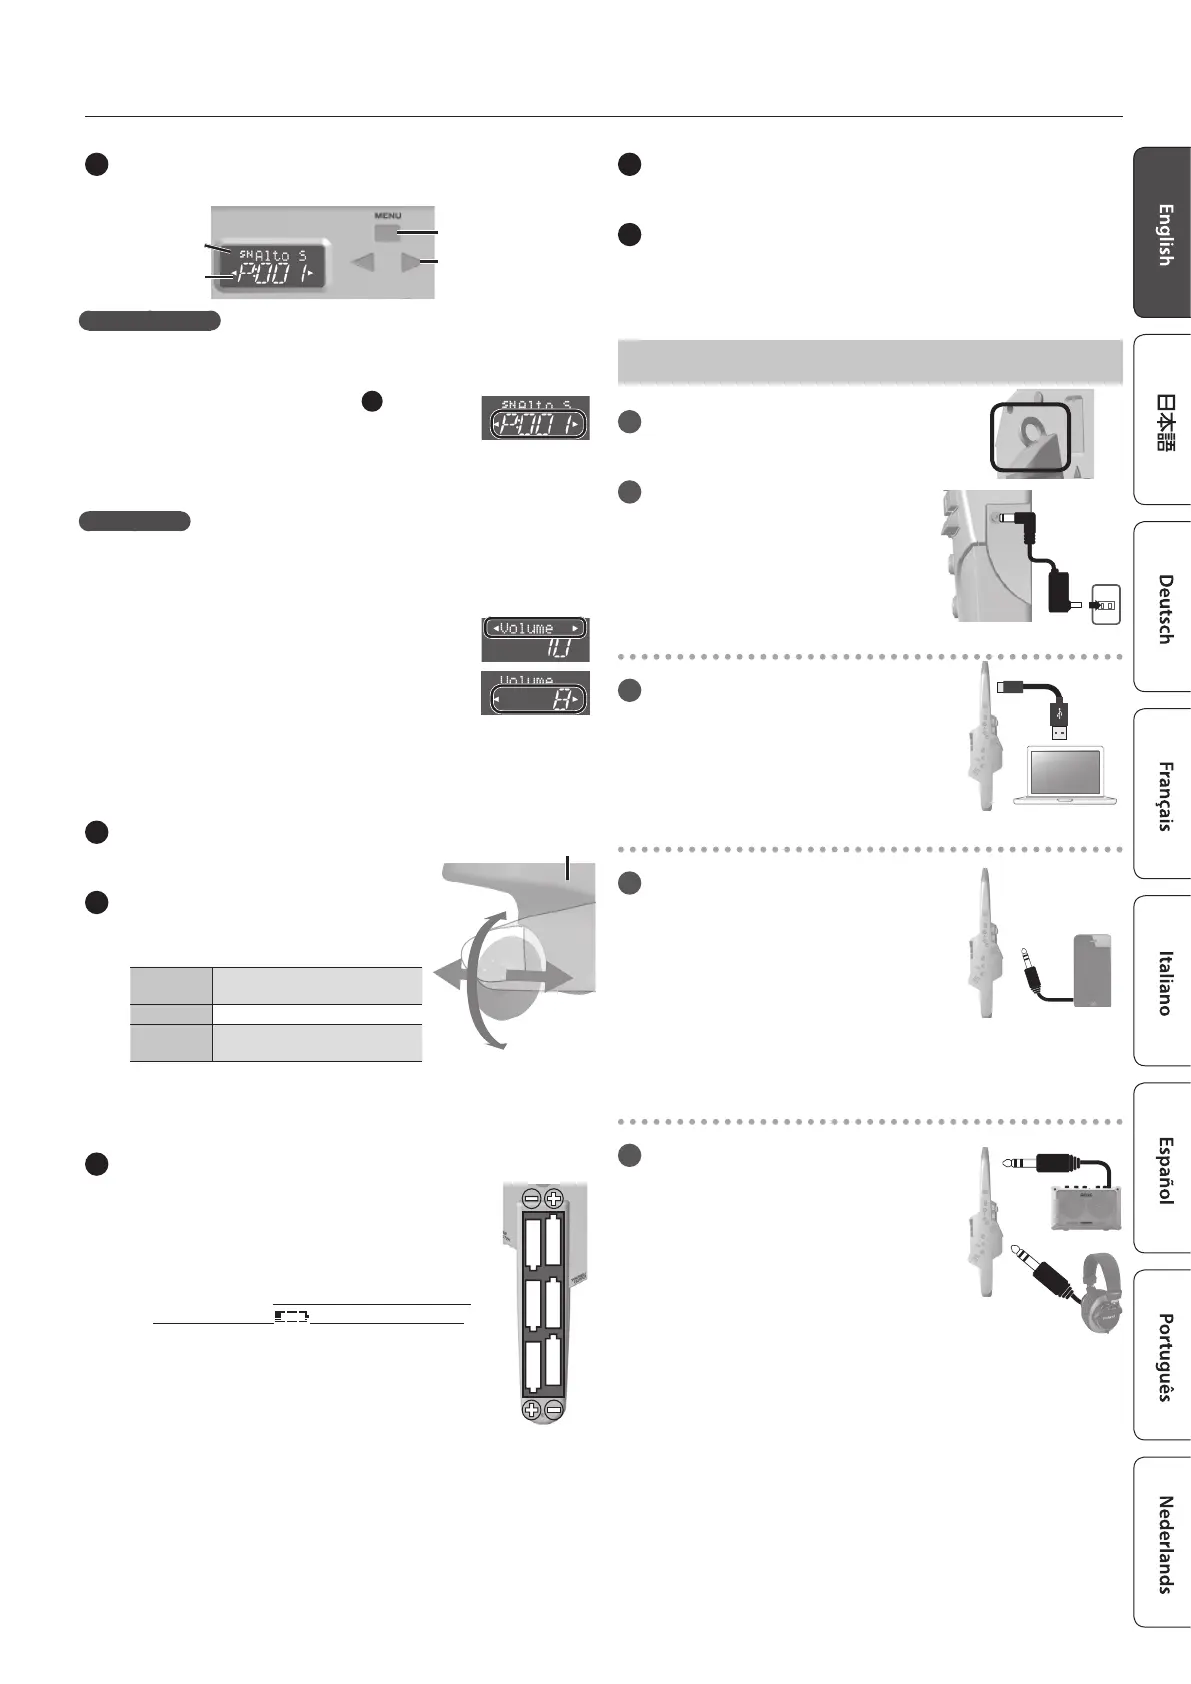
Display section
Displays the tone name and menu.
Tone name/
Menu item
Tone number/
Value
[MENU] button
[
C
] [
A
] buttons
Selecting the tone
On the Aerophone, each of the various sounds that you can select is
called a “tone.”
1. Hold down the [TONE] button
5
and then
press the [
C
] [
A
] buttons to select the tone
number.
You can select tones from preset P:001– and user U:001–. When you
turn on the power, the last-selected tone is selected.
Edit the menu
Pressing the [MENU] button, you can make various settings.
1. Press the [MENU] button to display the menu screen.
2. Use the [
C
] [
A
] buttons to select the menu
item, and then press the [MENU] button.
3. Use the [
C
] [
A
] buttons to change the
value.
4. To return to the tone selection screen, press the [TONE]
button.
&
For details, refer to “Menu Settings” (p. 6).
7
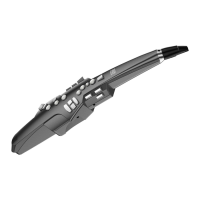
Thumb hook
Place your right thumb here.
8
Thumb controller
Use your right thumb to operate this
controller.
Bend up/
Down
Bends the pitch up/down.
Portamento Makes the pitch change smoothly.
Growl
Applies a saxophone’s growl
technique.
* With the factory settings, these are the functions when a
saxophone tone is selected. The operation diers depending on
the tone that you select.
9
Battery case
The Aerophone can operate on batteries or on the
included AC adaptor. If you are using batteries, insert
six rechargeable Ni-MH batteries (AA, HR6), making
sure that the batteries are oriented correctly.
* The battery life is approximately 7 hours for typical
performance use. When the batteries run low,
the Battery icon (
) blinks in the display.
Replace the battery as soon as possible.
* If you handle batteries improperly, you risk
explosion and uid leakage. Make sure that
you carefully observe all of the items related
to batteries that are listed in “USING THE UNIT
SAFELY” and “IMPORTANT NOTES” (leaet “USING
THE UNIT SAFELY” and the Owner’s Manual (p. 10)).
* When turning the unit over, be careful so as to protect the
buttons and knobs from damage. Also, handle the unit carefully;
do not drop it.
10
Water drain
Drops of water will exit here. Wipe them o with a soft cloth.
11
Built-in speakers
You mainly adjust the volume by the force of your breath while
playing, but you can also adjust the volume in the menu (p. 7).
Connecting Your Equipment
A
Strap hook
Attach a neck strap here.
B
DC IN jack
Connect the included AC adaptor here.
Connecting your computer
C
USB COMPUTER port
Use a commercially available USB 2.0 cable
to connect this port to your computer. It
can be used to transfer USB MIDI data.
Connecting your audio player
D
INPUT jack
Connect your audio player. Sound from
the connected device comes out of
the Aerophone’s built-in speaker and
PHONES/OUTPUT jack.
This lets you play along with your favorite
songs.
Use the controls of the connected device (audio player) to adjust the
volume.
Connecting your monitor speakers or headphones
E
PHONES/OUTPUT jack
Connect this jack to your monitor speakers
or headphones.
If you connect headphones or a cable to
this jack, sound is not output from the built-
in speakers, but you can change a menu
setting so that sound is output even in this
case (p. 8).
* After you’ve made connections to
devices such as speakers, be sure to turn on the power in the
order of the Aerophone rst, and then the connected system.
Powering-on in the incorrect order may cause malfunctions or
damage. When turning the power o, power-o the connected
system rst, and then the Aerophone.
Bend up
Thumb hook
Portamento
Growl
Bend down
or
 Loading...