8
Menu Settings
Menu Value Default Explanation
Left Tgl
RightTgl
OFF, ON
Depends
on the
tone
Thumb Controller Toggle Settings
Species whether to toggle the thumb controller (left/right).
OFF Normal controller operation.
ON Switch to the maximum value or minimum value each time you move the controller.
2
Oct Key
OCT1, OCT2,
OCT3
OCT2
Octave Key Setting
You can set the octave keys to either ±2 octaves or ±3 octaves.
OCT1 OCT2 OCT3
+1
+1
A
A
²
For details, refer to
“Fingering Chart”
at the end of this
manual.
+2
+1
-1
-2
+3
+1
-1
-3
Press simultaneously for +2
Press simultaneously for -2
2
Hold
OFF, ON OFF
Hold Setting
If this is on, blowing makes the note continue sounding. Inhale to stop the note.
2
Speaker
OFF, ON, AUTO AUTO
Speaker Setting When Using Headphones
OFF Sound is not output from the built-in speakers.
ON Sound is output from the built-in speakers.
AUTO
Sound is not output from the built-in speakers if headphones or a cable are connected to the PHONES/OUTPUT
jack.
S
Auto Off
OFF, 5, 30 30
Making the Power Automatically Turn O After a Time (Auto O)
The power to this unit will be turned o automatically after a predetermined amount of time has passed since it was last used
for playing music, or its buttons or controls were operated (Auto O function).
If you don’t want the unit to turn o automatically, change this setting to “OFF.”
S
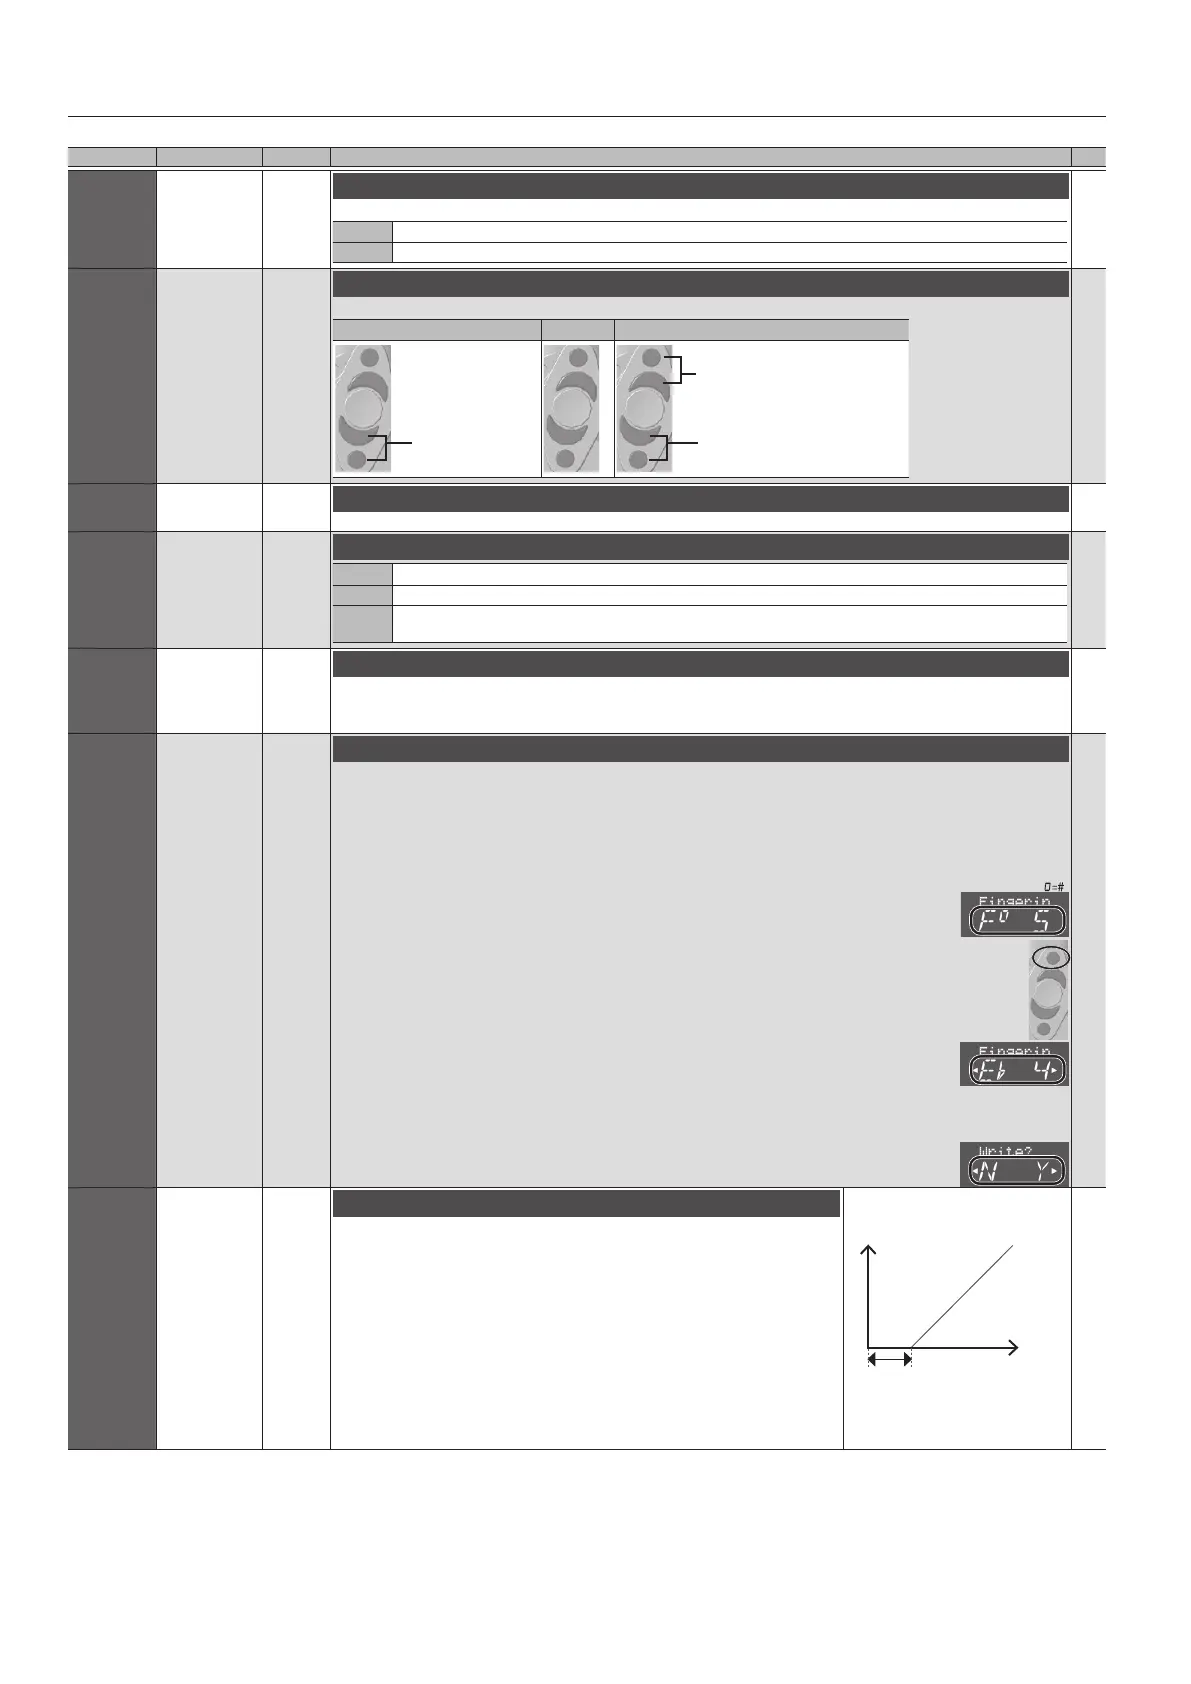
Fingerin
Add/Edit Fingering
You can add or edit your preferred ngerings.
* Up to 10 ngering settings can be specied.
* In this mode, transpose and octave shift settings are ignored.
&
For details on the displayed note name and ngering, refer to “Fingering Chart” at the end of this manual.
1. Select “
Fingering
” in the upper, and then press the [MENU] button.
2. Press a performance key.
The note name appears in the lower line.
If there is no corresponding note, the lower line indicates “NONE.”
3. While ngering the desired key, press the octave key [+2].
4. Use the [
C
][
A
] buttons to change the note name.
If you choose “NONE,” that ngering does nothing.
5. Press the [MENU] button.
A conrmation message appears.
6. To execute the write, press the [
A
] (Y) button.
If you decide to cancel the write, press the [
C
] (N) button.
S
BreatAdj
AUTO, 0–100 AUTO
Breath Threshold Adjustment
This lets you adjust the strength of breath at which sound starts being heard.
Typically, you’ll set this to “AUTO” so that the sensitivity is adjusted automatically when
the power is turned on.
If you want to adjust it manually, proceed as follows.
1. Set the value to 0.
The note continues sounding.
2. Gradually increase the value until the sound stops.
3. Blow into the mouthpiece, and adjust the value as desired
to specify when the sound starts.
Breath
force
BreatAdj
Level
S
+2