Choose the check boxes which you
want to install, and then click the [In-
stall] button.
If you do not want to install a particular
program, than clear the corresponding
check box. Normally you should select all
check boxes.
The setup screen ([Welcome] dialog box)
appears for the program whose check box
you selected.
If you selected the check boxes for all pro-
grams, then the setup screens appear in suc-
cession, starting with Virtual MODELA.
Click [Next].
Follow the messages to carry out set-
up and nish setting up the program.
When installation nishes, a prompt
dialog box appear. Click [OK].
When the installation of one program n-
ishes, installation of the next one starts.
In the interval until the next setup starts, a
dialog box showing the progress of process-
ing is displayed.
Repeat steps
and
to install and set up each program.
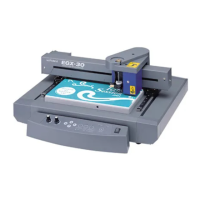
When installation of 3D Engrave nishes
The [EGX-20 Driver Installation] dialog box appears.
Choose the port for connecting the EGX-20.
The EGX-20 connects to a printer port. If your computer has a single
printer port, select [LPT1:].
Click [OK]. The EGX-20 driver is installed.
When installation of the EGX-20 driver nishes
The [Settings: [EGX-20]] dialog box appears.
Make sure the values are correct, then click [Close].
14

 Loading...