44
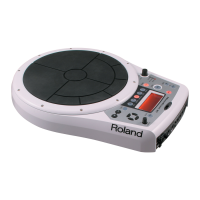
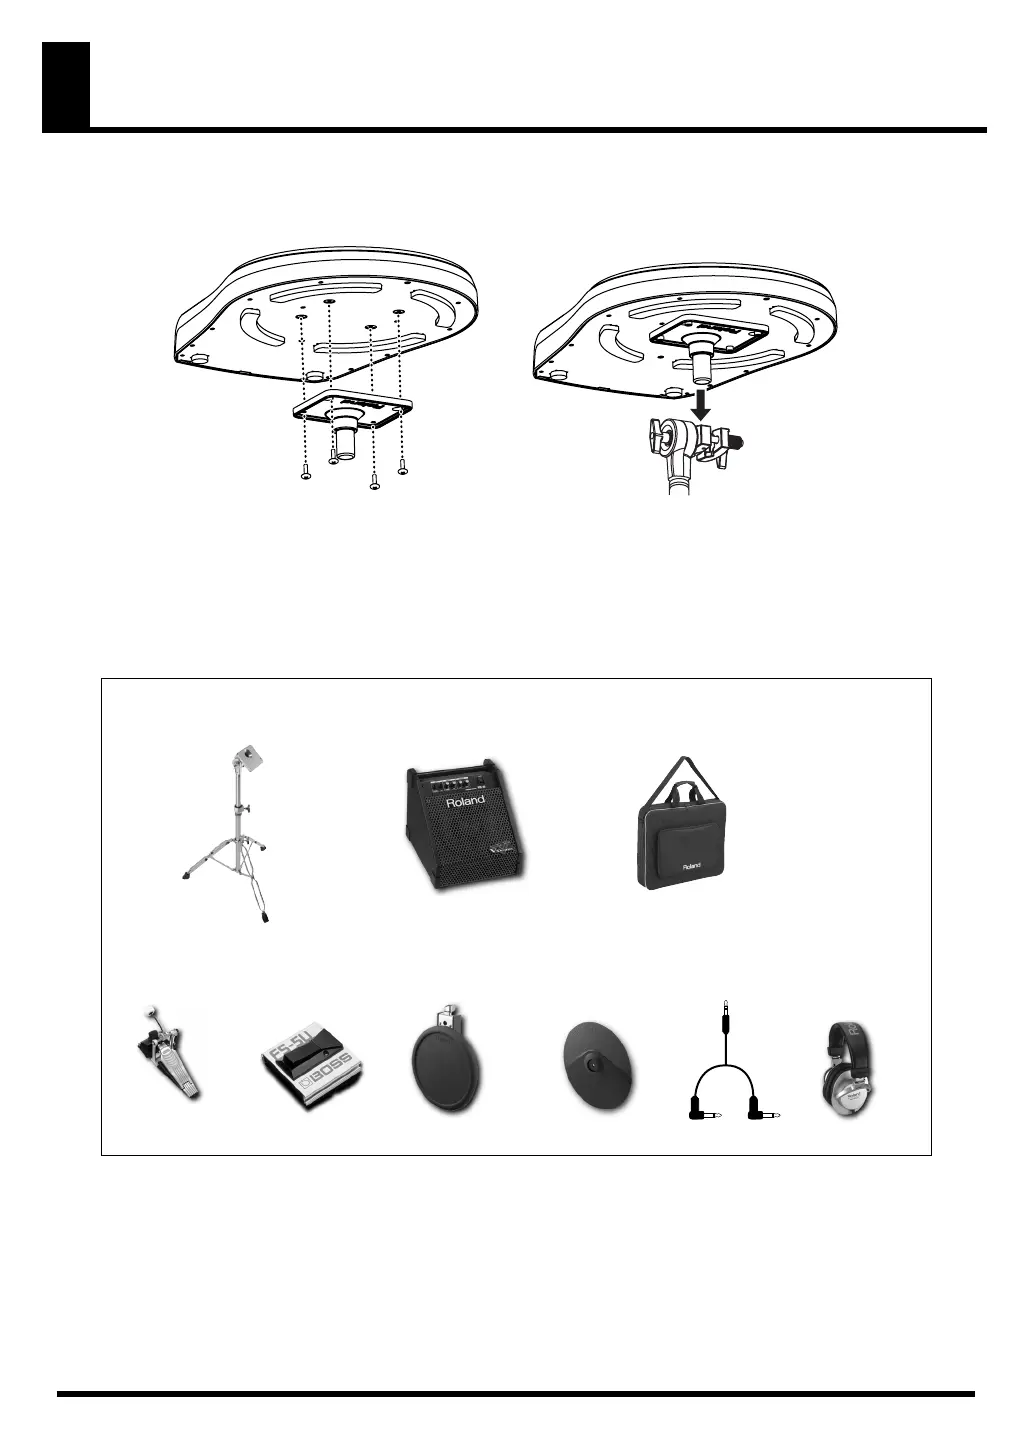
Attaching the HandSonic 10 to the Stand (optional)
1.
Using the screws already mounted on the bottom of the HandSonic 10, attach the stand holder as shown in
the diagram below.
Use ONLY these screws, otherwise damage may result.
fig.0-03.e
2.
Mount the HandSonic 10 to the stand. (PDS-10)
For details on assembling the pad stand and attaching the HandSonic 10, refer to the owner’s manual for
the pad stand.
fig.0-04.e
Gig Bag for HandSonic
CB-HPD-10
Kick Trigger Unit
KD-7
Foot Switch
FS-5U
Dual-Trigger Pad
PD-8
Dual-Trigger
Cymbal Pad
CY-8
Stereo
Headphones
RH-200S
Trigger Cable
PCS-31L
Pad Stand
PDS-10
Personal Monitor Amplifier
PM-10
Options
The CB-HPD-10 gig
bag can hold the
HandSonic, the PDS-
10, AC adaptor, and
headphones.
Bass Drum Pedal
not included.
HPD-10_e1.book 44 ページ 2006年4月7日 金曜日 午後2時14分
 Loading...