13
Mar. 2010 SPD-30
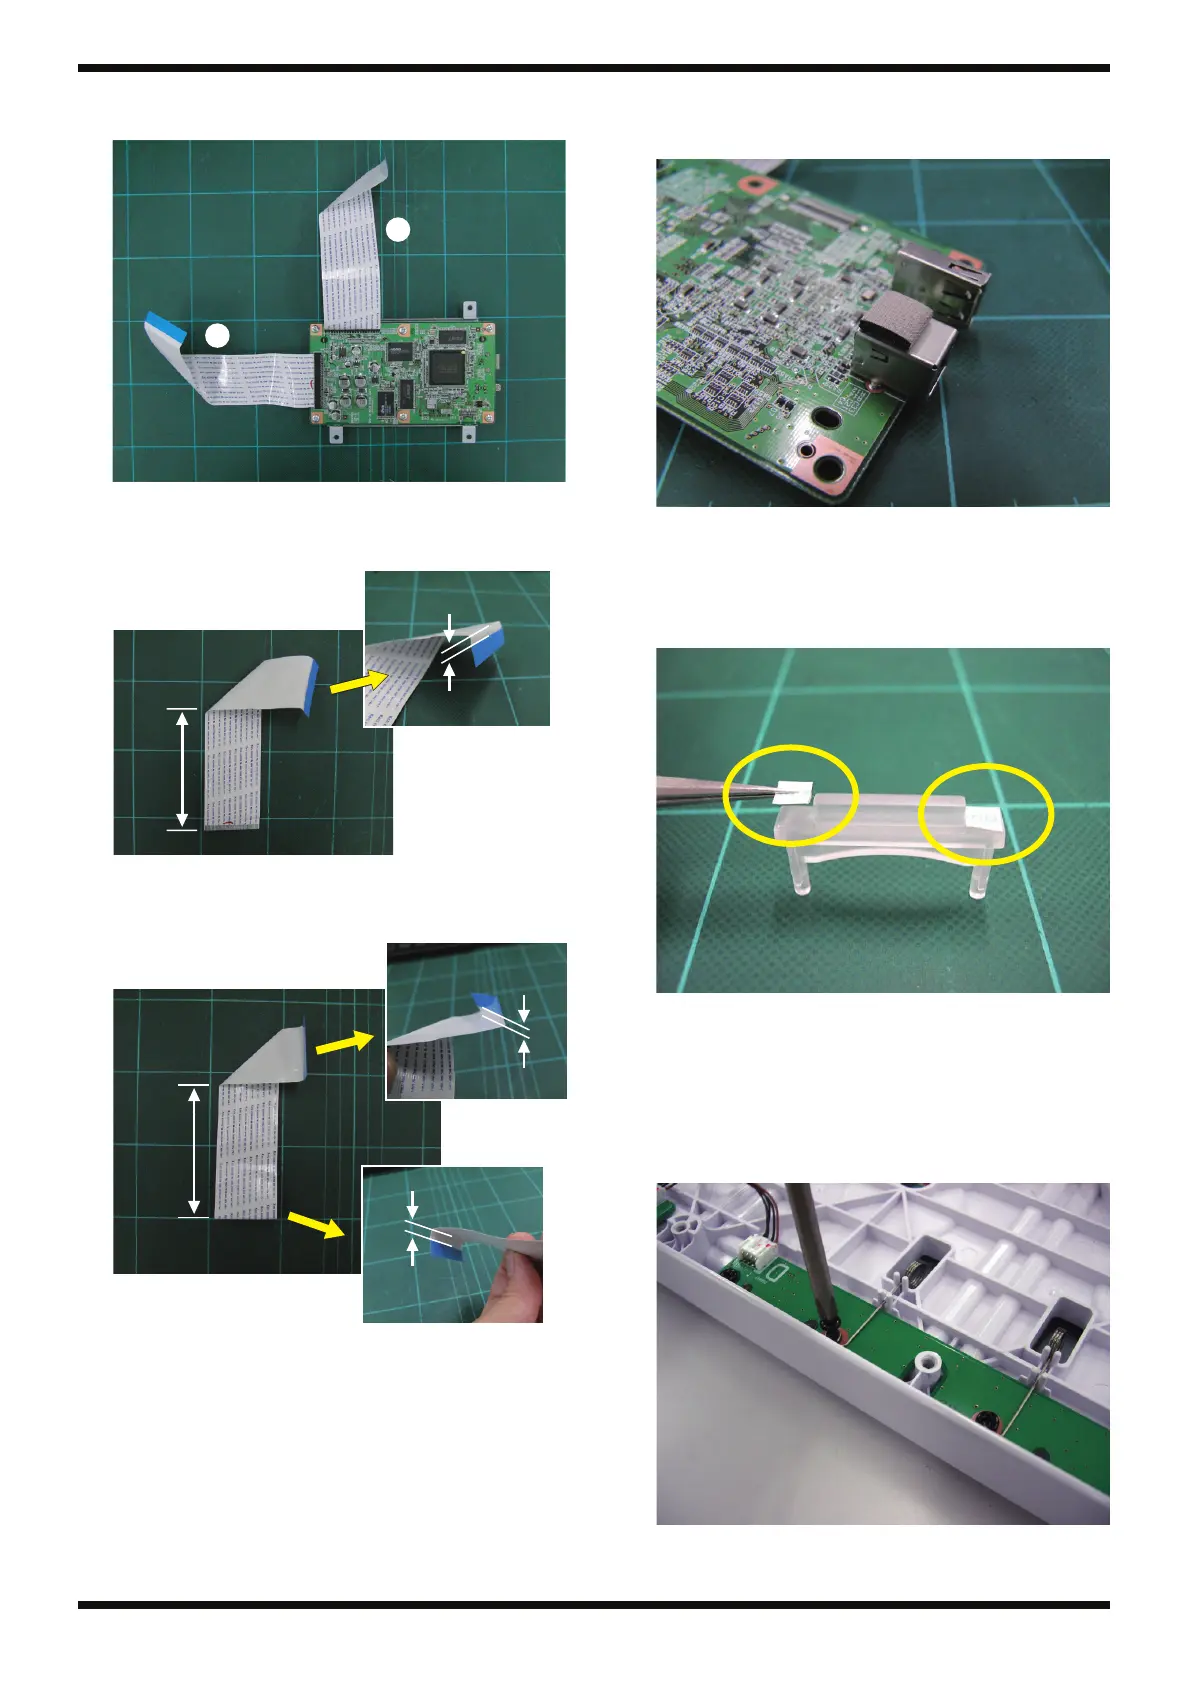
Bending the Flat Cables
fig.bunaki-FFC.eps
How to Bend A
fig.bunaki-FFC-A.eps
How to Bend B
fig.bunaki-FFC-B.eps
Attaching the Gasket
When replacing the Main Board Assy, attach a Gasket (#5100011928) on JK1.
fig.bunaki-gasket.eps
Installing the LED Lens
1. Cut 5-millimeter lengths of double-sided adhesive tape (#5100011185)
and affix them to the LED lens (#5100009444).
fig.bunaki-LED-LENS.eps
2. Peel off of the backing paper from the double-sided adhesive tape and
attach to the Top Case.
Spring Installation
Fasten the Spring (#5100009456) to the LED Board together with SCREW 3X8
BINDING TAPTITE P FE BZC (#40011312).
fig.bunaki-spring.eps
* To help prevent one cause of abnormal noise, tighten the screws securely to
ensure no looseness.
A
B
85mm
3mm
100mm
3mm
3mm

 Loading...