21
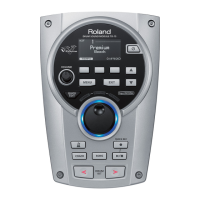
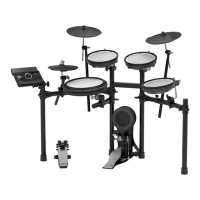
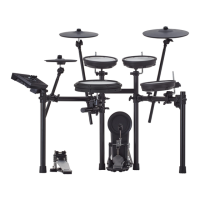
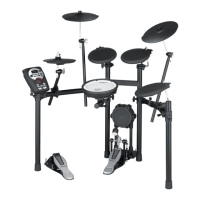
TD-12
advances to the next test.
8. HH CTRL Test [TEST - 8 HH CTRL]
1. Connect a FD-7 to the HH CTRL INPUT with a stereo cable.
2. Gradually press the FD-7 down and confirm that the meter in the LCD
gradually decreases, with the meter at “0” when the pedal is fully
pressed down.
Here, the following appears in the LCD display.
fig.test13.eps
3. Release the FD-7, and disconnect the cable from the HH CTRL INPUT;
the procedure automatically advances to the next test.
9. TRIGGER Test [TEST - 9 TRIGGER]
1. Connect a PD-7 to each TRIGGER INPUT with a pad cable and confirm
the following tests.
• Strike the PD-7 head. The corresponding numerals in the HEAD row in
the LCD change to “-”. A high pitch is generated simultaneously.
• Strike the PD-7 rim. The corresponding numerals in the RIM row in the
LCD change to “-”. A normal pitch is generated simultaneously (INPUT
2--5 and 11--12 only).
• Choke the PD-7 rim. The corresponding numerals in the SWITCH row in
the LCD change to “-”. A low pitch is generated simultaneously.
fig.test14.eps
The numerals may change to “-” when the plug is connected.
If this occurs, confirm that the corresponding numbers are displayed
momentarily when the pad is struck or choked.
If two or more inputs respond, the following highlighted numerals appear in
the LCD.
fig.test15.eps
2. After confirming all inputs, press the [F5(OK)]; the procedure
automatically advances to the next test.
10. AUDIO IN/OUT Test [TEST - 10 AUDIO]
Be careful with volume levels.
1. Connect the white and red plugs of the PCS-31 cable to DIRECT OUT 1
and DIRECT OUT 2, and connect the black plug to MIX IN.
2. Connect MASTER OUT to the monitor.
3. Connect a pair of headphones to the PHONES jack.
4. Turn all the volumes for MIX IN, PHONES, and MASTER to the right.
5. The LCD display shows that MUTE is selected, as shown below.
Confirm that sound is being output from MASTER OUT and PHONES.
fig.test16.eps
6. Press the [F2 (->)] button.
Confirm that “DIR1” and “DIR2” are selected in the LCD display and
that a sine wave is being output only from MASTER OUT L and R.
7. Press the [F2 (->)] button.
Confirm that “PHONES” is selected in the LCD display and that a sine
wave is being output only from PHONES.
8. Disconnect the plug from MIX IN.
The procedure automatically advances to the next test.
Signal Path
DIR 1 ---> MIX_IN Lch ---> MASTER Lch
DIR 2 ---> MIX IN Rch ---> MASTER Rch
This path is confirmed simultaneously.
11. Sound Test [TEST-11 SOUND]
1. Confirm that sound is played (sound of hand striking).
“OFF” appears in the LCD display.
2. Press the [F1(PLAY)] button.
The LCD display changes to “ON” and a numeral “1--8.”
3. The volume gradually decreases as the number changes.
Confirm that each sound plays correctly.
The sound with noise and short sounds, it is failure.
4. After confirmation is completed, press the [F5(OK)] button to advance to
the next test.
fig.test17.eps
12. FACTORY RESET [TEST-12 INITIALZE]
1. This performs an SRAM read/write test and Factory Reset.
2. Press the [F1(EXECUTE)] button to start the SRAM test.
fig.test18.eps
3. If the SRAM test results in OK, Factory Reset is then executed.
If the SRAM test results in failure (NG),”SRAM NG!” appears in the
display, and the procedure does not advance to the Factory Reset.
4. When Factory Reset is completed, the following appears in the LCD
display.
5. This completes the test; turn off the power to the unit.

 Loading...