Important
•
operating the TR-505 near a neon or fluorescent
lamp
may cause
noise interference. If
so, change
the angle of
the
unit.
•
Avoid using the
unit in excessive heat or humidity or
where it may
be
affected by direct sunlight or dust.
•
Use a
soft cloth and clean only with
a
neutral deter-
gent.
•
Do
not
use
solvents such
as
paint thinner.
•
View the
Display
from the proper
angle.
•
Please be
careful
not to damage
the window.
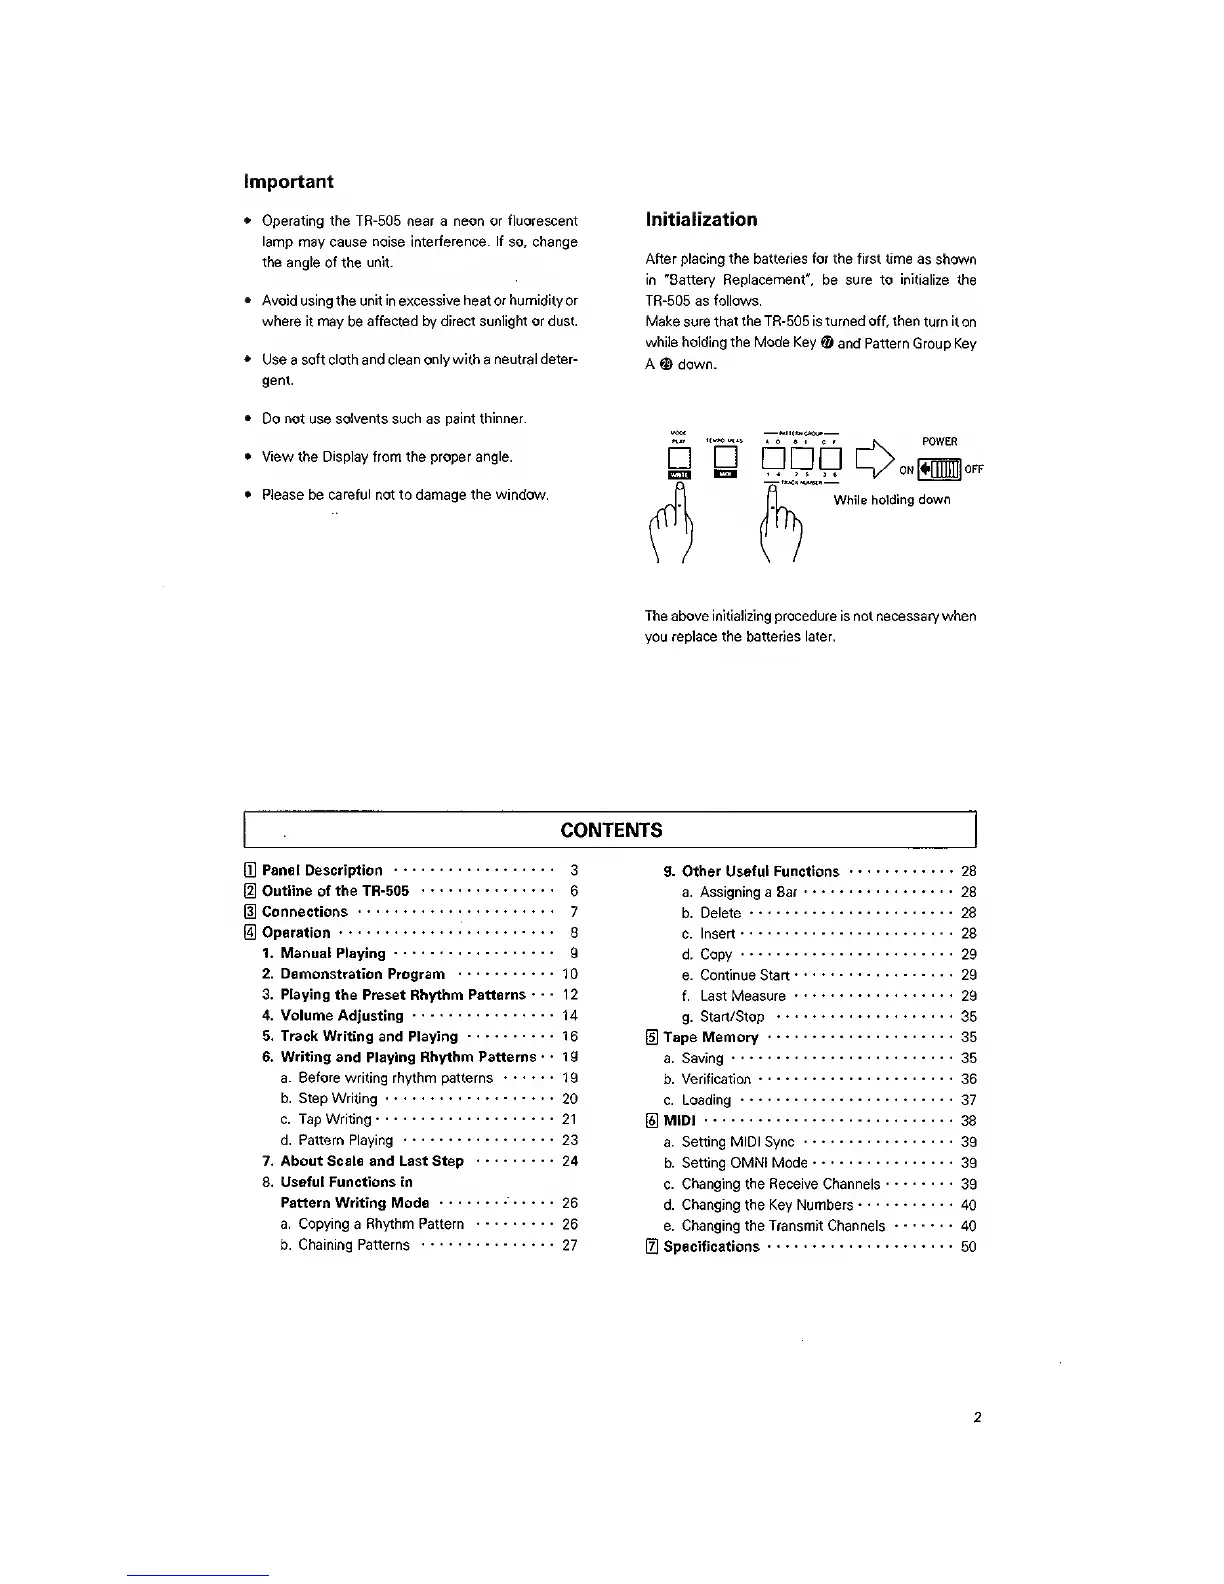
Initialization
After placing the batteries for the first time as
shown
in "Battery
Replacement",
be
sure
to
initialize
the
TR-505 as follows.
Make sure that the TR-505 is turned off, then
turn
it
on
while holding the Mode Key
® and Pattern Group Key
A
®
down.
«.. 'CW w«
. (
, g ,
[,
POWER
D
Q
ggg
c>o»m
OFF
While
holding down
The above
initializing
procedure is not necessary when
you
replace the batteries later.
CONTENTS
Q]
Panel Description
3
(2]
Outline of the TR-505
6
(H
Connections
7
J4]
Operation
8
1. Manual Playing
9
2. Demonstration
Program 10
3. Playing
the Preset Rhythm
Patterns 12
4. Volume Adjusting 14
5. Track Writing
and Playing
16
6. Writing and Playing Rhythm Patterns
• -
19
a.
Before
writing rhythm patterns 19
b. Step Writing
20
c. Tap Writing 21
d. Pattern Playing 23
7. About Scale and Last Step 24
8. Useful Functions in
Pattern
Writing Mode 26
a. Copying
a
Rhythm Pattern
26
b. Chaining Patterns
27
9. Other Useful Functions 28
a. Assigning a Bar 28
b.
Delete
28
c.
Insert 28
d. Copy 29
e.
Continue Start 29
f. Last Measure 29
g.
Start/Stop
35
[5]
Tape Memory 35
a. Saving 35
b. Verification 36
c.
Loading
37
[6]
MIDI
38
a.
Setting MIDI Sync
39
b.
Setting OMNi Mode
39
c.
Changing the Receive Channels
39
d.
Changing the Key Numbers 40
e. Changing the Transmit Channels 40
[t]
Specifications 50
 Loading...