19
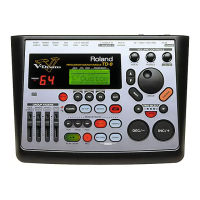
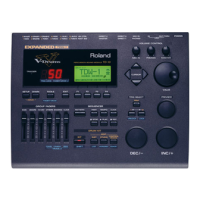
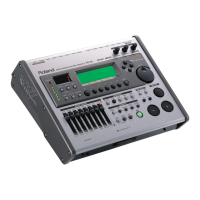
TD-20
TEST MODE
Cards supported by TD-20 are 3.3 V CompactFlash cards with the capacity of
16 MB to 512 MB.
With version 2.00 and after, the procedure for starting the Test mode is
changed, and Test-mode items for the TDW-20 as a single unit have also been
added.
For more details, refer to the TDW-20 Service Notes (#17058576E0).
Required Equipment
• FD-7
• Monaural cable (for FD-7)
• PD-7
• PAD cable (stereo type)
• Drum stick
• MIDI cable
• FS-5U x2 (foot switch)
• PCS-31 cable
• CompactFlash (must be formatted for TD-20)
• Headphones
• Monitor speakers x2 (DS-90 or other with coaxial inputs)
• COAXIAL cable
• TD-20 expansion board (Note: expansion board sold separately)
Preparation
1. Insert CompactFlash in slot.
2. Install expansion board in TD-20 (Note: Perform this only if the optional
expansion board is on hand).
If no expansion board is installed, “NO EXP!” appears in the LCD display in
each test mode category; however, this has no effect on any test except [TEST-3
EXP-BOARD].
fig.test-1
Entering Test Mode
The contents of the user memory are deleted upon entering Test mode.
Be sure to have backed up the user memory using the prescribed save
procedures before entering Test mode.
After finishing Test mode, be sure complete the procedures by performing the
“Factory Reset.”
1. Simultaneously hold down the [PATTERN], [PLAY], and [TEMPO]
buttons and turn on the power.
2. When the “Roland” logo appears in the LCD display during startup,
release the pressed buttons and then press the [+] button.
fig.test-2
3. Test mode starts up, and the following appears in the LCD display.
fig.test-3
Exiting Test Mode
It is possible to quit Test mode at any stage by switching off the power.
However, always complete the procedure by performing the Factory Reset.
To Skip a Test Category
To skip to the next test category: hold down the [SHIFT] button and press the
[F5] or [+] button
To jump to the previous test category: hold down [SHIFT] button and press the
[F4] or [-] button
To skip to a specific test category: hold down the [SHIFT] button and press the
[EXIT] button to shift to the SELECT screen.
Use the cursor to select the category, then press the [F5 SELECT] button.
fig.test-4
A circle appears to the left of completed test categories.
Test Categories
1. Version Display [TEST - 1 VERSION]
2. Device Test [TEST - 2 DEVICE]
3. Expansion Test [TEST - 3 EXP-BOARD]
4. CompactFlash Test [TEST - 4 CF-CARD]
5. MIDI Test [TEST - 5 MIDI]
6. SW/LED Test [TEST - 6 SW&LED]
7. FOOT SW Test [TEST - 7 FOOT SW]
8. LCD/ENCODER Test [TEST - 8 LCD&ENCDR]
9. SLIDER Test [TEST - 9 SLIDER]
10. HH CTRL Test [TEST - 10 HH CTRL]
11. TRIGGER Test [TEST - 11 TRIGGER]
12. AUDIO IN/OUT Test [TEST - 12 AUDIO]
13. Sound Test [TEST-13 SOUND]
14. FACTORY RESET [TEST-14 INITIALZE]
 Loading...
