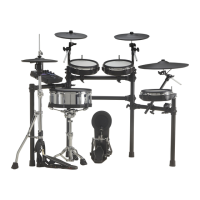
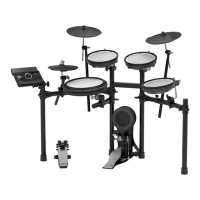
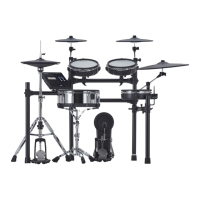
Customizing a Kit
24
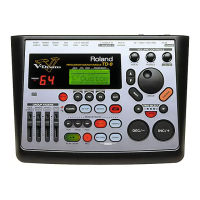
3. Press a function button to turn the setting on/o.
Screen Button Explanation
PAD EQ screen [F4] button Turns pad equalizer on/o.
PAD COMP screen [F4] button Turns pad compressor on/o.
MFX1–3 screen [F5] button
Turns on/o the multi-eect
1–3 selected by the [R1] knob.
Comparing with or Reverting to the
Unedited Drum Kit (SNAPSHOT)
You can temporarily save the currently-edited drum kit, and compare
it with the current settings or revert back to it (snapshot).
Save temporarily
(STOCK)
Edit
Immediately after
selecting drum kit
(UNDO)
Current drum kit
(CURRENT)
1. Select the drum kit that you want to edit.
When you select a drum kit, the data of the selected drum kit is
stored in “UNDO.”
2. When you want to temporarily save the settings of
the currently-edited drum kit, press the [SNAPSHOT]
button.
The SNAPSHOT screen appears, and the current drum kit
(CURRENT) is selected.
3. Press the [F5] (SAVE) button.
The current drum kit settings are saved in STOCK.
4. Press the [EXIT] button to exit the SNAPSHOT screen,
and edit the drum kit.
* When you switch drum kits, the settings saved in STOCK are
deleted.
5. Press the [SNAPSHOT] button.
6. Use the [F1]–[F3] buttons to switch between the
saved drum kits, and play them to compare.
Button Explanation
[F1] (CURRENT) button Current drum kit settings
[F2] (STOCK) button Drum kit settings saved in STOCK
[F3] (UNDO) button
Settings immediately after selecting the
drum kit
7. If you want to return the current drum kit settings
to the state immediately after selecting a drum kit
or STOCK, press the [F2] or [F3] button to select the
drum kit settings to which you want to return.
If you want to continue with the current drum kit settings, press the
[KIT] button to return to the DRUM KIT screen.
8. Press the [F4] (RESTORE) button.
A conrmation message appears.
If you decide to cancel, select “CANCEL” and press the [ENTER]
button.
9. Select “OK” and then press the [ENTER] button.
The current drum kit settings return to the settings of the drum kit
that you selected in step 7.
10.
Press the [KIT] button to return to the DRUM KIT
screen.
Editing a Drum Kit (MENU)
Here’s how to make settings such as the volume of the drum kit and
the illumination color of the controls.
& For details on the parameters that can be edited, refer to
“Reference Manual” (PDF).
1. In the DRUM KIT screen (p. 15), press the [F5]
(MENU) button.
The menu screen appears.
2. Edit the settings of the drum kit.
3. Press the [KIT] button to return to the DRUM KIT
screen.
Setting the Volume
Here’s how to set the volume of the drum kit.
1. In the DRUM KIT screen (p. 15), press the [F5]
(MENU) button.
2. Press the PAGE [UP] button to access the top page.
The KIT SETTINGS screen appears.
3. Press the [F1] (VOLUME) button.
4. Use the [–] [+] buttons or the dial to edit the value.
Value -INF–+6.0 dB

 Loading...