Page 4 Replacing RES-102/RES-420
Installation and setup
Installation and startup may only be
performed by technically trained, skilled
persons who are familiar with the associated risks
and warranty provisions.
The information provided here offers no more than a
brief overview. If in doubt, please refer to the latest
version of the controller documentation, which is
always binding (ª see also section „Safety and
warning notes“ of the RES-420 documentation).
Proceed as follows to replace the RES-102 controller
and install/start up the RES-420:
1. Switch off the line voltage and verify the safe
isolation from the supply.
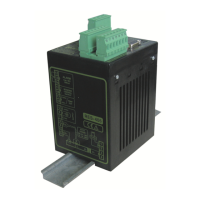
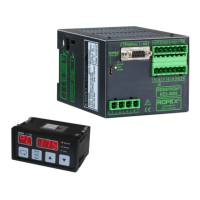
2. Remove the existing RES-102 controller.
3. The supply voltage specified on the nameplate of
the RES-420 controller must be identical to the line
voltage that is present in the plant or machine. The
line frequency is automatically detected by the
temperature controller in the range from 47 to 63Hz.
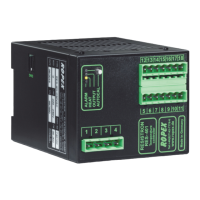
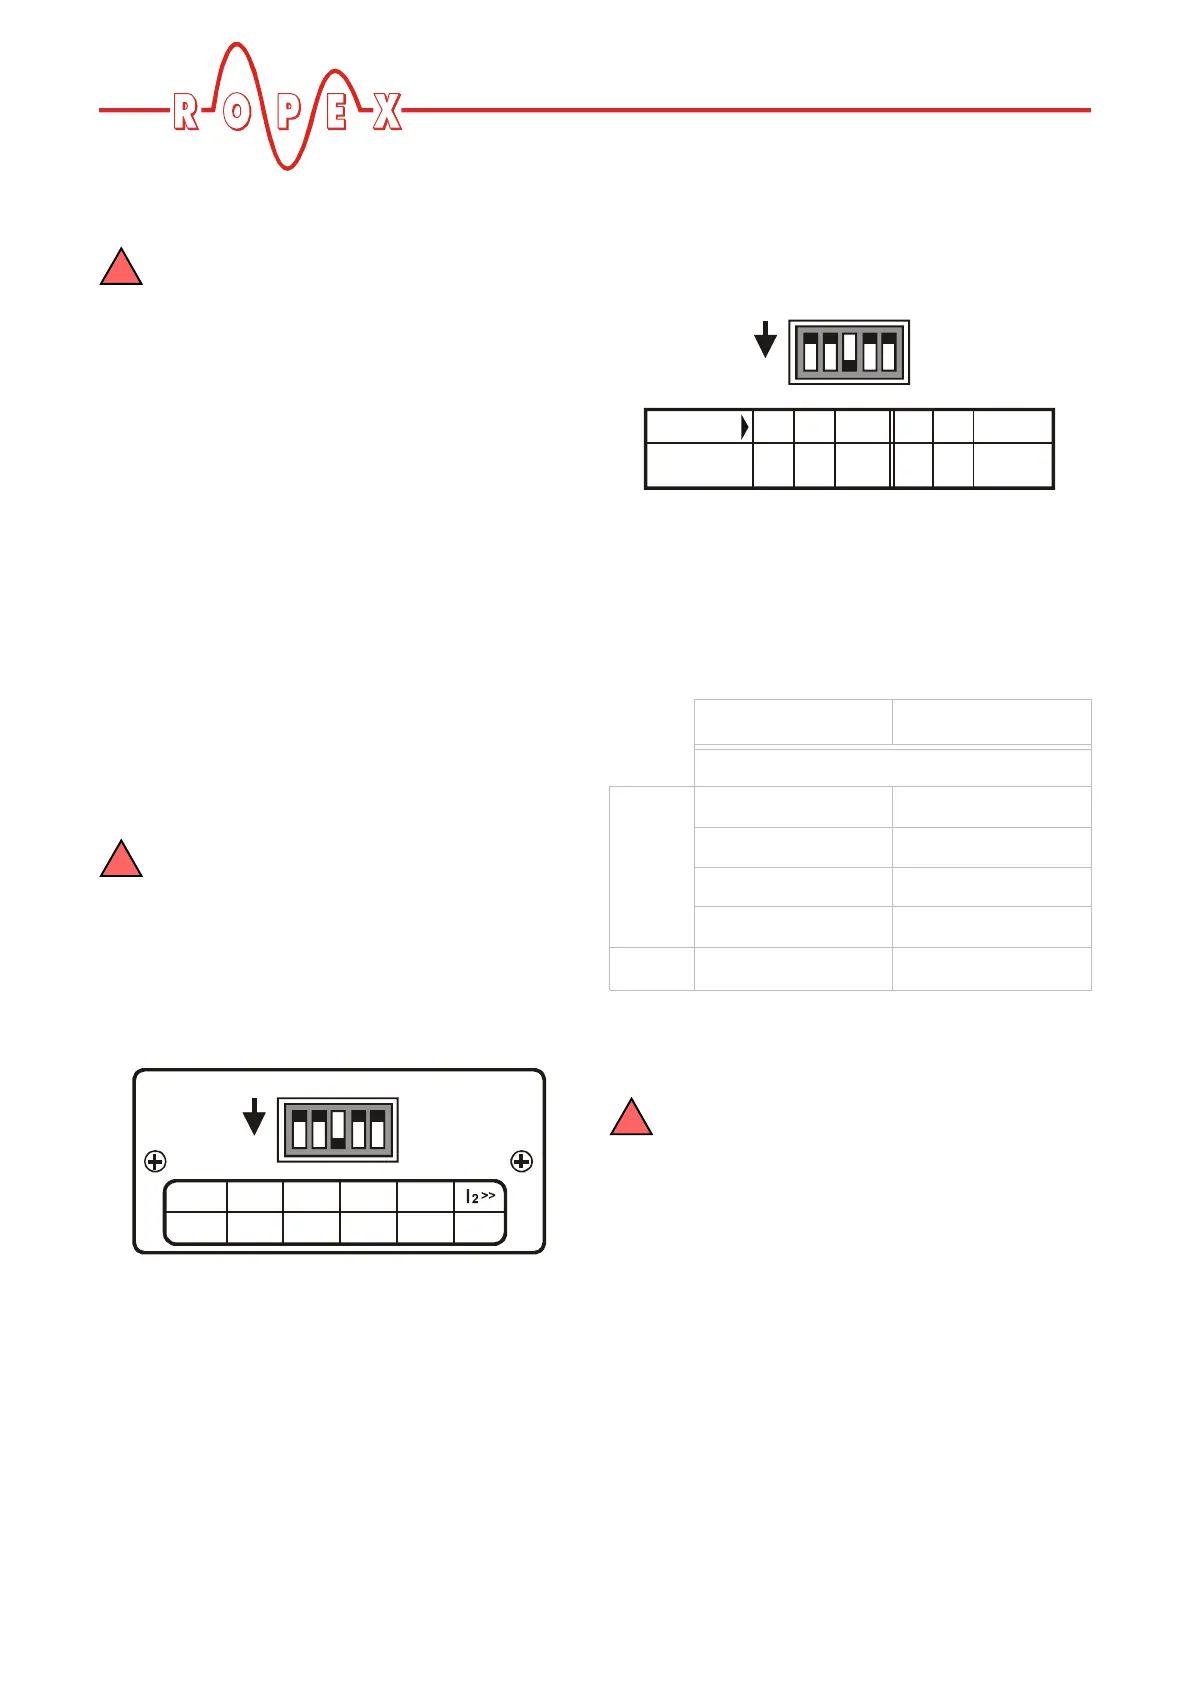
4. Set the DIP switches on the RES-420.
The settings of the DIP switches on the
RES-420 are NOT the same as on the
RES-102. Please set these switches in accordance
with the ROPEX Application Report in order to
avoid malfunctions.
Old setting ranges on the RES-102:
New setting ranges on the RES-420:
The table below compares the two controllers.
These settings can be taken as a guide (e.g. when
the controller is started up for the first time):
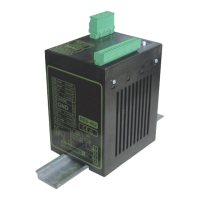
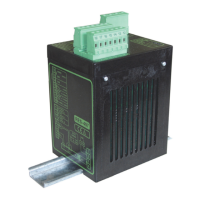
5. Install the RES-420 controller in place of the
RES-102.
The connection of the electrical terminals is
different and must be changed acc. the des-
cribed wiring diagram.
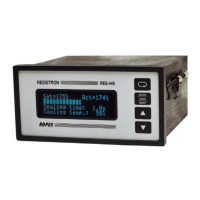
6. Switch on the line voltage.
7. A power-up message appears on the display when
the controller is switched on to indicate that it has
been started up correctly.
!
!
12345
ON
12345
Switch
No.
20-603- 10 8- 30 50-80
U
2
V
( )
RES-102 RES-420
DIP switch ON
U
2
11
22
33
43
I
2
54
U (
V
)
2
I
2
(
A
)
1-10 6-60 20-120
30 - 100
60 - 200
120 - 400
OFF
OFFOFF
ON
ON
ON
DIP-SWITCH
ON
12 3 45
12345
ON
!

 Loading...