RCP-ME User Guide (v4.0) Destination and Sources • 31
Assigning a Source to a Button
A source represents the device that sends the physical input to the routing switcher. A switch occurs when a source
button is pressed and the signal is routed to the currently selected destination.
The function of any source button on a menu is changed when a
TAKE button is assigned to the menu (see
“Assigning a Take Button” on page 47).
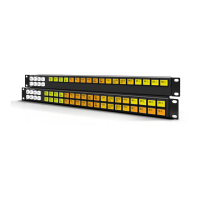
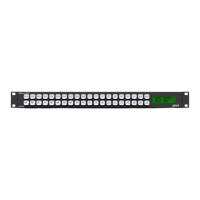
By default, all 20 buttons in the top row of the RCP-ME are assigned as sources.
To assign a source to a button
1. Open the RCP-ME Panel Config interface (see “To open the RCP-ME Panel Config interface” on page 22).
2. On the simulated RCP-ME, click the button that you want to use for the destination or source.
The Button dialog opens.
3. In the Button list, select Source.
4. Use the Value list to select the physical input that connects to the item of source equipment.
The simulated RCP-ME in DashBoard shows the label for the specified input on the selected button. If you
have assigned a name to this input using the Input Assigns tab, this name appears on the button.
5. Close the Button dialog.
6. Send the current configuration file to the device (see “To send the current configuration to a panel” on
page 74).
If you have virtual routing enabled in the RCP-ME, the input that you enter represents the virtual destination as
set up in the NK-VRC Virtual Routing Core.
Assigning a Crosspoint Button
When you make a switch, you need to select the level(s) that you are switching using a breakaway or level button,
the destination, and then the source. This requires three button presses. To reduce this effort and the potential for
error, common switch sequences may be set up in a crosspoint.
You should record relevant information for the crosspoint and include this in the label for the button.
To assign a crosspoint to a button
1. Open the RCP-ME Panel Config interface (see “To open the RCP-ME Panel Config interface” on page 22).
2. On the simulated RCP-ME, click the button that you want to use for the crosspoint.
The Button dialog opens.
3. In the Button list, select Crosspoint.
4. In the Output list, select the physical output that connects to the item of destination equipment to which you
want to switch.
5. In the Input list, select the physical input that connects to the item of source equipment that provides the
required signal.
6. In the Breakaway list, select the breakaway level that you want to use for the switch.
7. Close the Button dialog.
The simulated RCP-ME in DashBoard shows X-PNT on the selected button.
8. Send the current configuration file to the device (see “To send the current configuration to a panel” on
page 74).
 Loading...