7 Installation
Installer reference guide
30
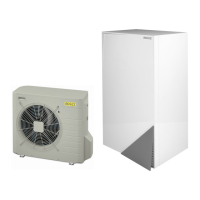
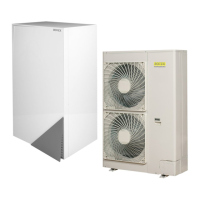
RRLQ004~008CA + RHBH/X04+08CB
ROTEX HPSU low temperature Bi‑bloc
4P384979-1C – 2017.04
7.3.3 To provide the installation structure
Check the strength and level of the installation ground so that the
unit will not cause any operating vibration or noise.
Fix the unit securely by means of foundation bolts in accordance
with the foundation drawing.
If the unit is installed directly on the floor, prepare 4 sets of M8 or
M10 anchor bolts, nuts and washers (field supply) as follows:
INFORMATION
The maximum height of the upper protruding part of the
bolts is 15mm.
In any case, provide at least 300mm of free space below the unit.
Additionally, make sure the unit is positioned at least 100mm above
the maximum expected level of snow. In this case, it is
recommended to construct a pedestal, and on this pedestal install
the EKFT008CA option kit.
283
580
<150
<150
(mm)
>300
100
a
b
a Maximum snowfall height
b EKFT008CA option kit
If the unit is installed on brackets to the wall, it is recommended to
use the EKFT008CA option kit and to install the unit as follows:
a Maximum snowfall height
b EKFT008CA option kit
7.3.4 To install the outdoor unit
CAUTION
Do NOT remove the protective cardboard before the unit is
installed properly.