7 Installation
Installer reference guide
32
RRLQ004~008CA + RHBH/X04+08CB
ROTEX HPSU low temperature Bi‑bloc
4P384979-1C – 2017.04
7.4 Mounting the indoor unit
7.4.1 About mounting the indoor unit
When
You have to mount the outdoor and indoor unit before you can
connect the refrigerant and water piping.
Typical workflow
Mounting the indoor unit typically consists of the following stages:
1 Installing the indoor unit.
2 Installing the drain pan kit (optional).
7.4.2 Precautions when mounting the indoor
unit
INFORMATION
Also read the precautions and requirements in the
following chapters:
▪ General safety precautions
▪ Preparation
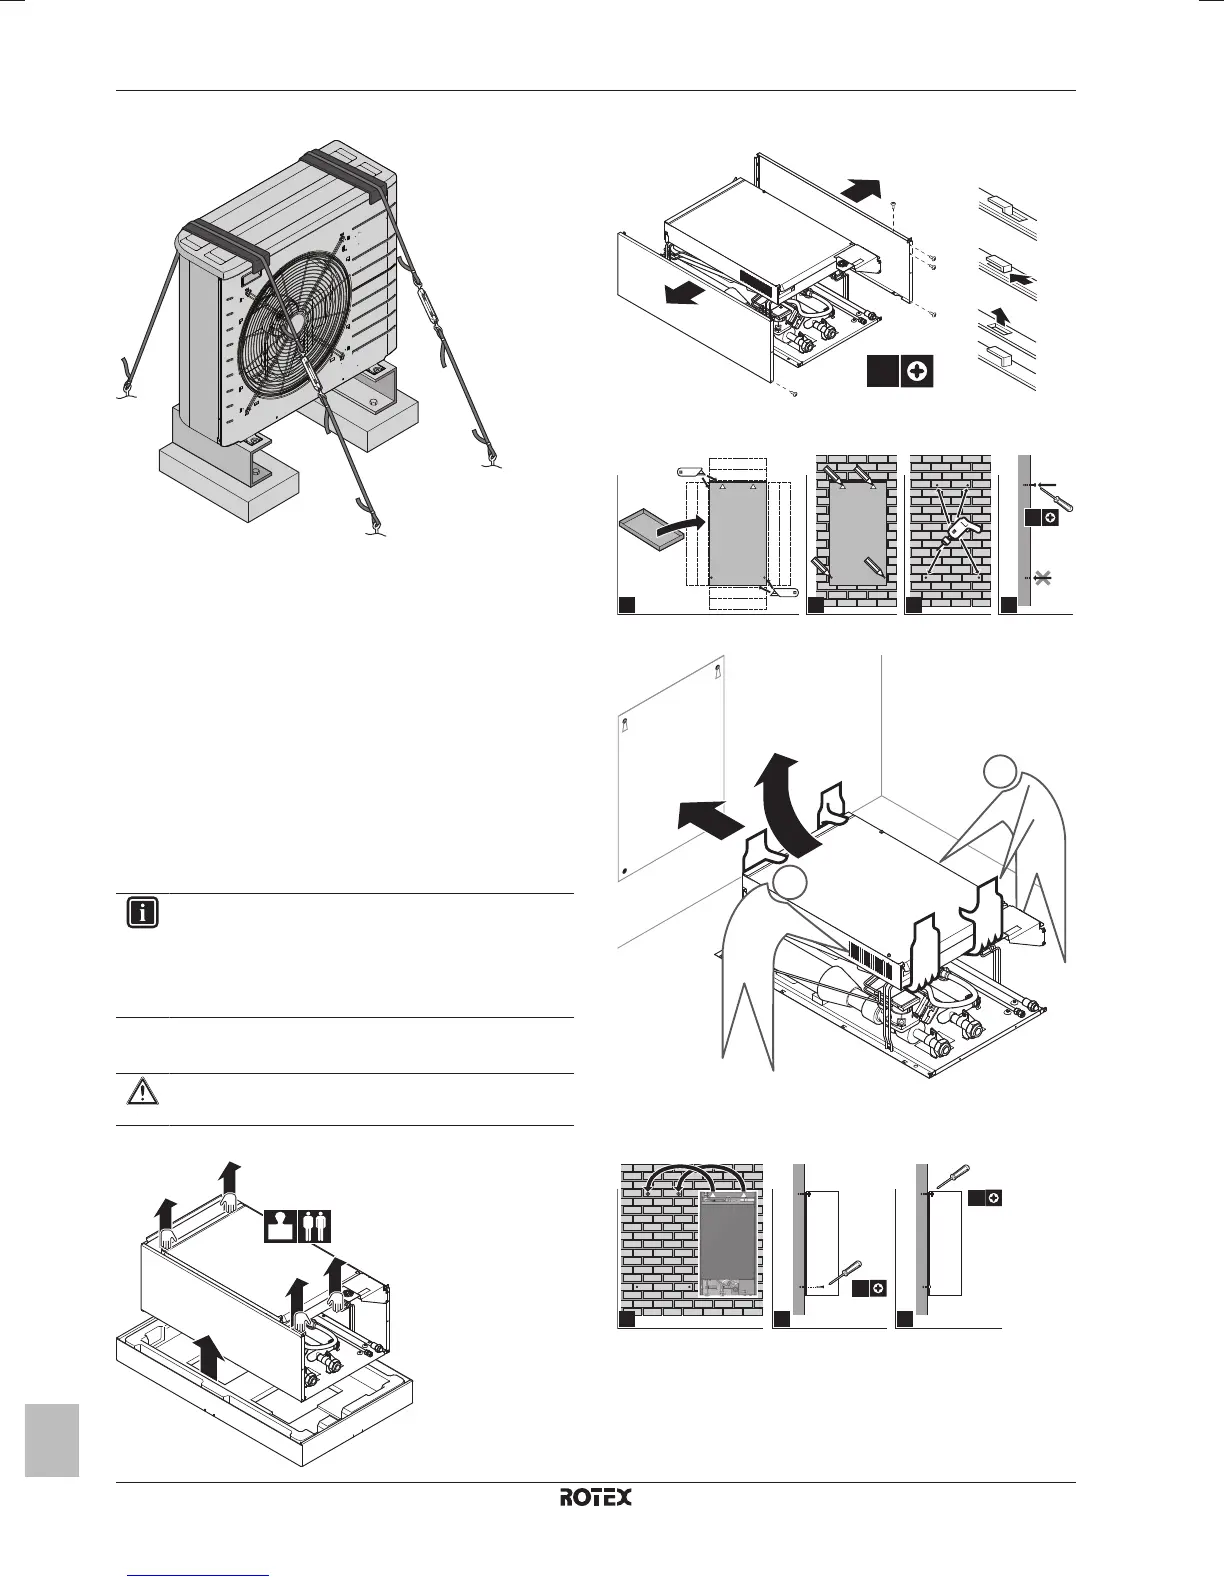
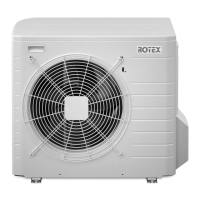
7.4.3 To install the indoor unit
CAUTION
Do NOT grasp the piping to lift the indoor unit.
1 Lift the unit from the package.
2 Remove the 4 screws from the bottom of the unit. Unhook and
remove the side plates.
3 Put the installation pattern (see packing) on the wall and follow
the steps as shown below.
4 Lift the unit.
5 Tilt the top of the unit against the wall at the position of the 2
inserted screws.
6 Hook the unit against the wall.
7 Assemble the unit.