RKHBH/X016BA
Indoor unit for air to water heat pump system and options
4PW54227-1
Operation manual
11
FIELD SETTINGS
The indoor unit shall be configured by the installer to match the
installation environment (outdoor climate, installed options, etc.) and
user demand. However, the field settings mentioned in "Field settings
table" on page 14 can be modified to customer preferences. Thereto,
a number of so called field settings are available. These field settings
are accessible and programmable through the user interface on the
indoor unit.
Each field setting is assigned a 3-digit number or code, for example
[1-03], which is indicated on the user interface display. The first digit
[1] indicates the 'first code' or field setting group. The second and
third digit [03] together indicate the 'second code'.
A list of all field settings and default values is given under "Field
settings table" on page 14. In this same list, we provided for 2
columns to register the date and value of altered field settings at
variance with the default value.
A detailed description of each field setting is given under "Detailed
description" on page 11.
Procedure
To change one or more field settings, proceed as follows.
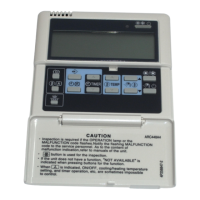
1 Press the z button for a minimum of 5 seconds to enter FIELD
SET MODE.
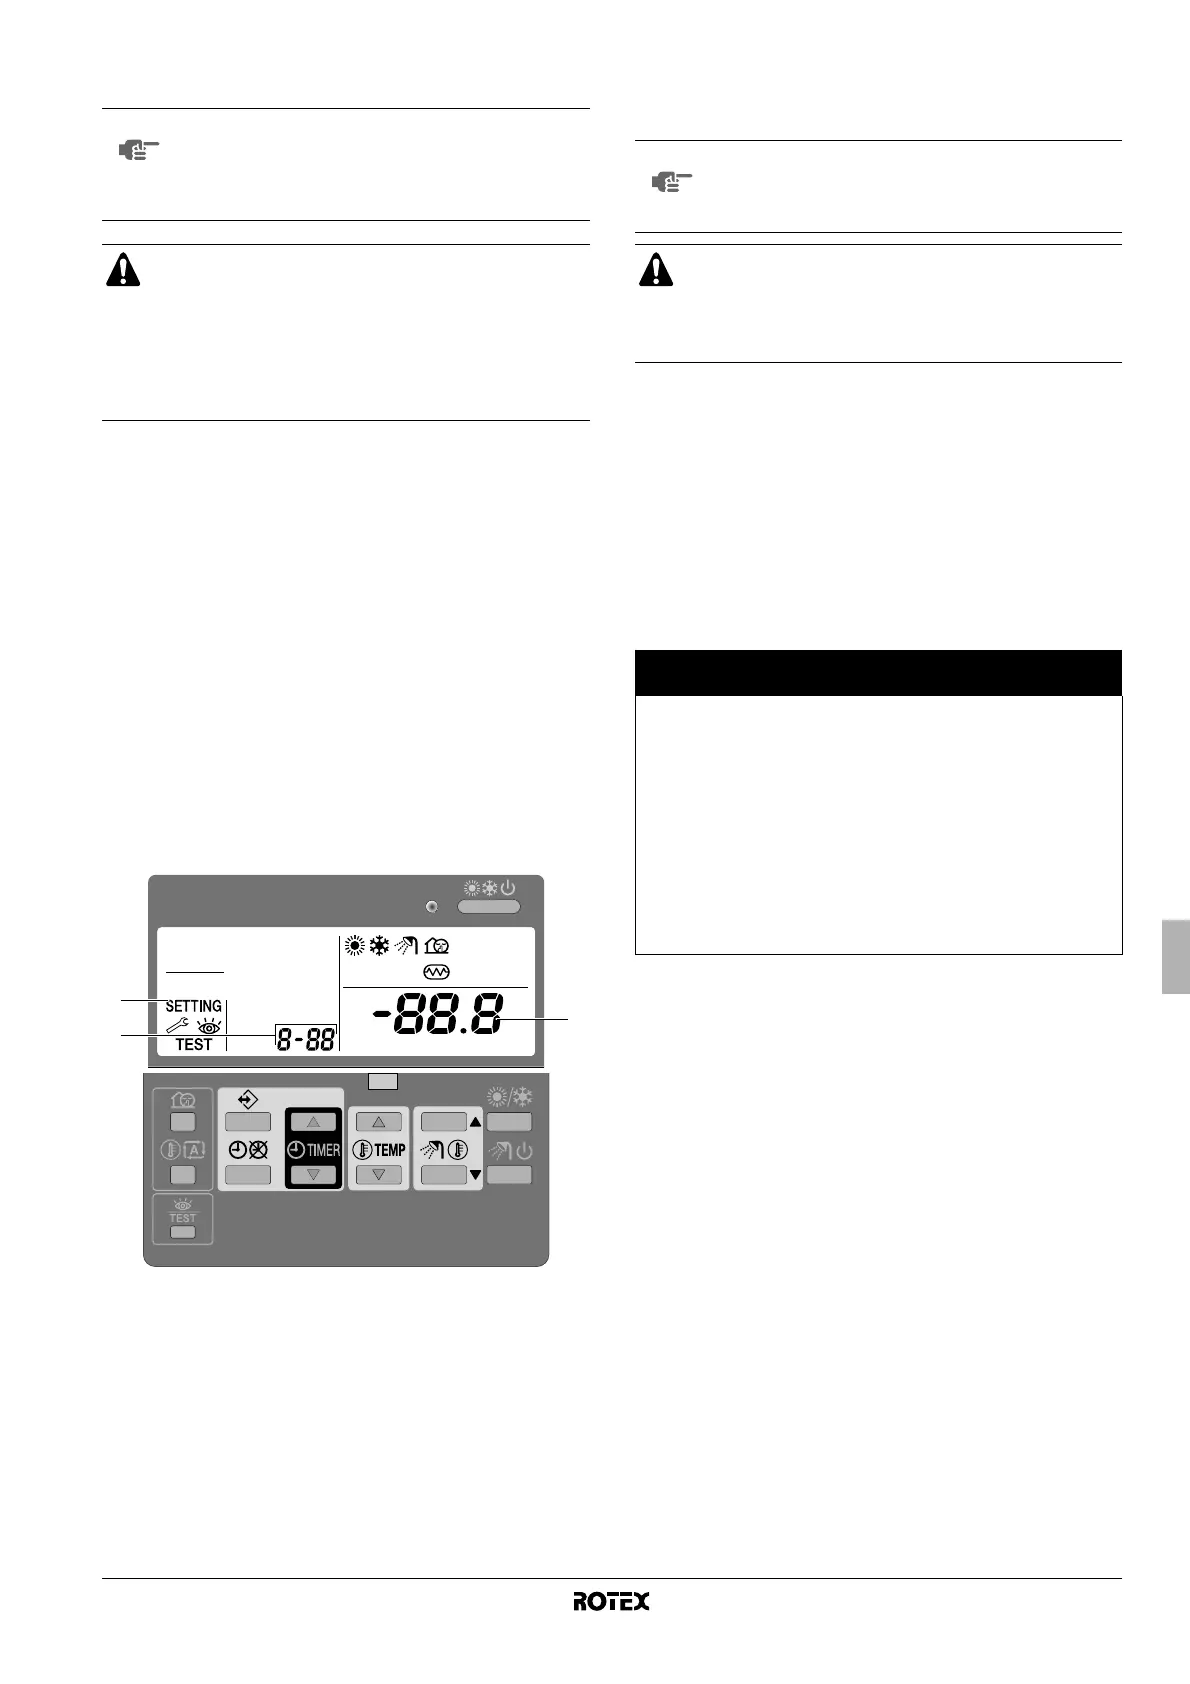
The $ icon (3) will be displayed. The current selected field
setting code is indicated ; (2), with the set value displayed to
the right - (1).
2 Press the bgi button to select the appropriate field
setting first code.
3 Press the bgj button to select the appropriate field
setting second code.
4 Press the pfi button and pfj button to change
the set value of the select field setting.
5 Save the new value by pressing the pr button.
6 Repeat step 2 through 4 to change other field settings as
required.
7 When finished, press the z button to exit FIELD SET MODE.
Detailed description
[0] User permission level
If required, certain user interface buttons can be made unavailable for
the user.
Three permission levels are defined (see the table below). Switching
between level 1 and level 2/3 is done by simultaneously pressing
buttons pfi and pfj immediately followed by
simultaneously pressing buttons s and ba, and keeping all 4
buttons pressed for at least 5 seconds (in normal mode). Note that no
indication on the user interface is given. When level 2/3 is selected,
the actual permission level – either level 2 or level 3 – is determined
by the field setting [0-00].
NOTE
The default values mentioned in "Field settings table"
on page 14 are the values from factory. The actual
initial values shall be selected according to your
application. These values shall be confirmed by your
installer.
CAUTION
The field settings [2] depends on the relevant local and
national regulations.
The field settings [9] depends on the application.
Before changing these settings, the new values shall be
confirmed by the installer and/or shall be according to the
local and national regulations.
2
3
1
NOTE
Changes made to a specific field setting are only
stored when the pr button is pressed. Navigating to a
new field setting code or pressing the z button will
discard the change made.
■ Before shipping, the set values have been set as
shown under "Field settings table" on page 14.
■ When exiting FIELD SET MODE, "88" may be
displayed on the user interface LCD while the unit
initialises itself.
Button
Permission level
1 2 3
Quiet mode button
s
operable — —
Weather dependent
set point button
ba
operable — —
Schedule timer
enable/disable button
pr
operable operable —
Programming button
<
operable — —
Time adjust buttons
pf
i
pf
j
operable — —
Inspection/test
operation button
z
operable — —
 Loading...