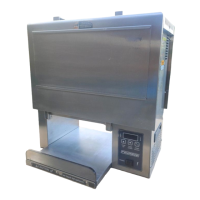
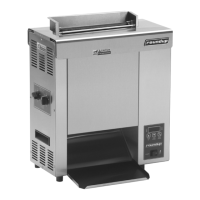
VERTICAL CONTACT TOASTER
14 P/N 1010807 Rev. I 06/12
MAINTENANCE (continued)
Weld
Screws
Acorn Nuts
Spacers
Tensioner
Assy.
Tape
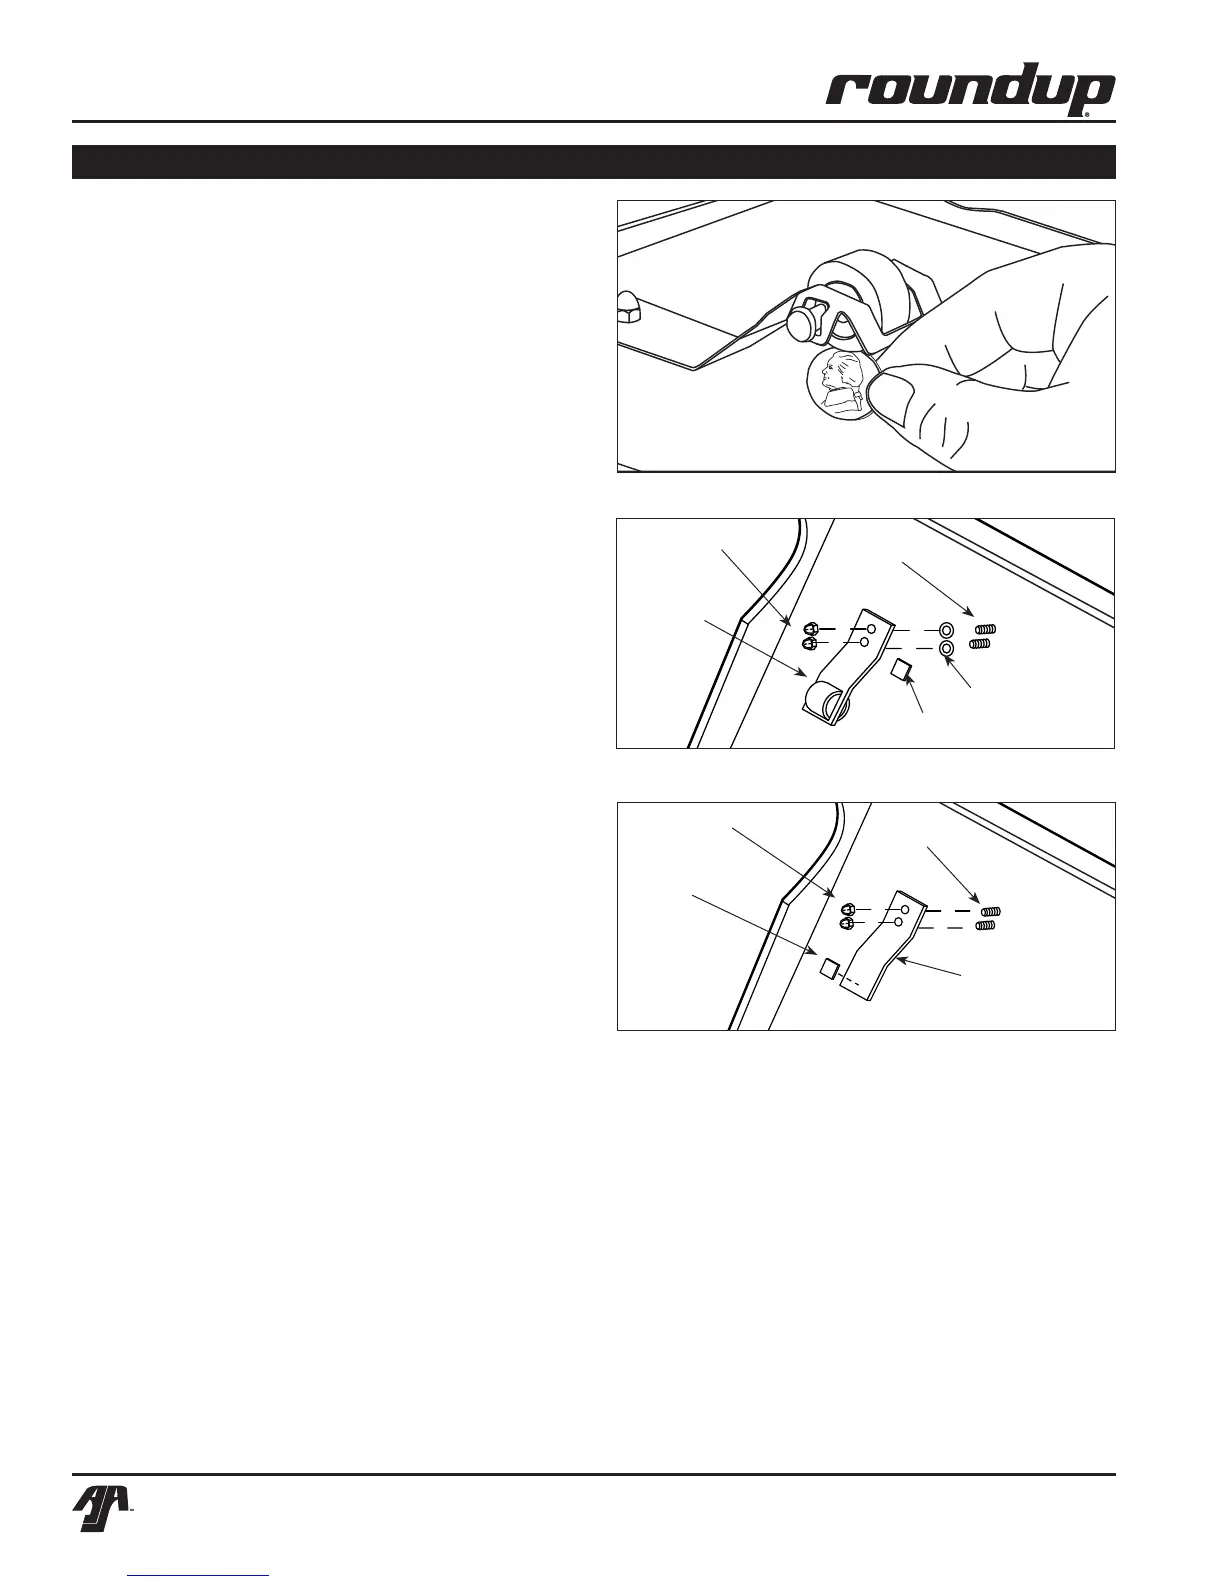
Figure 15. Replacing Roller Tensioner Assy.
Figure 14. Measuring Roller Tensioner
Figure 16. Replacing Spring Tensioner Assy.
Weld
Screws
Acorn Nuts
Spring
Tensioner
Assy.
Tape
Checking the Roller Tensioners
(every 3–6 months)
MEASURING THE ROLLER TENSIONERS
1. Measure the Roller Tensioner on both inner
Conveyor Covers (Figure 14) using a U.S Nickel.
2. The space between the inner Conveyor Cover
and bottom of the Tensioner wheel should be
13/16” (2.1 cm) or the height of a U.S. Nickel.
3. Adjust or replace any damaged ones as
recommended.
REPLACING THE ROLLER TENSIONERS
1. Remove the acorn nuts and old Roller Tensioner
Assembly (Figure 15).
2. Replace Tensioner Assembly, and reassemble.
3. Make sure the spacers are placed inside the
Tensioner arm. The spacers are smaller than the
holes to allow the Tensioner to pivot freely.
REPLACING THE SPRING TENSIONER
1. Remove the acorn nuts (Figure 16).
2. Remove the old Spring Tensioner Assembly
(Figure 16).
3. Replace Tensioner Assembly and reassemble
unit.