29
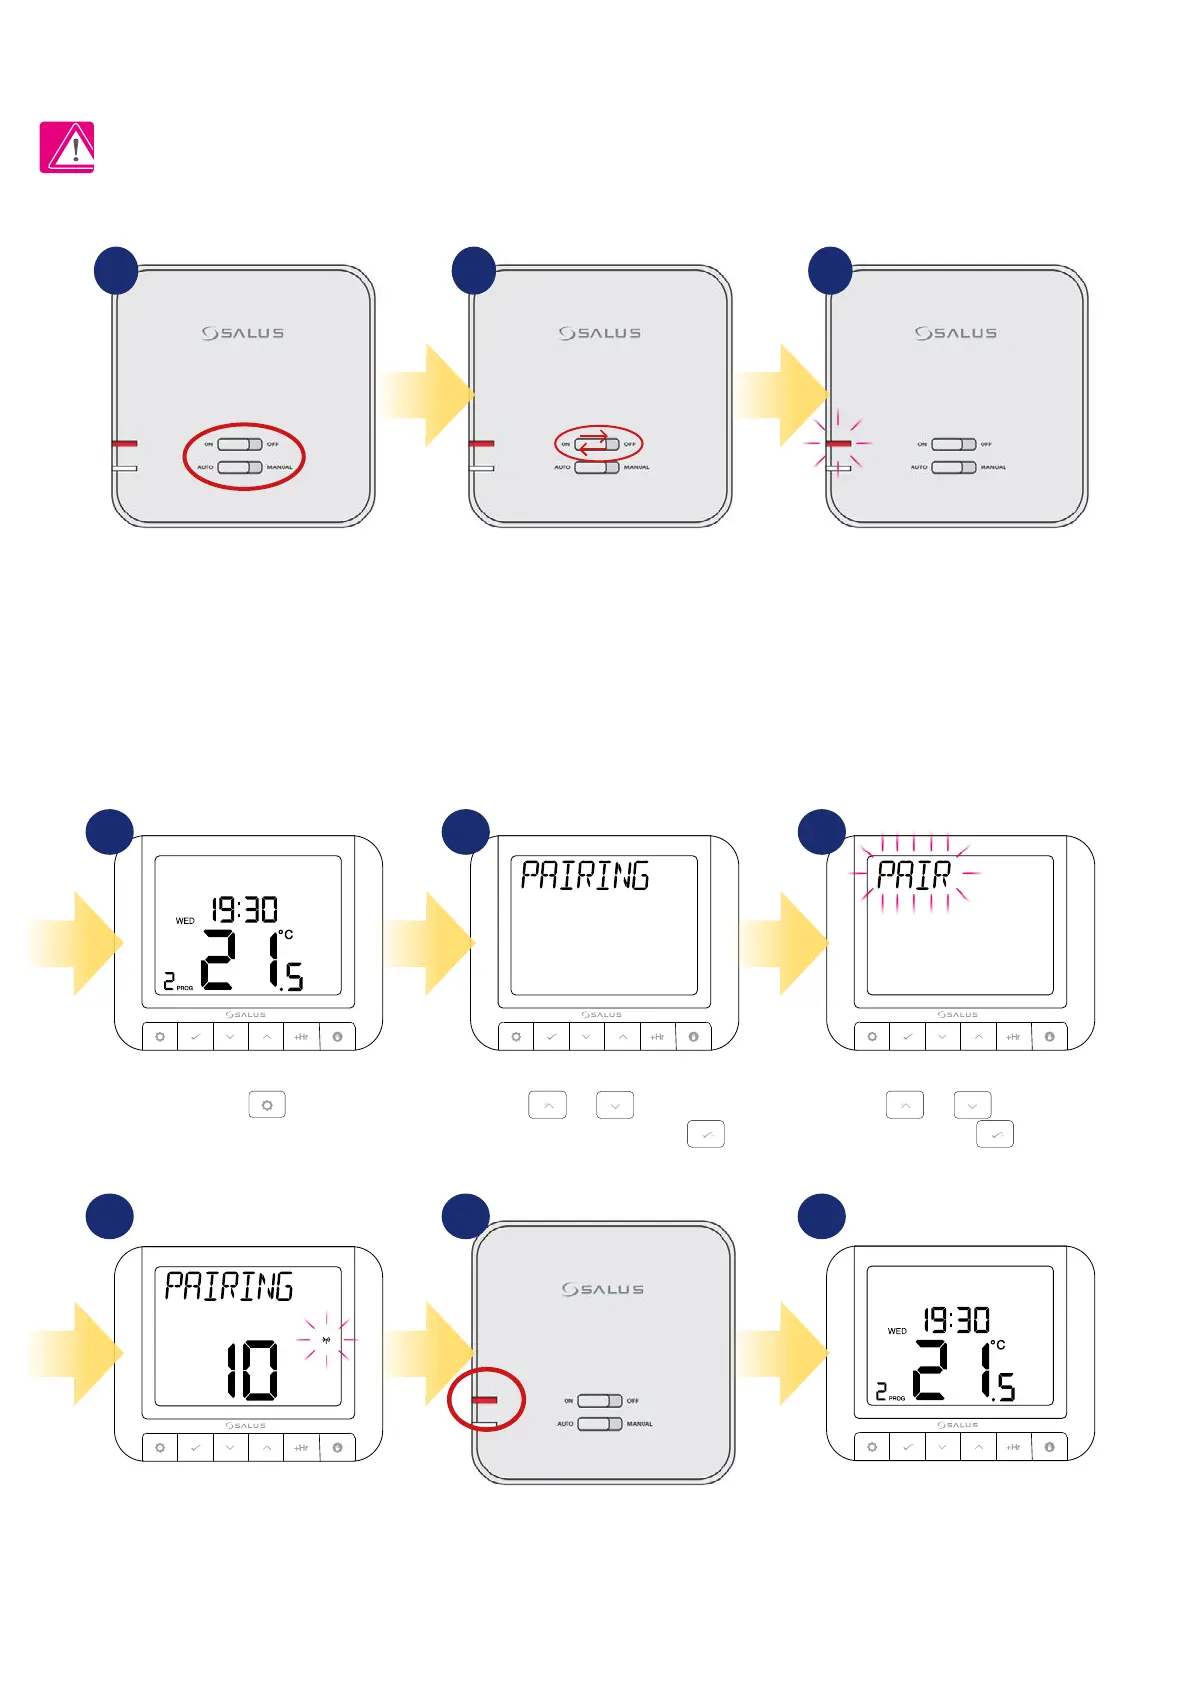
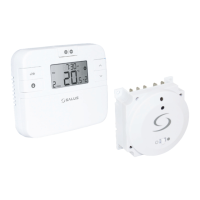
6. RT520RF thermostat pairing with the receiver
The pairing process takes
up to 10 minutes.
Using or , select PAIR
and press .
Press
.
After all, thermostat will go back to
the main screen.
Using
or , navigate to
PAIRING submenu and press .
The word PAIRING in the user settings means the function of synchronizing the transmitter with the receiver again, if it has been removed.
WARNING!
IN THE SET RT520RF THE THERMOSTAT IS FACTORY PAIRED WITH THE RECEIVER!
In order to pair the devices correctly, you must rst prepare the receiver for synchronization!
If you want to re-pair the devices with
each other, make sure that the receiver
is disconnected from the power supply
and the switches on it are in the AUTO
and ON positions. Then connect the
receiver to the power supply and wait
for the red diode to glow continuously.
Move the top switch to the OFF
position with a quick motion and
back to the ON position.
The red LED will start blinking, which
will conrm that the receiver has
entered the pairing mode.
1 2 3
When the red diode on the receiver
lights up continuously, the devices
have been paired on a new frequency.
4 5 6
7 8 9
3