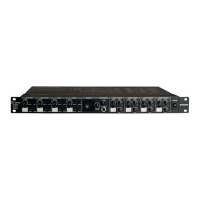
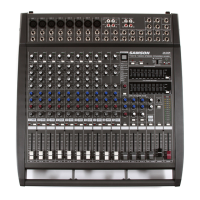
Using the Ducker
The S zone allows you to set up a sophisticated music and
paging system where the background music will auto-
matically lower when an announcement is made. This
automatic level control is known as Ducking. The S zone’s
ducker can operate with either one or two microphones al-
lowing two zone paging. Plus, you can even use a line level
source to duck another line level source (for example: ap-
plications like one CD player audio advert ducking another
playing background music).
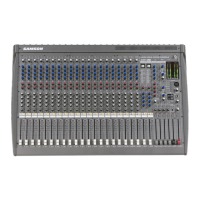
Setting The DUCK ENABLE switches
The S zone can use either Channel 1, 2 or even Channel 1
and 2 to duck the line inputs connected to channel three
and four. You can even set Channel 1 as a Master channel
which will duck the line inputs connected to Channel 3
and 4 and the mic and/or line connected to Channel 2.
The next section details the operation of the DUCK EN-
ABLE switches located on the right side of the S zone’s rear
panel.
Channel 1 DUCK ENABLE
When the Channel 1 DUCK ENABLE switch is pressed in,
when ever signal is present at the input of Channel 1 the
level of the inputs connected to Channel 3 and 4 will
automatically be lowered by the amount set by the DUCK
TRIM control. Once there is no input present on Channel 1,
the level of the inputs connected to Channel 3 and 4 will
be returned to their normal level. Therefore, you can con-
nect a microphone to Channel 1’s input and a CD player
to Channel 3’s input, press the Channel 1 DUCK ENABLE,
and whenever you speak into the microphone, the back-
ground music will be lowered. When you stop speaking,
the background music will returned to the original level.
You can set the DUCK ENABLE on Channel 1 individually or
together with the Channel 2 DUCK ENABLE if you need to
have two microphones ducking the background music.
Operating the S zone
Channel 2 DUCK ENABLE
When the Channel 2 DUCK ENABLE switch is pressed in,
when ever signal is present at the input of Channel 2 the
level of the inputs connected to Channel 3 and 4 will
automatically be lowered by the amount set by the DUCK
TRIM control. Once there is no input present on Channel 2,
the level of the inputs connected to Channel 3 and 4 will
be returned to their normal level. Therefore, you can con-
nect a microphone to Channel 2’s input and a CD player
to Channel 3’s input, press the Channel 2 DUCK ENABLE,
and whenever you speak into the microphone, the back-
ground music will be lowered. When you stop speaking
the background music will returned to the original level.
You can set the DUCK ENABLE on Channel 2 individually or
together with the Channel 1 DUCK ENABLE if you need to
have two microphones ducking the background music.
CHANNEL 1 MASTER
If you are using a microphone or line level signal to duck
the level of the inputs connected to Channels 2, 3 and 4,
you can use the CHANNEL 1 MASTER switch so that Chan-
nel 1 will have priority over all the other inputs. With the
CHANNEL 1 MASTER selected, when signal is present at
the input connected to Channel 1, all other inputs will be
lowered by 10dB.
ENGLISH
16