iDCS 100 INSTALLATION
TECHNICAL MANUAL PART 3 JUNE 2002
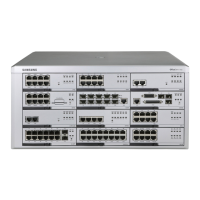
3.1
PART 3. INSTALLING PRINTED CIRCUIT CARDS
Unpack and inspect each card before installing. Check for signs of physical damage. If
any damage is detected, do not attempt to install. Contact Samsung Technical Support
immediately.
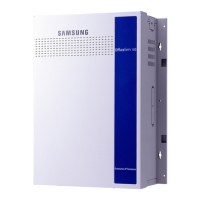
3.1 iDCS MEM3 CARD (Figure 3–2)
Make sure that the BACK UP switch is in the OFF position. Insert the iDCS MEM3 card
in the KSU slot labeled MEM (see Figure 3–1). Push firmly in the middle of both card
ejectors on the iDCS MEM3 card to ensure that it is fully inserted into the backplane
connector.
To prevent accidental damage to the iDCS MEM3 card, the MEM connector on the
backplane is positioned to mate only with memory cards. Other interface cards will not
mate with this connector and the iDCS MEM3 card will not mate with any other
connector.
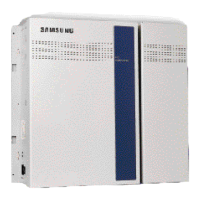
3.2 iDCS MEM4 CARD (Figure 3–3)
Make sure that the BACK UP switch is in the OFF position. Insert the iDCS MEM4 card
in the KSU slot labeled MEM (see Figure 3–1). Push firmly in the middle of both card
ejectors on the iDCS MEM4 card to ensure that it is fully inserted into the backplane
connector.
To prevent accidental damage to the iDCS MEM4 card, the MEM connector on the
backplane is positioned to mate only with memory cards. Other interface cards will not
mate with this connector and the iDCS MEM4 card will not mate with any other
connector.
3.3 2 SLI CARD (Figure 3–4)
This card has no selectable options. Insert the 2 SLI card into the appropriate slot (see
Figure 3–1). Push firmly in the middle of both card ejectors to ensure that it is fully
inserted into the back plane connector.
3.4 SMISC1 CARD (Figure 3–5)
There are no options to select on this card. Insert the SMISC1 card into the appropriate
slot (see Figure 3–1). Push firmly in the middle of both card ejectors to ensure that it is
fully inserted into the back plane connector.
NOTE: Only one SMISC1/2 card can be installed in a system.
Install the SMODEM card, if required, onto the SMISC card before installing the
SMISC card.

 Loading...