E-
17
ENGLISH
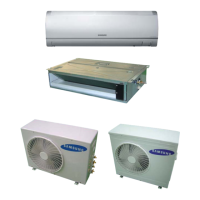
INSTALLING THE
I
NDOOR UNIT
Prepare a little water about 5 liter.
Open the cover of water supply intake by turning and pulling the cover.
1
Pour water into the the indoor unit as shown in figure.
2
Confirm that the water flows out through the drain hose.
3
Testing the drainage
Water supply intake
If you do not pour water inside the water supply intake,
water may spill from the indoor unit.
NN
NN
oo
oo
tt
tt
ee
ee
Reassemble the cover of water supply intake.
4
✴✴026/035✴✴
✴✴052✴✴
CC
CC
AA
AA
UU
UU
TT
TT
II
II
OO
OO
NN
NN
When not installing the drain pump
Do not give the hose upward gradient after
the connection port.
This will cause water to flow backwards when
the unit is stopped, resulting in water leaks.
Do not apply force to the piping on the unit side
when connecting the drain hose. The hose should
not be allowed to hang loose from its connection to
the unit. Fasten the hose to a wall, frame or other
support as close to the unit as possible.
Upward gradient
Support pieces
Ceiling
Ceiling
0.79 inch or more
21.65 inch or less
Ceiling
Flexible
hose
1/100
or more
When installing the drain pump
( 026/035 )
When installing a flexible hose, the difference of
pivot of a drain hose port and a drain hose must
be
within 0.79 inch. If the difference of each pivot
is more
than 0.79 inch, or a flexible hose is bent
steepl
y, a flexible hose may leak.
29.5 inch or less
Ceiling
When installing the drain pump ( 052 )
If
it is necessary to increase the height of the
drain
hose somewhat, the portion directly after
29.5
inch. If it is raised higher than 29.5 inch,
there
can be water leaks.
MH***FEEA IM_E_26174 5/11/06 4:23 PM Page 17
 Loading...