Alignment and adjustment
Samsung Electronics 5-3
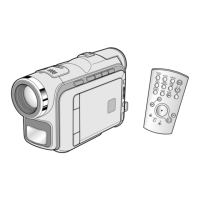
The function buttons on the Rear Board are used to control the camcorder additionally,
These buttons should be used for adjustment of the camera section.
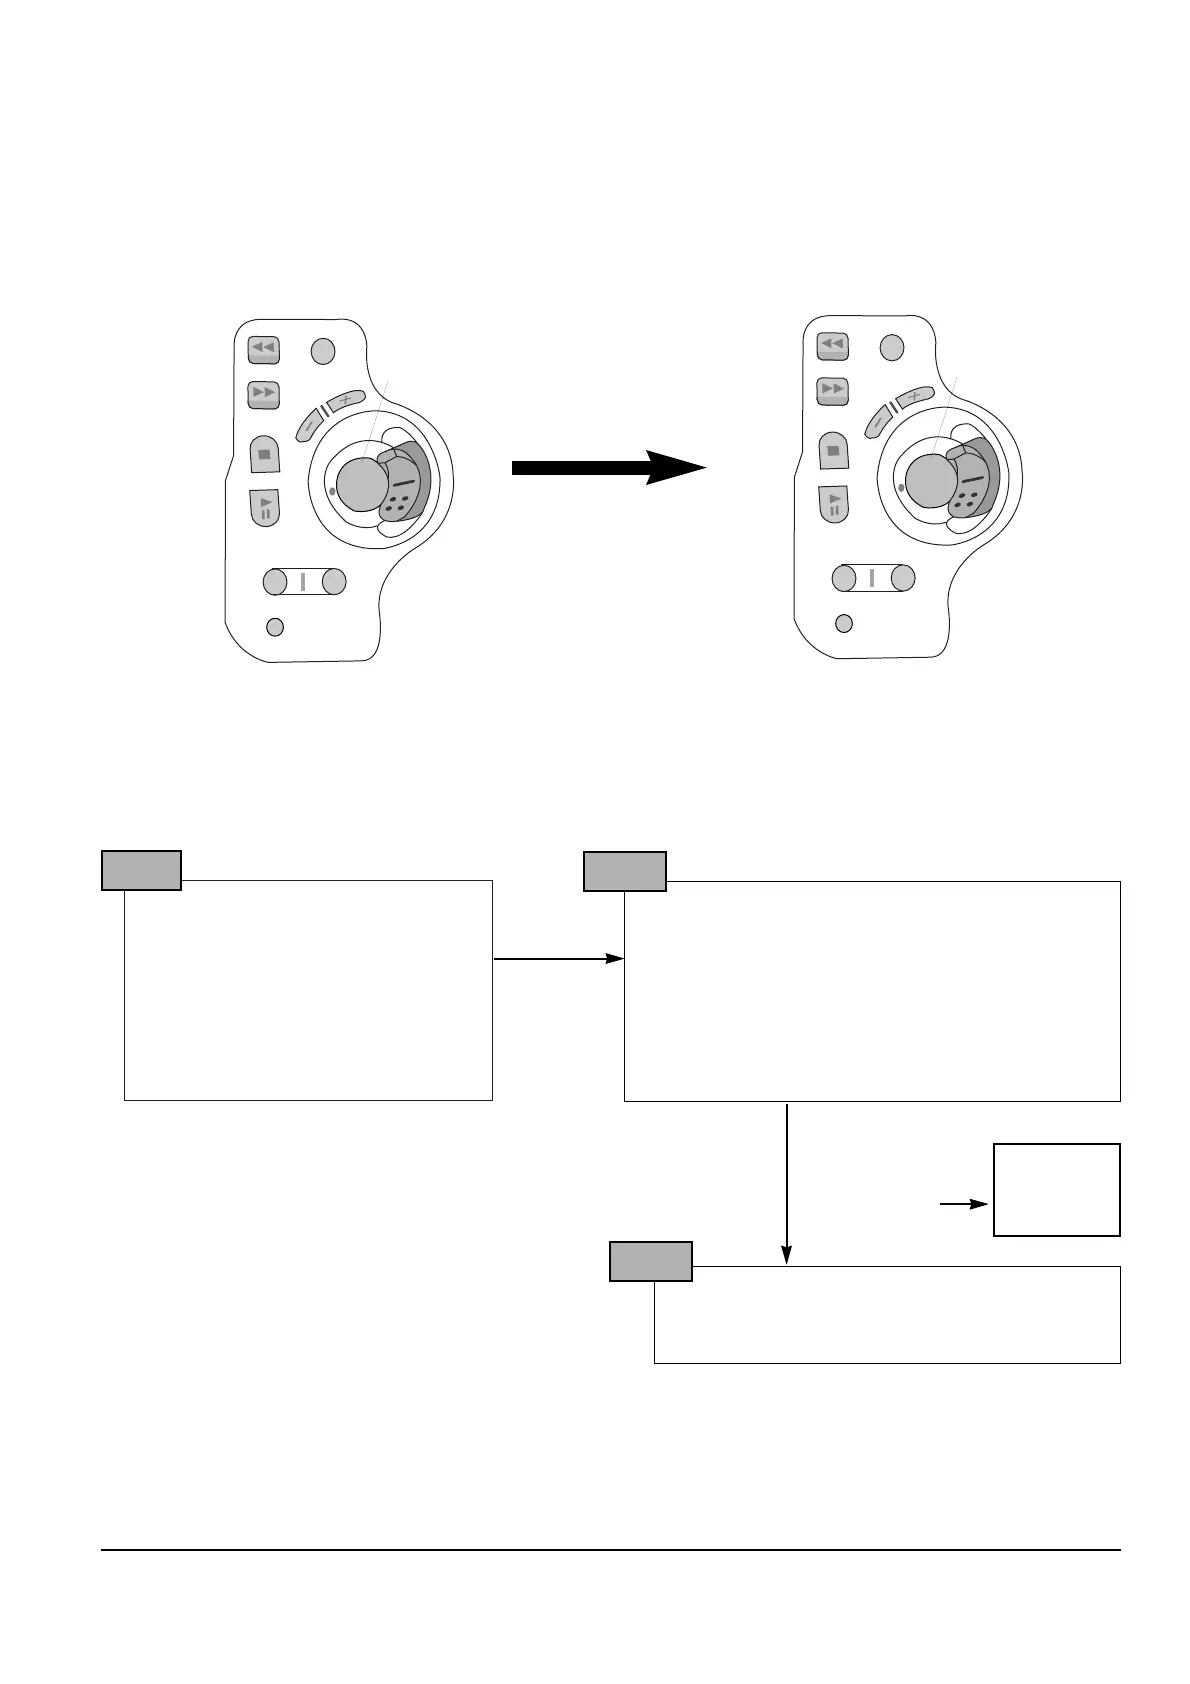
Rear Board for camcorder adjustment
Figure of button placement when Rear Board is
used for service adjustment.
Reassignment
in the
adjustment mode
Note : In service adjustment mode, button names are different from those in customer camera function control
mode. EX) Start/stop button is the same as confirm.
5. How to get into service ÒADJUSTÓ mode
1. Remove the lithium battery from the
camcorder.
2. Connect the power source (battery/
DC cable).
3. Eject the tape if it is in the unit.
4. Set the power switch of the
camcorder to ÒCAMERAÓ position.
5. Set OSD on state.
STEP 1
1. PRESS ÒDSEÓ Button 3 times on the camcorder.
2. It goes to into ÒNEGATIVEÓ mode.
3. Press and hold the ÒEJECTÓ button and
ÒDISPLAYÓ button on the camcorder at the same
time for more than 3 seconds. Then unit goes into
service mode.
STEP 2
On screen display show “CD HALLA XX XX”
CAMERA ADJUSTMENT mode has successfully
been activated.
STEP 3
NEGATIVE
OSD
Note : When ÒXX XXÓ is shown in service adjustment precedures, this indicates variable values.