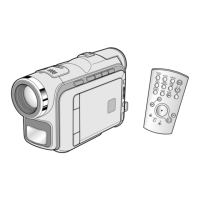
Alignment and adjustment
5-20 Samsung Electronics
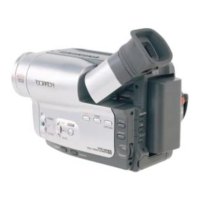
5-2-4 CVF Adjustment
5-2-4 (a) PREPARATION
1. How to get into the CVF adjust mode.
Note :
1. The function buttons on the Rear Board are used to control the CVF adjustment.
2. After each adjustment step is completed, OSD shows ÒCONFIRM!Ó.
3. EEPROM(ICE02) stores confirmed adjustment value of each adjustment step.
4. After finishing the adjustment, reset the main power source (OFF-ON) to memorize the adjustment data in
EEPROM.
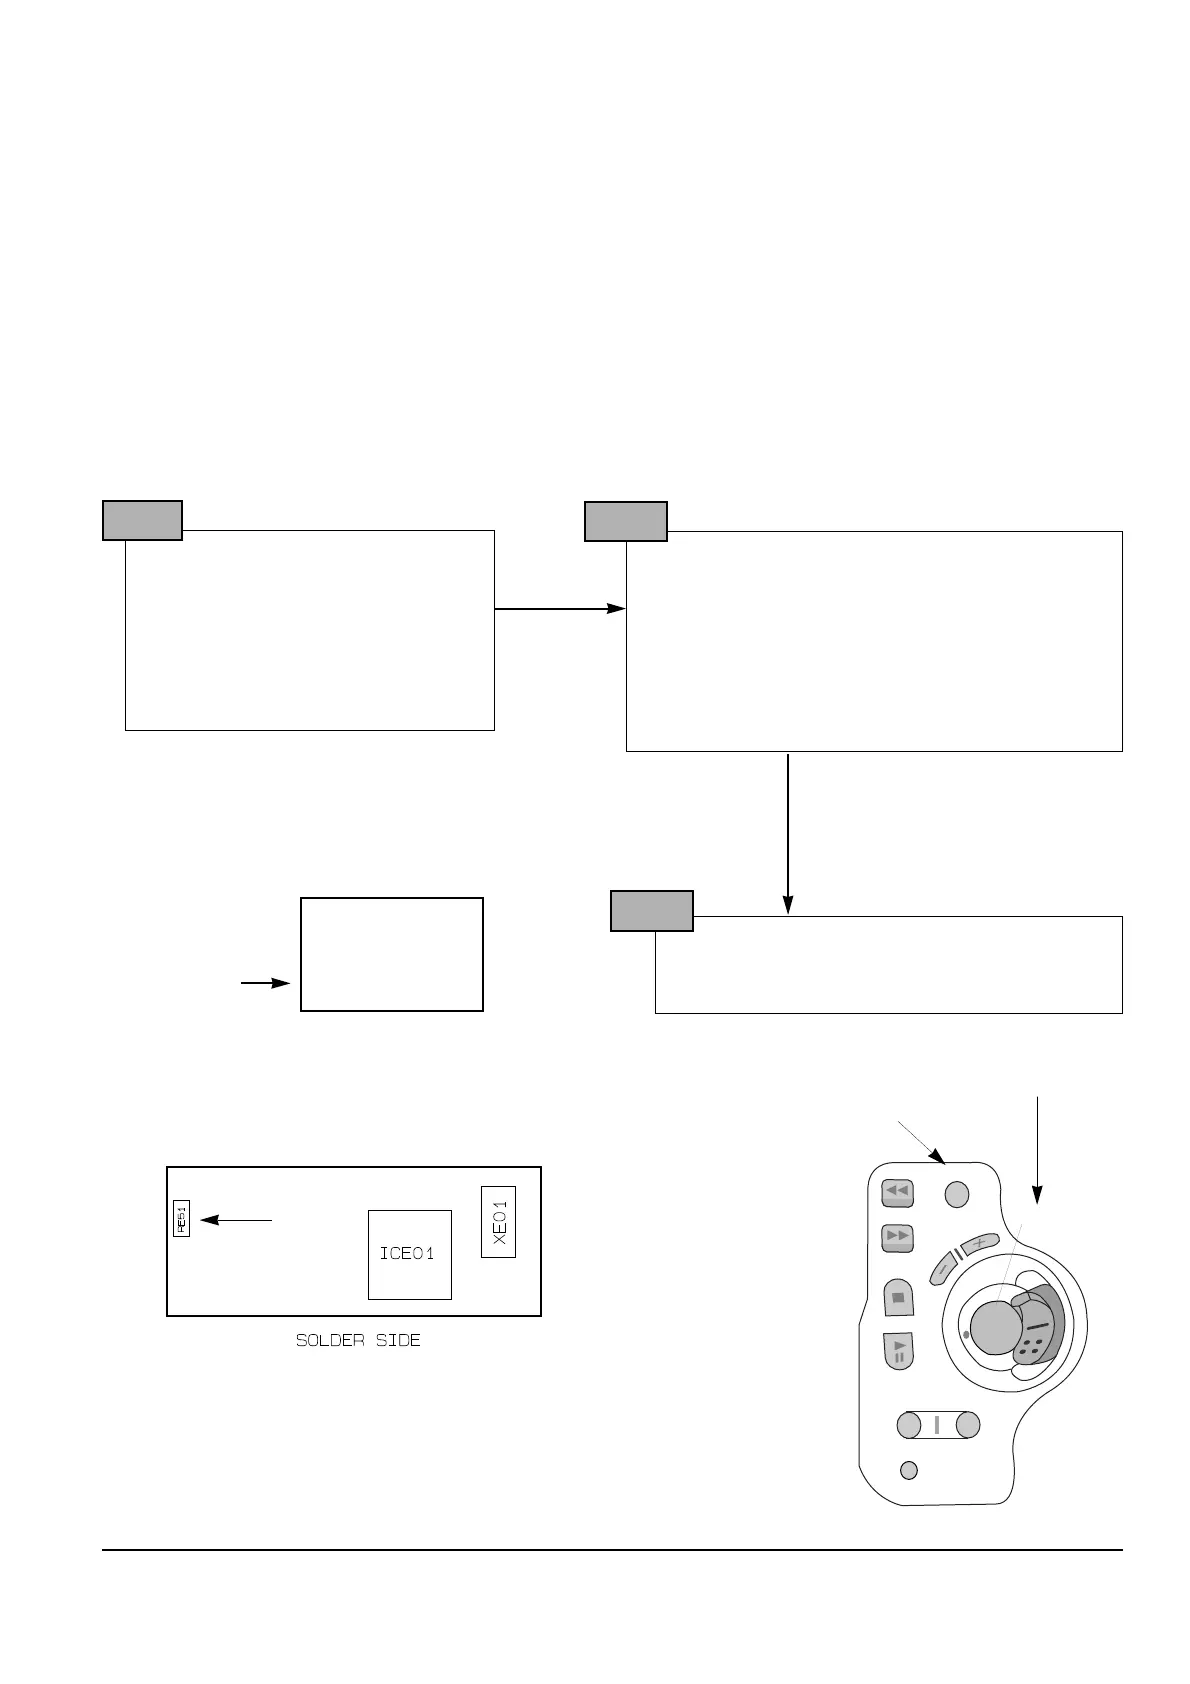
1. Remove RE51 (1.5 kohm) and
place a jumper or solder land
(two point) on the CVF PCB.
2. After adjustment is completed,
reinstall RE51 to its original position.
See the below figure for the location
of RE51
STEP 1
1. Connect the power source (battery/DC cable).
2. Set the CAMERA/VCR switch of the camcorder to
ÒVCRÓ position.
3. Set OSD on state.
4. Press and hold the ÒEJECTÓ button and
ÒSTOPÓ button on the camcorder at the same
time for more than 3 seconds.
Then unit goes into service mode.
STEP 2
On screen display show “8. PLL EPR:XX EVR:XX”
CAMERA ADJUSTMENT mode has successfully
been activated.
STEP 3
CVF
8. PLL
EPR:XX EVR:XX
OSD
Note : When ÒXX XXÓ is shown in service adjustment precedures, this indicates variable values.
 Loading...