20 Voice Recording
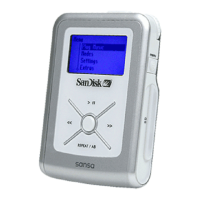
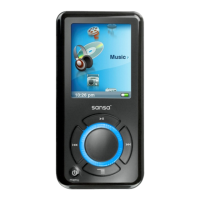
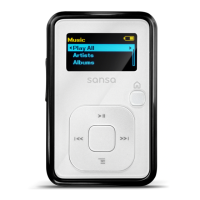
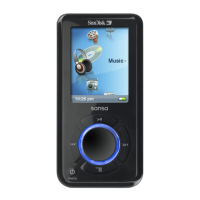
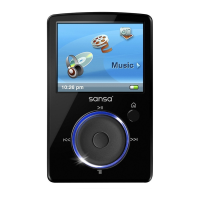
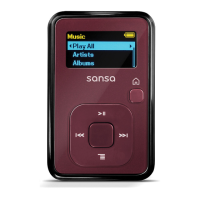
The control buttons and ports for your player are described in The Basic
Controls section on Page 5. More detailed descriptions on how the controls
work is included in the step-by-step instructions throughout this document. In
addition, the Navigating the Software Menus chapter on Page 25 descri-
bes the onscreen menus that appear when you use these controls.
Record voice to file
Once the Recorder screen appears, you can record sound. Follow these
steps:
1. Press the Power/Menu Button once. The SanDisk logo and Sansa logo
will briefly appear onscreen then disappear. (Can’t find the Power/Menu
Button on your player? See The Basic Controls section on page 5.)
2. Press the Power/Menu Button on the right side of your player. The soft-
ware Menu will appear. Press the Repeat/AB/Down Button or Play/Pau-
se/Up to highlight Recorder mode.
3. Press the Select Button to enter Recorder mode. Press the Play/Pause/
Up Button to start recording.
4. During the recording, If the Play/Pause/Up Button is pressed, the recor-
ding will pause, and if the Play/Pause/Up Button is pressed again, the
recording will start again.
5. To stop recording, you have two choices:
Press the Repeat/AB/Down Button.
Press the Power/Menu Button.
Saving the recorded file
After the recording stops, you can save the recorded audio file. Follow these
steps:
1. After pressing the Repeat/AB/Down Button or Power/Menu Button to
stop recording, a message is displayed onscreen asking if you would
like to save the file or not.
2. Press Next/Fast Forward Button or Previous/Fast Reverse Button, to
toggle between (delete) and (save).
3. Press the Select Button to delete or save the file.

 Loading...