SETTING UP YOUR FREESAT+ BOX
Accessing the Main Menu
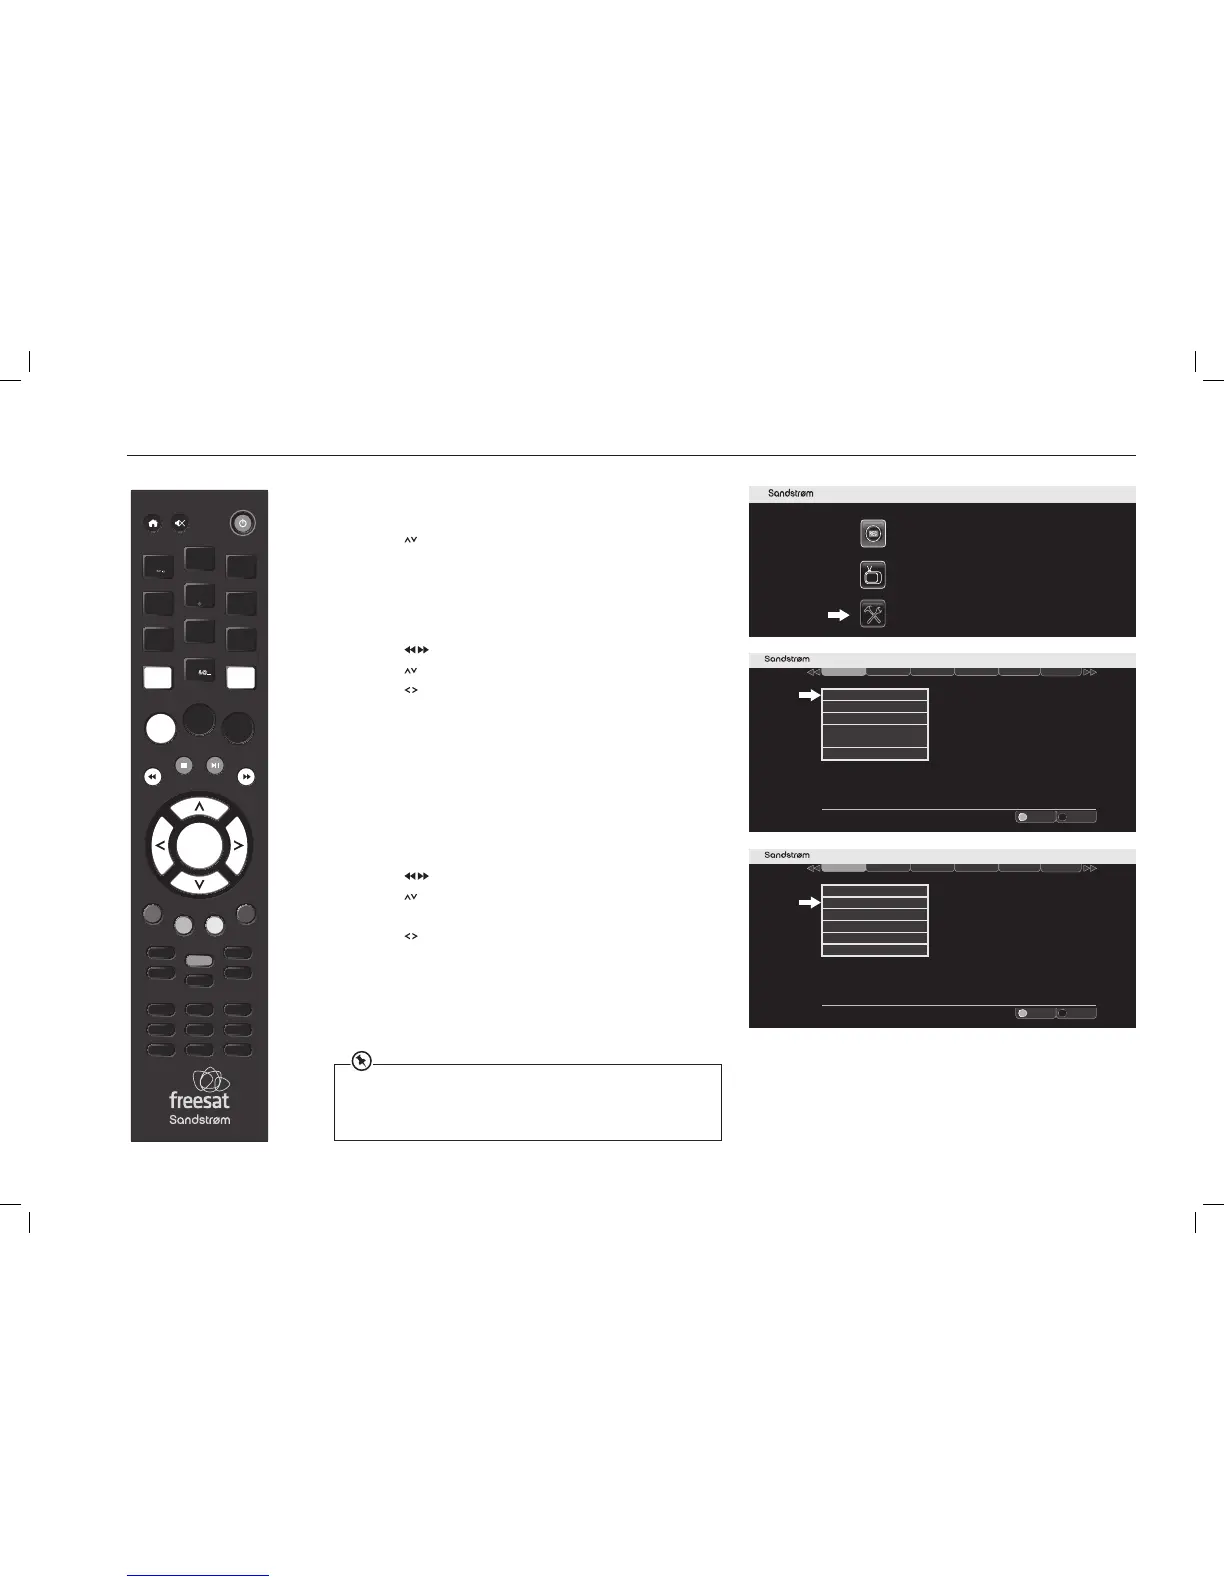
1. Press the MENU button to enter the Main Menu.
2. Press the
buttons to select Settings in the section bar and then
press the OK button to confirm.
3. Press the BACK button or the EXIT button to exit the main menu.
HDMI Output
1. Access the Settings menu.
2. Press the
buttons to select Display & Audio in the section bar.
3. Press the
buttons to select HDMI Output.
4. Press the
buttons to choose the correct resolution for your TV.
You should set the HDMI resolution to the highest that your TV can display
(see your TV’s instruction manual). If in doubt, set the resolution to 720p.
5. Press the OK button to confirm your choice.
6. Press the BACK button or the EXIT button to exit the main menu.
Digital Audio
This setting only applies if the Freesat box is connected via a digital optical
cable to an external audio receiver or amplifier using the S/PDIF connection.
1. Access the Settings menu.
2. Press the
buttons to select Display & Audio in the section bar.
3. Press the
buttons to select Digital Audio.
If the Freesat box is connected to a surround sound A/V system:
1. Press the
buttons to select “Bitstream”. This will pass a
multichannel digital signal to your AV system.
If the Freesat box is connected to a 2-channel (stereo) system:
1. Use the “Stereo” setting.
2. Press the OK button to confirm your choice.
3. Press the BACK button or the EXIT button to exit the main menu.
VOL +
O K
LIBRARY
MENU GUIDE
1
2
3
4
5
6
7
8
9
0
P +
P -VOL -
WIDE
AD SUB
AUDIO SYNC HDMI
TEXT
SWAP CH LIST
BACK EXIT
jkl
ghi
tuv
pqrs
wxyz
abc
def
mno
INFO
REC
Setting “Stereo” forces the digital output into two-channel mode. If you select “Stereo” and
you are using a multichannel (5.1 or 7.1) A/V system the surround channels (and possibly
the bass) may disappear.
Do NOT select the “Bitstream” output if you are using this Freesat box with a Stereo system.
If you do the sound will be distorted or may vanish completely!
 Loading...