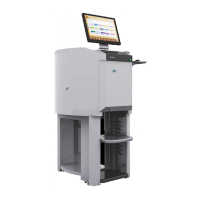
A2 Automatic Dispenser V3.0 6
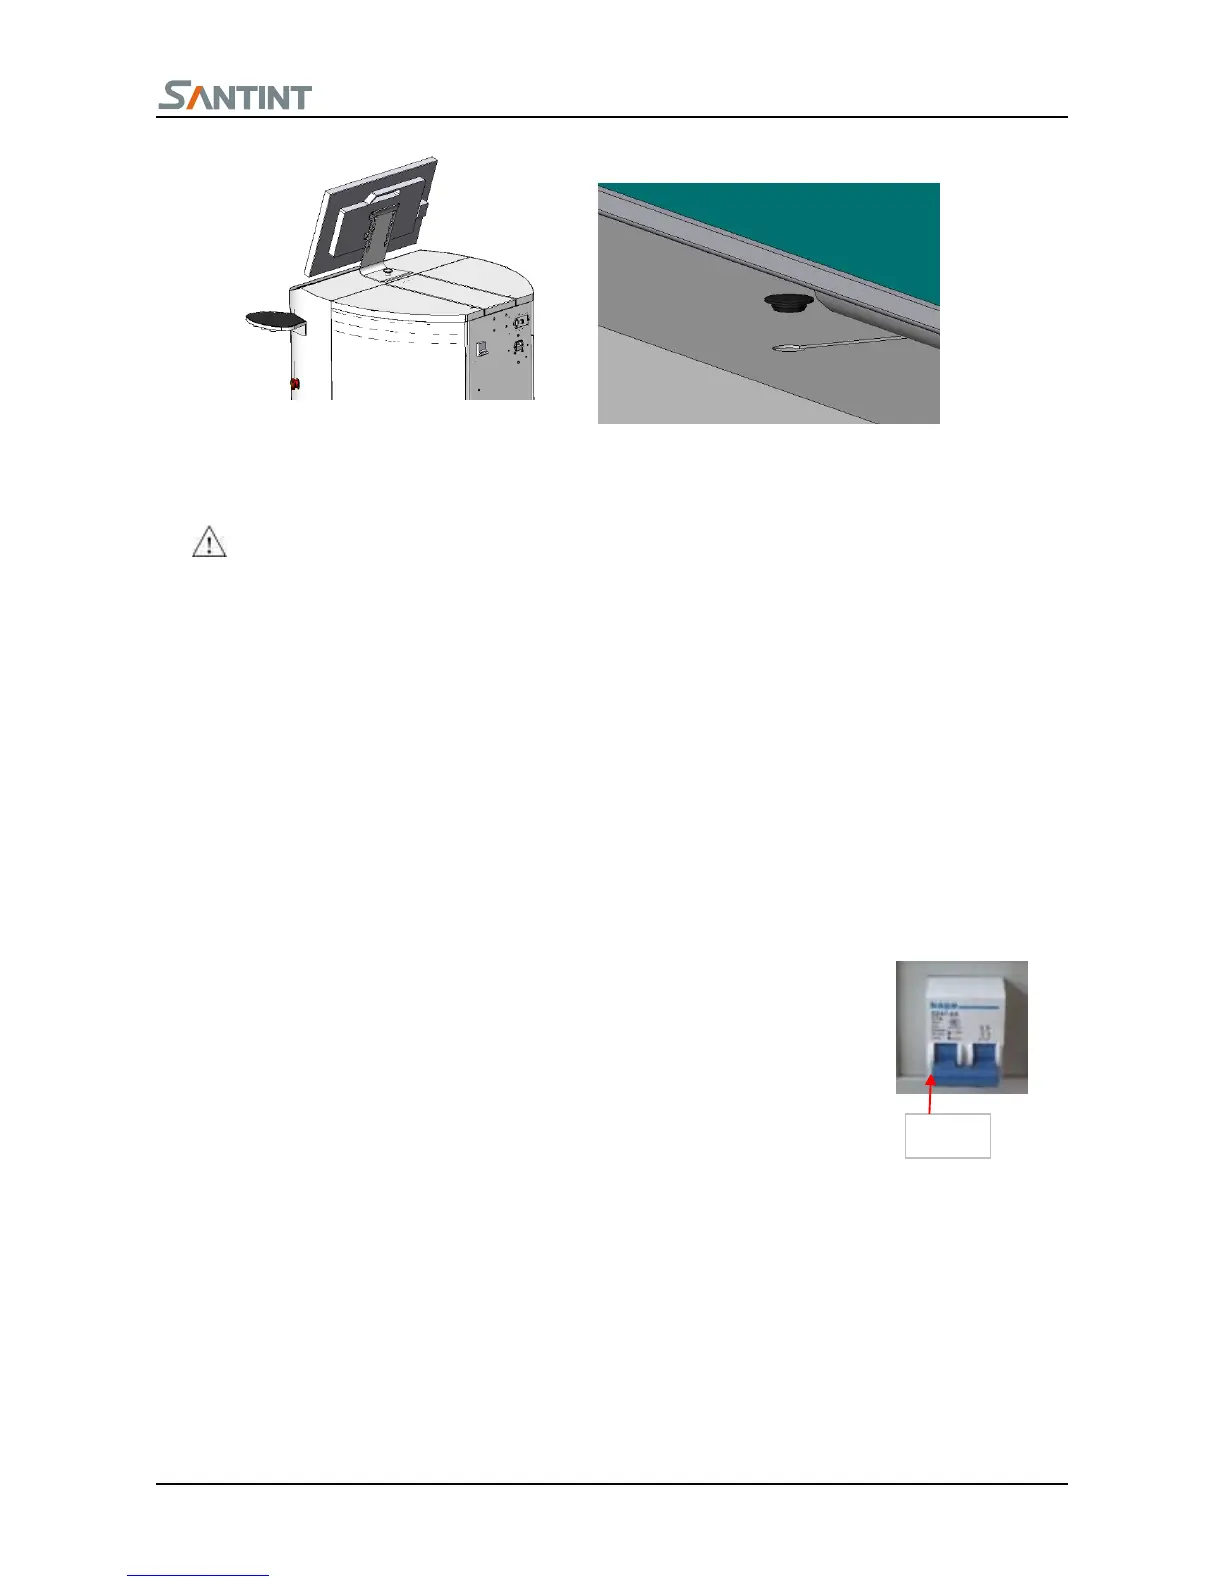
Connect the power supply wire, data wire with the monitor.
Connect the series port wire to the corresponding plugs, the installation is finished.
Hot plug of serial port line is prohibited
5
5
.
.
3
3
I
I
n
n
s
s
t
t
a
a
l
l
l
l
i
i
n
n
g
g
s
s
o
o
f
f
t
t
w
w
a
a
r
r
e
e
1. Turn on the switch on the bottom of the machine.
2. Open CD-ROM, put in the installing disk, run the CD-ROM;
See Software Manual for detail info about installation and using
6. Machine Adjustment
The machine has been tested before leaving factory, normally the professional go to your site to do machine
adjustment. If you don’t need, please install and adjust the machine under the guidance of the professional
6.1
S
S
o
o
f
f
t
t
w
w
a
a
r
r
e
e
a
a
d
d
j
j
u
u
s
s
t
t
m
m
e
e
n
n
t
t
1. Turn on the switch on the back of machine. Ensure that the emergency stop button
is on (if equips uninterruptable power supply, ensure that the power supply is on)
2. Open(double-click the icon)Color Expert 3.0 program
3. Machine begins to initialize, and pop up the below figure(See use introduction for details of how to use), if
there is abnormal sound coming from the machine, press emergency stop button and start problem solving.;
6
6
.
.
2
2
M
M
a
a
c
c
h
h
i
i
n
n
e
e
A
A
d
d
j
j
u
u
s
s
t
t
m
m
e
e
n
n
t
t
When the software shows Ready, please start to adjust the machine.
Check whether the piston is on the bottom; the initialization of turntable should be in normal condition.
Locate the paint can in the center of the loading plate. If there is no paint can or take away the paint can
1、如图所示,将左侧立板用
两个六角螺栓 M8×20、两个垫圈
8 通过底板固定到底梁上。
2、如图所示,区分小桶架板
总成、大桶架板总成、顶层架板总
成。