15
43
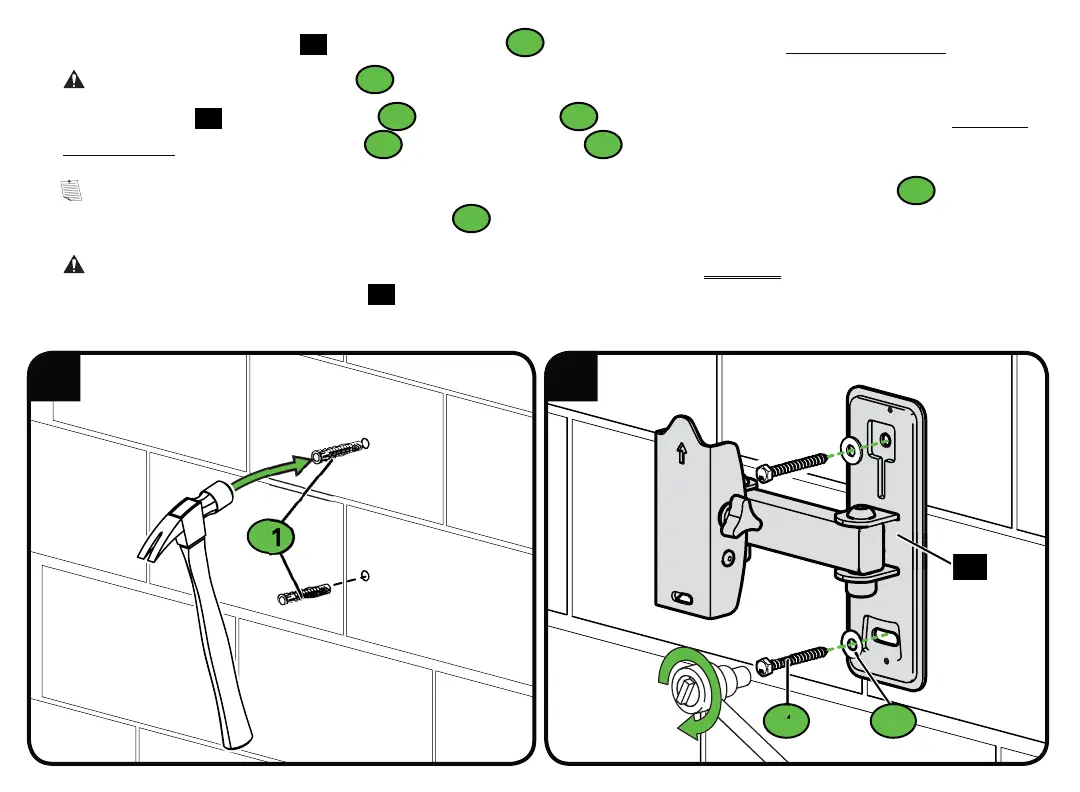
3. Remove the wall plate template
14
and insert two anchors
C1
(Fischer UX 10 x 60 - included in the Concrete Installation Kit*see page 6).
CAUTION: Be sure the anchors
C1
are seated flush with the concrete surface.
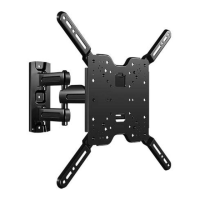
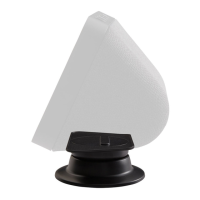
4. Install wall plate
15
using two lag bolts
C3
and two washers
C2
(use only the lag bolts and washers from the Concrete
Installation Kit*). Tighten the lag bolts
C3
only until the washers
C2
are pulled firmly against the wall plate.
NOTE: If needed, you can make small level adjustments to the wall plate by loosening the bottom lag bolt
C3
and shifting
the wall plate until level. Tighten the bottom lag bolt
C3
when adjustments are complete (see page 13).
CAUTION: Avoid potential personal injury or property damage! All lag bolts MUST BE firmly tightened to prevent
unwanted movement of the wall plate
15
.
Ensure the wall plate is securely fastened to the wall before continuing on to the
next step.
15
C1
C2C3