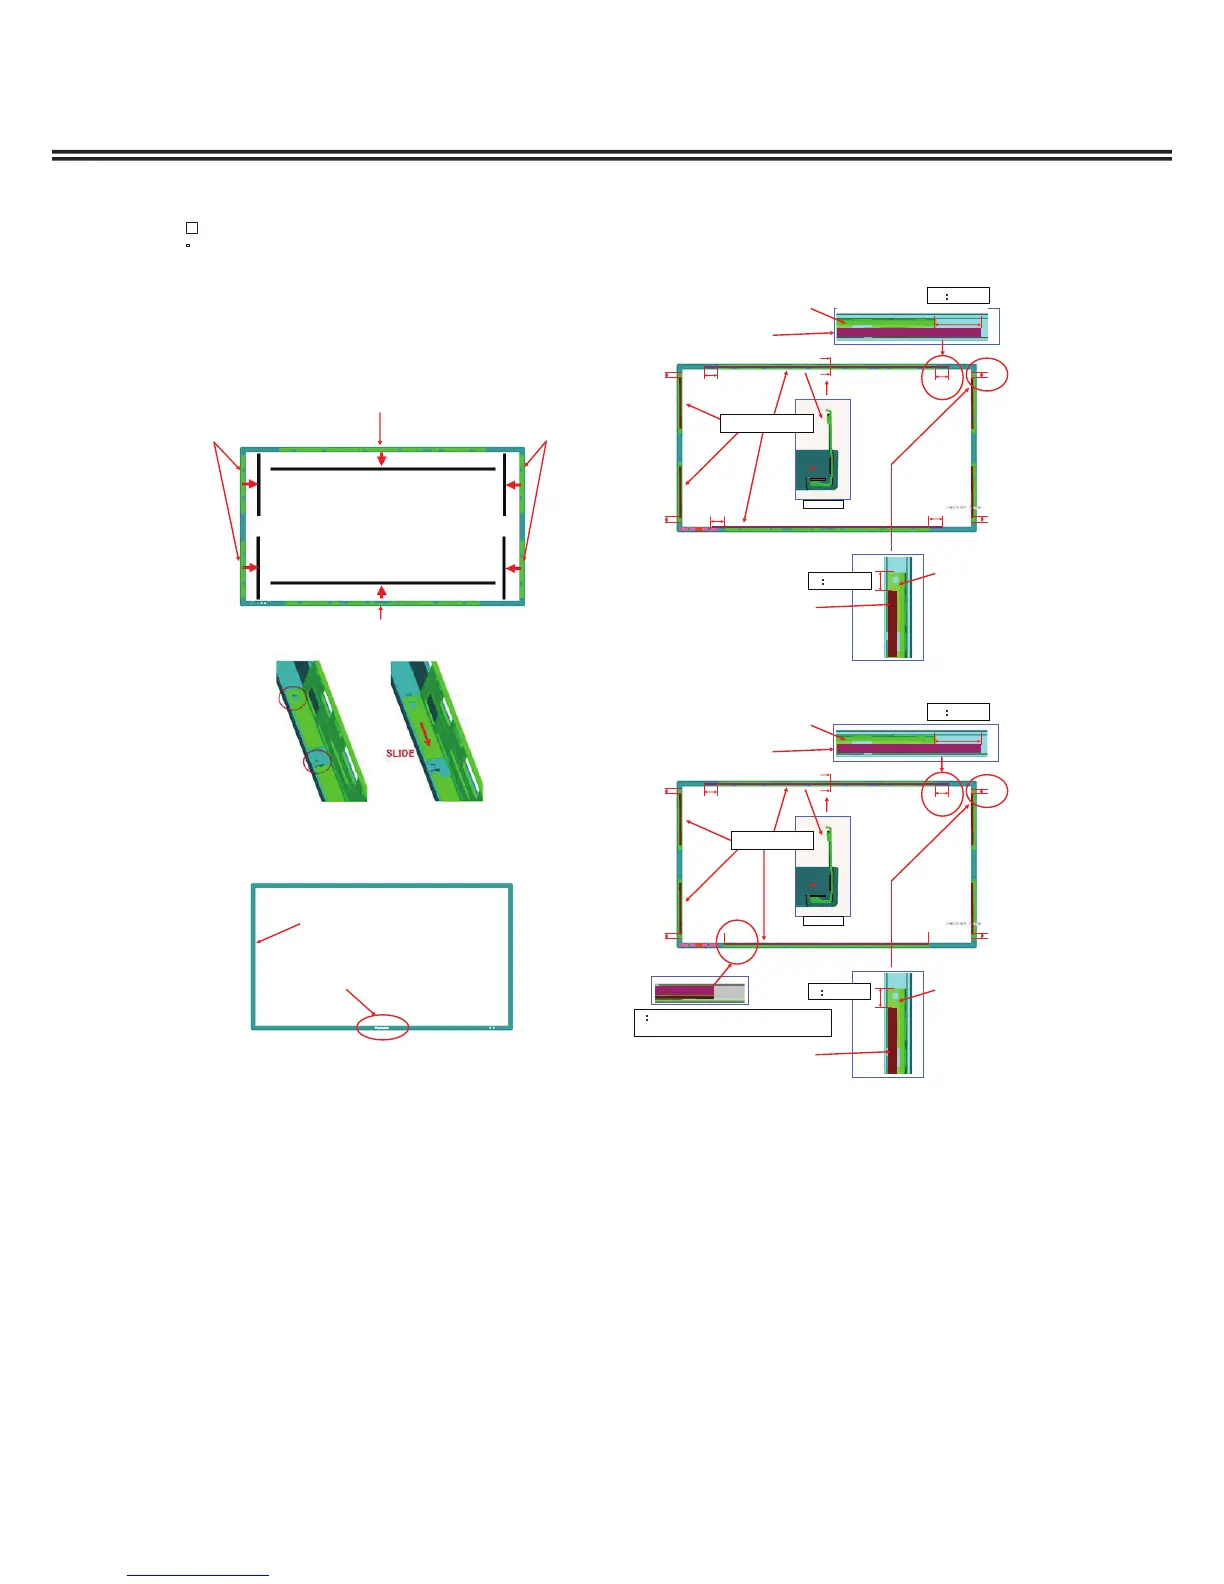
EasyManuals Logo

Sanyo PID-42NE1 Service Manual

Sanyo PID-42NE1
50 pages
To Next Page IconTo Next Page
To Previous Page IconTo Previous Page
Page #20 background imageLoading...
Page #20 background image
20
Disassembly and Assembly instructions
Precautions when replacing
 The parts that are necessary for replacement (spacer
   sheet, Sanyo badge, etc.) are not included. They
   are supplied as repair parts. Replace them at the
   same time as the cabinet front.
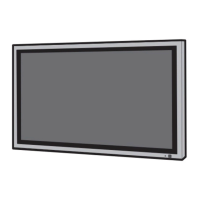
1. Remove the spacer sheet that is affixed to the inside of
the cabinet front.
2. Slide off the mounting and remove it from the cabinet front.
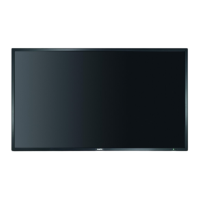
16. Cabinet front replacement
MTG C/F & C/B TOP
Mounting CF & CB
MTG C/F & C/B BTM
Spacer Sheet
Spacer Sheet
Spacer sheet
Spacer Sheet
S
p
acer Sheet
S
p
acer Sheet
42 t
yp
e
47 type
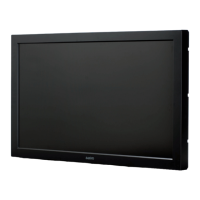
4. Install the RC+LED board onto the cabinet front.
5. Slide the mounting on and install it onto the cabinet front.
6. Affix the spacer sheet onto the mounting.
7. Install the cabinet front, that is prepared beforehand,
onto the set.
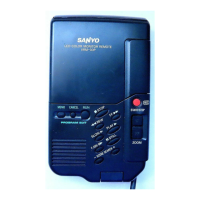
3. Affix the Sanyo badge to the repair cabinet
front beforehand.
Mountin
g
 CF & CB
CABINET
FRONT
BADGE
B50mm
A12.5mm
A
A
SEC.A-
A
B
A
B
B
B
A
A
A
SPACER SHEET
MTG C/F & C/B TOP
Mounting CF
& CB
Spacer sheet
Spacer sheet
B35mm
A12.5mm
A
A
SEC.A-
A
B
A
B
C
C
A
A
A
SPACER SHEET
MTG C/F & C/B TOP
Mounting CF
& CB
Spacer sheet
Spacer sheet
C0mm
The sheet is pasted from the edge.

Other manuals for Sanyo PID-42NE1

Questions and Answers:

Question and Answer IconNeed help?

Do you have a question about the Sanyo PID-42NE1 and is the answer not in the manual?

Sanyo PID-42NE1 Specifications

General IconGeneral
BrandSanyo
ModelPID-42NE1
CategoryMonitor
LanguageEnglish

Related product manuals