Do you have a question about the Sanyo PLC-SU51 and is the answer not in the manual?
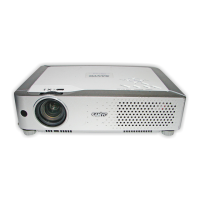
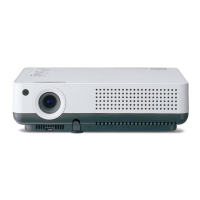
Compact size and weight for portability and ease of use.
Accepts various video and computer input signals.
Multi-scan system for quick computer output signal conformity.
Expands or compresses image size up to 16 times.
Reproduces faithful film quality from 3-2 pull-down video.
Prevents unauthorized use by a PIN code.
Operation menu available in 12 languages.
Reduces power consumption and maintains lamp life.
Terminal can be used as computer input or monitor output.
Captures image for starting display or interval use.
Corrects keystone and adjusts PC display with one button.
Allows selection of projection lamp brightness.
Allows using the board as a projection screen.
Warnings to reduce risk of fire or electric shock and eye damage.
Maintaining proper airflow for reliable operation and preventing overheating.
Proper placement to avoid fire hazards and ensure ventilation.
Precautions for carrying and transporting the projector.
FCC compliance statement and interference guidelines.
Requirements for AC power cords in different regions.
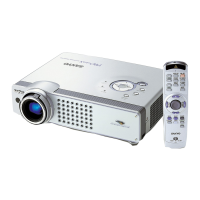
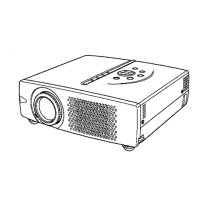
Identifies parts on the front of the projector.
Identifies parts on the back of the projector.
Identifies parts on the bottom of the projector.
Details of the various input/output terminals on the rear.
Describes the buttons and indicators on the top of the projector.
Explains the functions of buttons on the remote control.
How to use the laser pointer and presentation spotlight/pointer.
Using the remote as a wireless mouse and its operating range.
Managing remote control codes and battery installation.
Guidelines for placing the projector for optimal projection.
How to adjust the projector's feet for leveling and tilting.
Instructions for connecting the power cord to the projector.
How to connect the projector to a computer for input.
How to connect the projector to video devices.
How to connect component video sources.
Step-by-step guide to power on the projector.
Procedure for entering a PIN code and explanation of the feature.
Instructions for safely powering off the projector.
Navigating and using the projector's on-screen menu system.
Overview of the menu categories for computer and video sources.
Adjusting zoom, focus, and using the auto setup function.
Adjusting keystone, freezing, and blacking out the image.
Using the timer and adjusting sound settings.
How to select computer input sources (Computer 1, Computer 2).
Automatically tuning to computer signals using Multi-scan.
Manually choosing the computer system setting.
Automatically adjusting PC display parameters.
Precisely adjusting PC signal parameters manually.
Adjusting display area, clearing data, and storing settings.
Selecting predefined image levels for computer sources.
Manually adjusting image parameters like contrast, brightness.
Resizing the image to fit the screen.
Selecting Video or S-Video input sources.
Selecting Component or RGB Scart input sources.
Setting the video system (PAL, NTSC, etc.) for optimal display.
Selecting predefined image levels for video sources.
Manually adjusting image parameters for video sources.
Enhancing video quality with Progressive and Film modes.
Resizing video images for display.
Selecting the on-screen menu language.
Enabling Auto Keystone and Auto PC adjustment.
Controlling blue back screen and on-screen messages.
Managing logo display and preventing unauthorized PIN changes.
Configuring startup logo, image capture, and display orientation.
Managing standby, power consumption, startup, and lamp brightness.
Using pointer, managing remote codes and USB connectivity.
Locking controls and setting up PIN code security.
Detailed settings for the PIN code lock function.
Selecting fan modes and resetting all settings to factory defaults.
Interpreting warning and power indicators for maintenance.
Instructions for cleaning the projector's air filters.
How to attach the lens cover for protection.
How to clean the projector's lens.
How to clean the projector's exterior.
Step-by-step guide for replacing the projection lamp.
Resetting the lamp replace counter after lamp replacement.
Common problems and their solutions.
Visual representation of the projector's menu structure.
Understanding indicator lights for projector status.
List of supported computer resolutions and frequencies.
Detailed technical specifications of the projector.
List of included accessories and optional parts.
Pinouts and descriptions of the projector's terminals.
Space to record PIN codes for security.