19
The Sapling Company, Inc.
670 Louis Drive
Warminster, PA 18974
USA
P. (+1) 215.322.6063
F. (+1) 215.322.8498
www.sapling-inc.com
5
6 7
Flush Mounted Clock Mechanical Installation
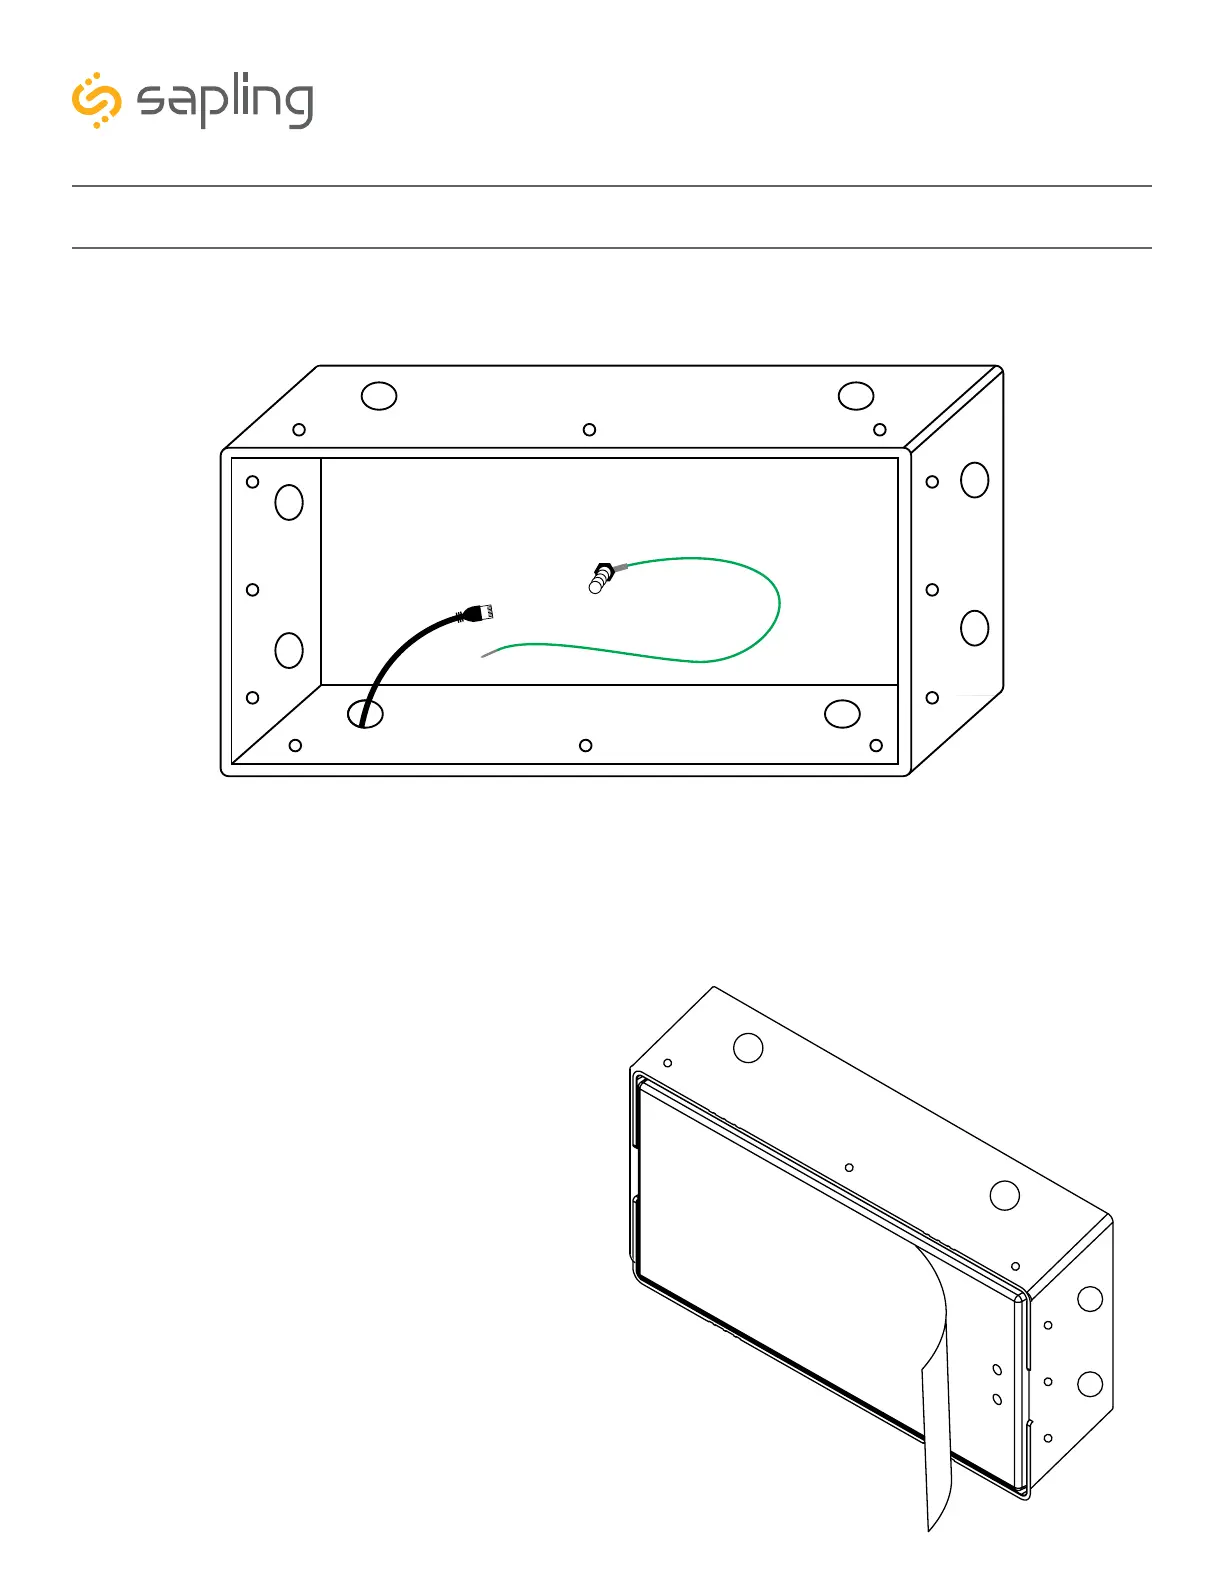
5) Run the network cable from the wall into the clock gang box through one of the knockout holes as
shown in the below image.
6) To proceed with the installation instructions,
please follow the “Uniform Stage Installation”
section in this manual. Once done, to complete the
flush mounted clock installation, follow step 7.
7) With the clock powered and properly
functioning, the last step would be to remove the
adhesive clear protective film from the clock filter,
as shown in the below image.