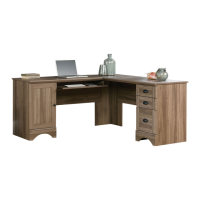
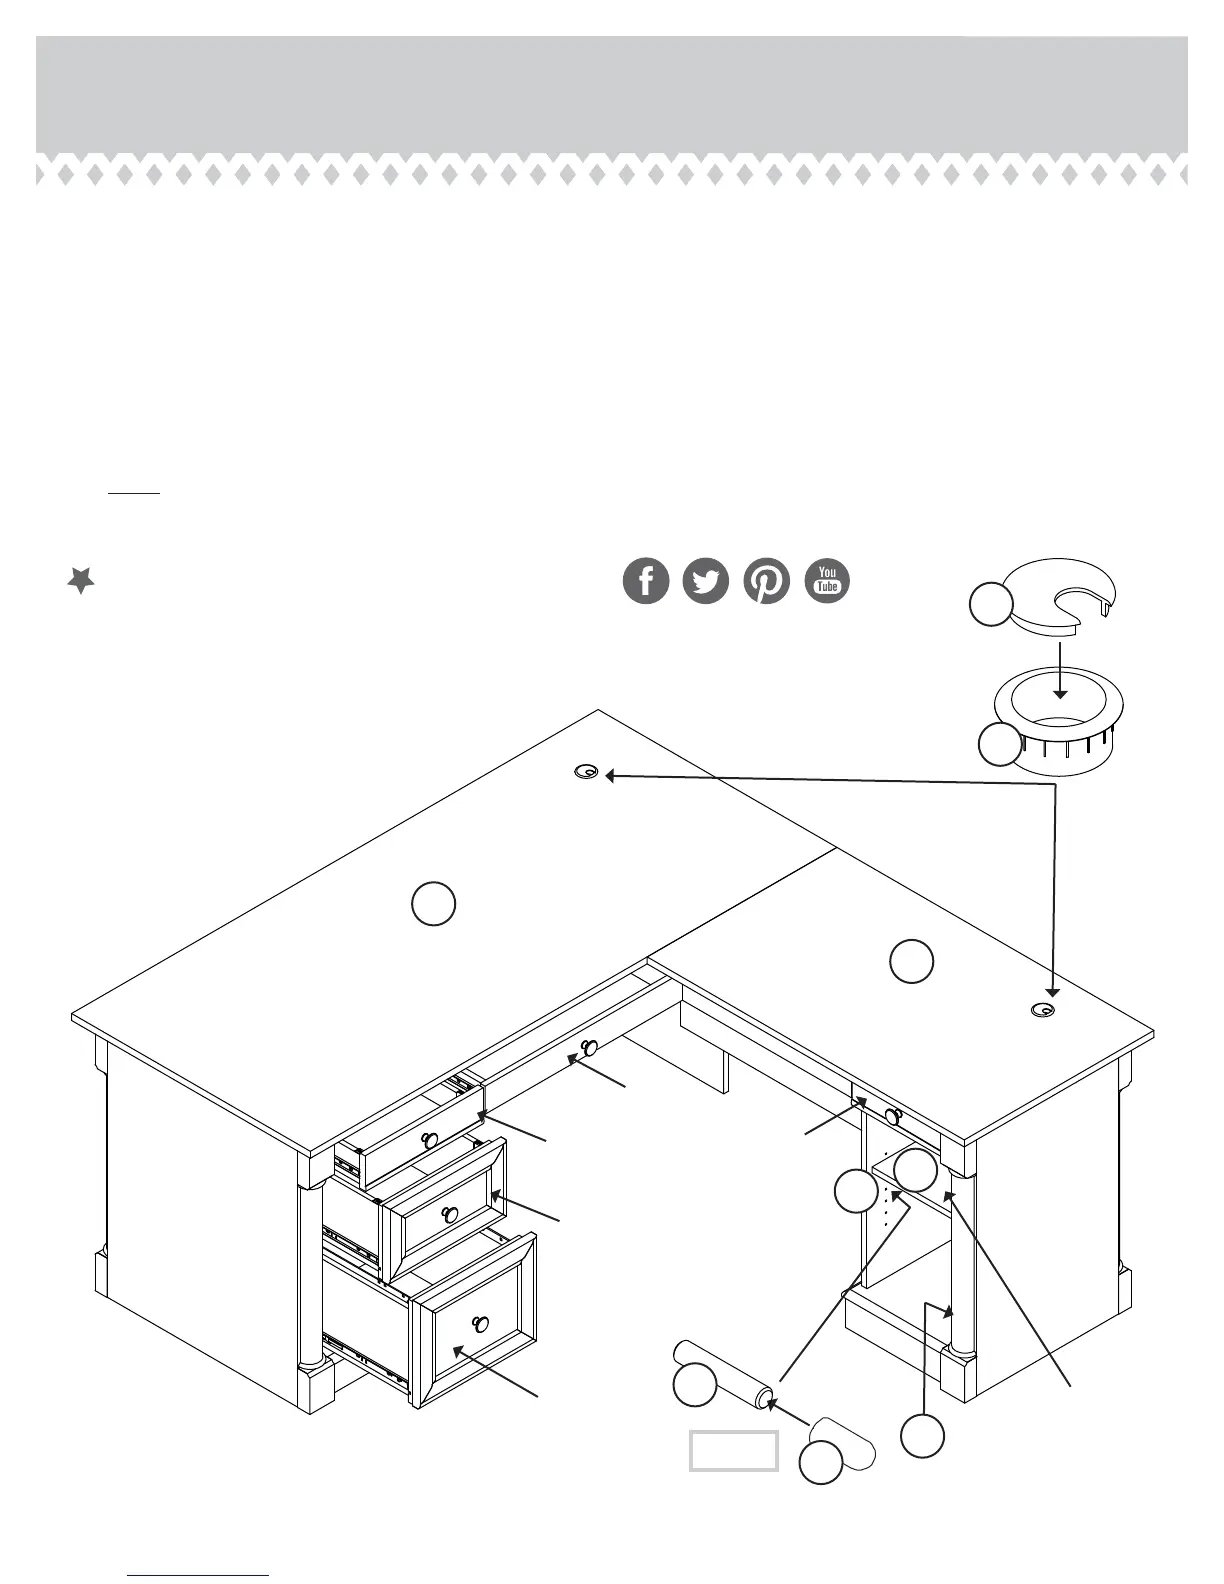
Step 42
å
The DOOR is not shown in this step.
å
Push the RUBBER SLEEVES (2R) over the METAL PINS (1R). Insert the METAL PINS into the hole locations of your choice
in the INNER RIGHT END (B2) and RIGHT UPRIGHT (E). Set the ADJUSTABLE SHELF (Q) onto the METAL PINS.
å
To insert the drawers into your unit, line up the EXTENSION SLIDES on the drawer with the EXTENSION RAILS on the unit
and push the drawer into the unit until the drawer is fully inserted. The drawer will push in hard until it is all the way in, then
it will slide in and out easier. Repeat this step for the KEYBOARD SHELF.
å
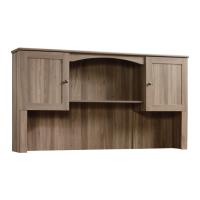
Insert the GROMMETS (10P) and GROMMET CAPS (1P) into the large holes in the TOPS (G2 and H2).
å
NOTE: Please read the back pages of the instruction booklet for important safety information.
å
This completes assembly. Clean with your favorite furniture polish or a damp cloth. Wipe dry.
417714 www.sauder.com/servicesPage 48
1P
10P
H2
G2
70 lbs.
50 lbs.
2R
1R
E
B2
Q
25 lbs.
40 lbs.
35 lbs.
5 lbs.
20 lbs.
5 lbs.
20 lbs.
(4 used)
And to celebrate, why not share your success story?
KEYBOARD
DRAWER ON LEFT
 Loading...