www.scheppach.com
GB
|
35
Noise
Total noise values determined in accordance with
EN 62841-1.
Sound pressure level L
pA
......................................94 dB
Uncertainty K
pA
.......................................................3 dB
Sound power level L
WA
........................................ 107 dB
Uncertainty K
WA
.......................................................3 dB
Wear hearing protection.
The eects of noise can cause a loss of hearing
The above-mentioned noise emission values were
measured in accordance with a standardised test pro-
cedure and can be used to compare one power tool
with another.
The above-mentioned noise emission values can also
be used for the preliminary assessment of exposure.
Warning:
• The noise emissions during the actual use of the
power tool may dier from the above-mentioned
values depending on the power tool being used, in
particular on the type of workpiece being processed.
• Try to keep emissions as low as possible, for ex-
ample by limiting your working time. In this regard,
all the operational cycle phases must be taken into
consideration (such as the times when the tool is
switched o or running idle).
7. Before starting the equipment
• Open the packaging and remove the device care-
fully.
• Remove the packaging material as well as the pack-
aging and transport bracing (if available).
• Check that the delivery is complete.
• Check the device and accessory parts for transport
damage.
• If possible, store the packaging until the warranty
period has expired.
ATTENTION
The device and packaging materials are not toys!
Children must not be allowed to play with plastic
bags, lm and small parts! There is a risk of swal-
lowing and suocation!
• When cutting plastic material, please always use
clamps: the parts which should be cut must always
be xed between the clamps.
• Avoid accidental starting of the machine: the oper-
ating button may not be pressed when inserting the
plug in an outlet.
• Use the tool that is recommended in this manual.
In doing so, your machine provides optimal perfor-
mance.
• Hands may never enter the processing zone when
the machine is in operation.
• Release the handle button and switch o the ma-
chine prior to any operations.
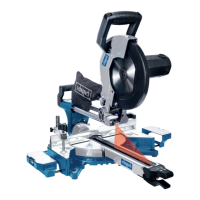
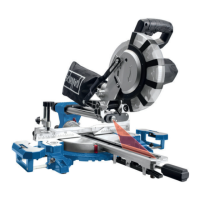
6. Technical data
Technical data ................................ 220 - 240 V~ 50Hz
Power S1*..................................................... 1700 Watt
Operating mode....................... . .........S6 15%* 2000W
Idle speed n
0
1. Gear .........................................................3200 min
-1
2. Gear .........................................................4500 min
-1
Carbide saw blade .......................ø 216 x ø 30 x 2 mm
Number of teeth ........................................................24
Maximum tooth width of saw blade ..................... 3 mm
Swivel range .........................................-45° / 0°/ +45°
Mitre cut ........................................ 0° bis 45° to the left
Saw width at 90° ......................................340 x 65 mm
Saw width at 45° ......................................240 x 65 mm
Saw width at 2 x 45°
(double mitre cut) .....................................240 x 38 mm
Protection class ....................................................II /
Weight ......................................................... ca. 12,2 kg
Laser class ..................................................................2
Wavelength of laser ..........................................650 nm
Laser output ..................................................... < 1 mW
* S1 operating mode, continuous duty
* S6, continuous operation periodic duty. Identical duty
cycles with a period at load followed by a period at no
load. Running time 10 minutes; duty cycle is 15% of the
running time.
The work piece must have a minimum height of 3
mm and a minimum width of 10 mm.
Make sure that the workpiece is always secured
with the clamping device.
 Loading...