Heating Cycle
There are two options to program the heating times:
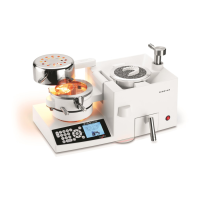
1. Manual Entry:
• Press the Power Switch (A) of the Biostar to
activate the machine.
• Press the Time button (B) to manually set the time.
Using the keypad, input the appropriate heating
time (following manufacturer’s suggested heating
time) for the material to be thermal formed. Then
press the Time button again to enter. A default
cooling time will automatically appear during the
pressure-forming process.
-OR-
• Press the Code/Scan button (C) to manually set
both the heating and cooling times. The codes
indicate the length of time for the heating and
cooling phases (See code chart at the end of this
operation manual). To program, press the
Code/Scan button and input the desired 3-digit
code on the keypad. Then press the Code/Scan
button again to enter.
• You are now ready to heat the material. The
Biostar provides instructions on the LCD display
throughout the process. The programmed cooling
time will automatically appear once the material is
pressure formed.
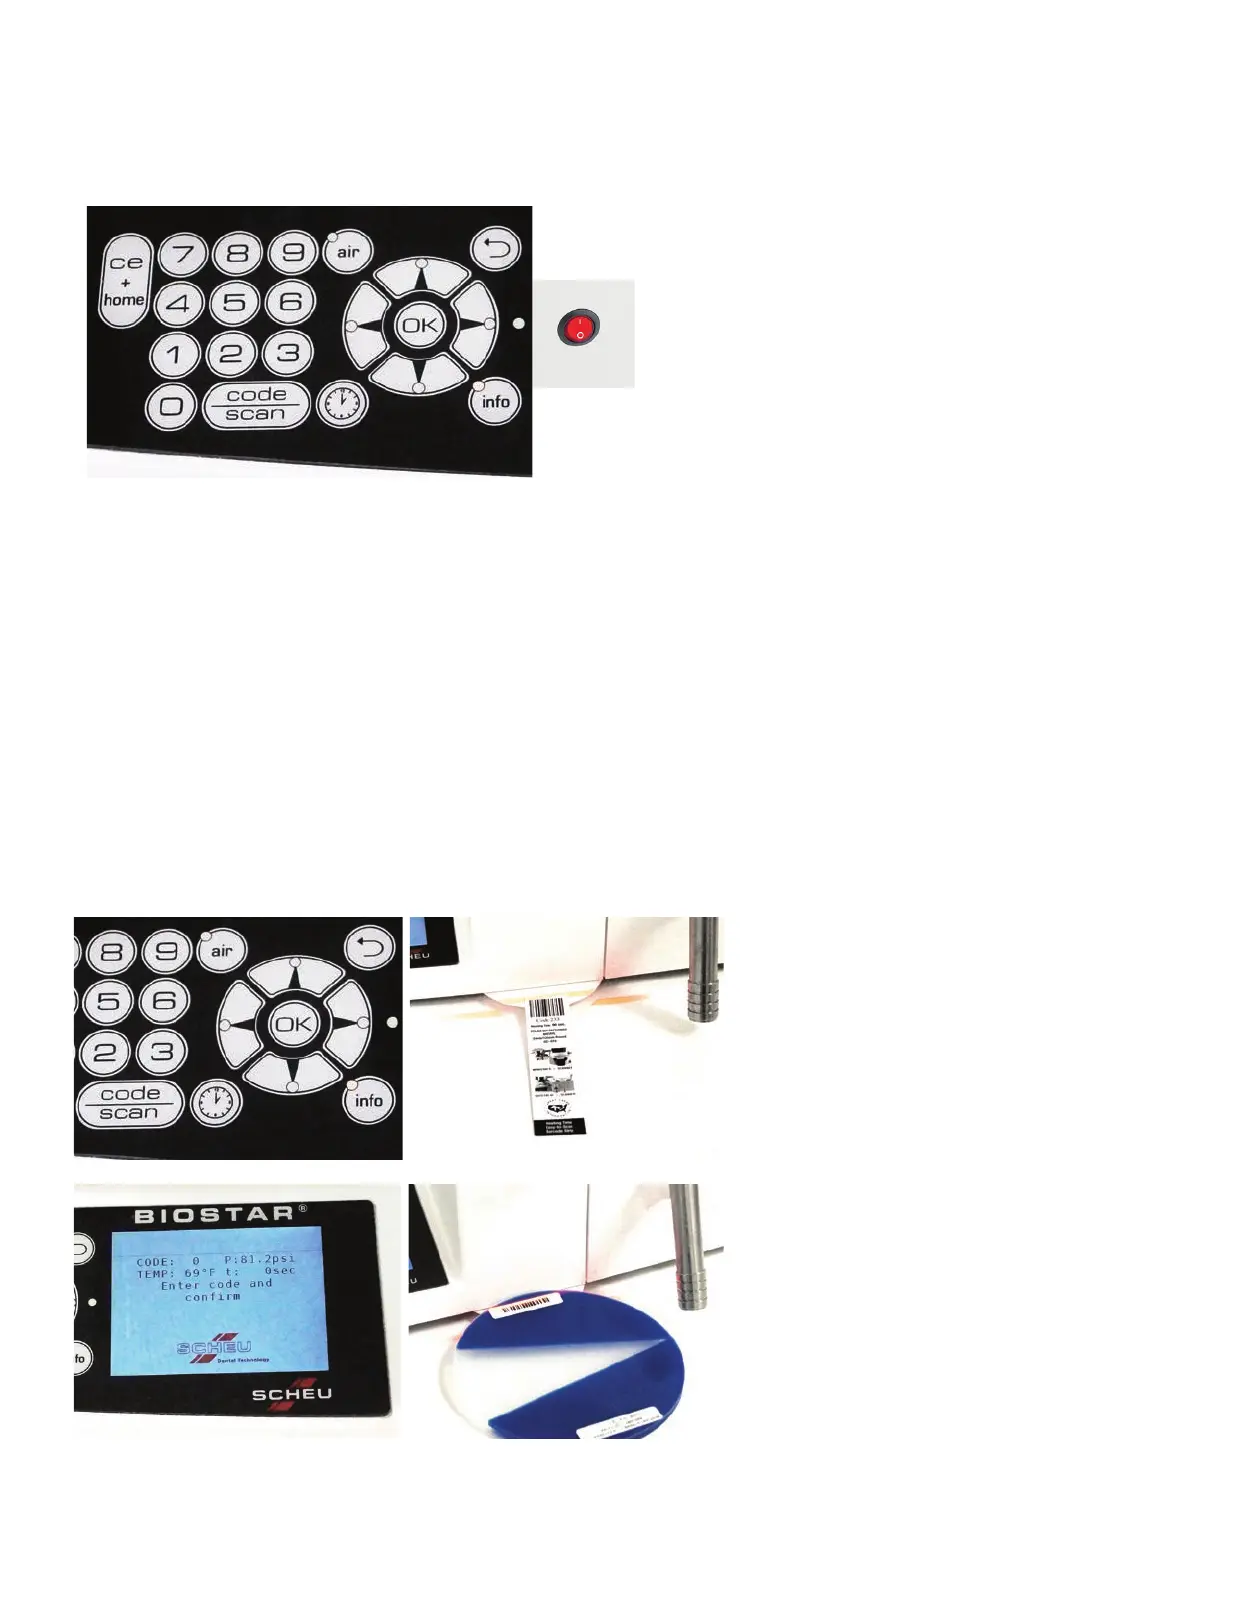
2. Barcode Scan:
The Barcode Scanner automatically
enters the correct processing information
for your material. Press the Code/Scan
button (A) to activate the scanner.
For Great Lakes Material:
The barcode is located on an easy-to-scan
barcode strip (B) inside each box of
material. Hold the barcode strip under the
scanner tilted upward, against the bottom
plate until you hear a ‘beep’ indicating the
barcode has been read. The heating time
will automatically show on the LCD display
(C).
For Scheu Material:
The barcode is printed directly on the
material (D). Hold the material under the
scanner tilted upward, against the bottom
plate until you hear a ‘beep’ indicating
the barcode has been read. The heating
time will automatically show on the LCD
display (C).
Note:
• During long heating cycles or continual
use, the lamp can become extremely hot.
• Caution is advised to prevent skin burns.
A
C
B
A
B
D
C
 Loading...