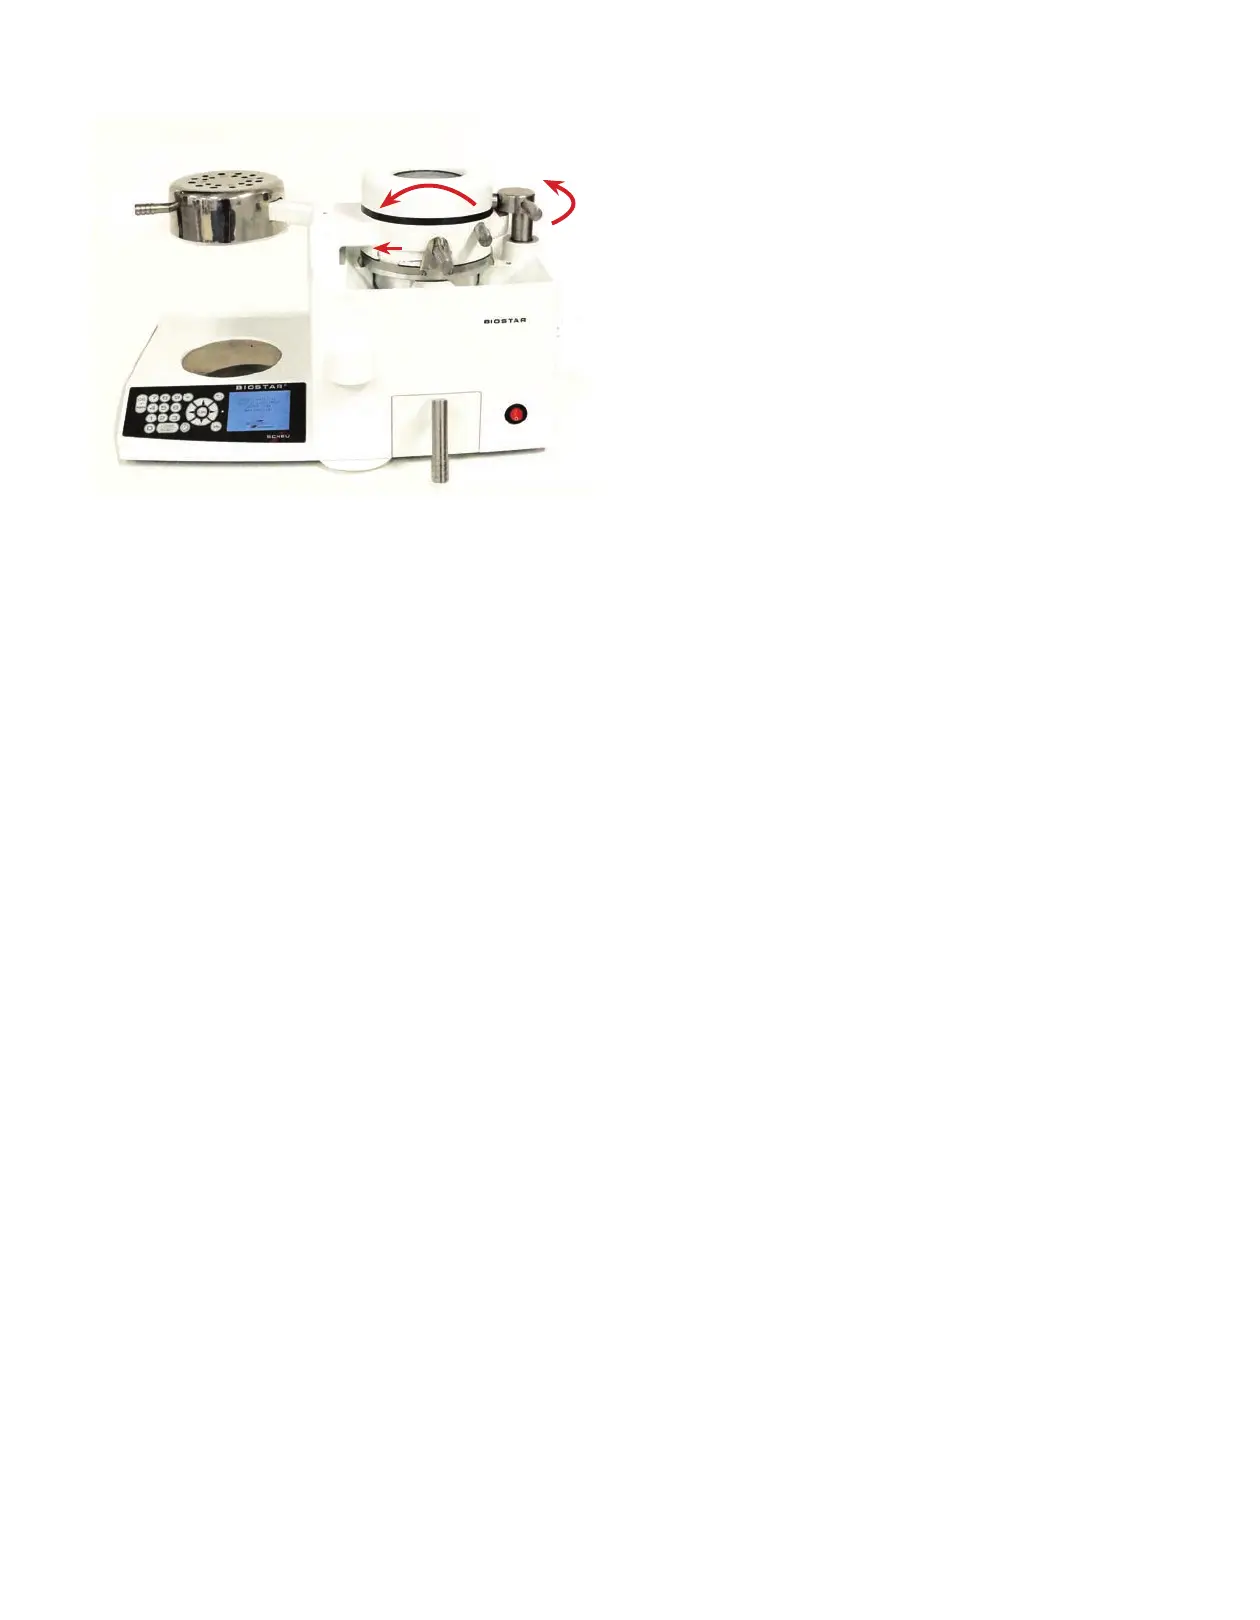
To unlock the chamber, swing the locking handle
(A) 180º toward the back of the machine
(right curved red arrow) to the straight back
rest position.
Unlock the material held on the chamber by sliding
the clamping frame arm (B) to the left (straight
red arrow). Lift the pressure chamber (C) o the
platform or pellet cup (center curved red arrow)
and remove the model with the formed plastic.
The appliance is now cool to the touch and ready
to be trimmed and nished.
If material was pressure formed in the pellet cup,
some pellets may stick to the formed material
surface. Remove as many pellets as possible with
a lab knife.
Note: Not all pellets can be removed.
Important Troubleshooting Advice
Performing a Cold Test:
A. Turn the Biostar on. Make sure the platform is in place. Clamp a sheet of 2mm (or thicker)
hard material onto the pressure chamber. Secure the clamping frame.
B. Enter 5 seconds of heating time. Swing the heating element over the material to activate
the heat. Immediately return the heating element to the rest position.
C. Swing the pressure chamber over the model platform. Activate the air pressure.
D. If you hear a constant rush of air during pressurization (air leak), contact your Great Lakes
Customer Support Specialist immediately.
For fabrication videos, tips, and techniques, visit our website:
GreatLakesDentalTech.com/techniques
A
B
C
Biostar With LCD Display Codes
Chart 2: Cooling Phase
Chart 1: Heating Phase