P
Patricia CoxAug 14, 2025
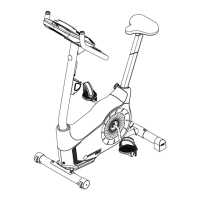
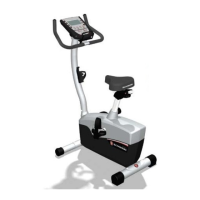
How to fix seat post movement on Schwinn 125?
- MMary ThompsonAug 15, 2025
To fix seat post movement, ensure the adjustment pin is locked into one of the seat post adjustment holes. Also, be sure the knob is securely tightened.