14
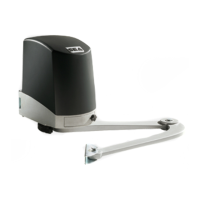
If the rear fixing bracket has to be screwed using the
holes marked as «A», so the fixing bracket must be cut at
a distance of 65 mm from its end (Fig. 15). It is not
necessary to cut the bracket if using other holes
The support must be positioned so that the
operator is in a perfect horizontal position (see Fig.14)
A
A
A
A
A
65 mm
Fig. 15
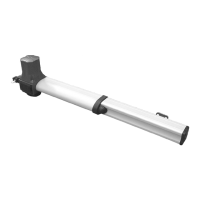
Fig. 16
(1)
Nut (1)
CAUTION! To avoid the oscillation of the
operator during the operating phase, it is recom-
mended to adjust the nut (1) (Fig. 16) taking care
to not block the rotation of the operator on the
fixing bracket
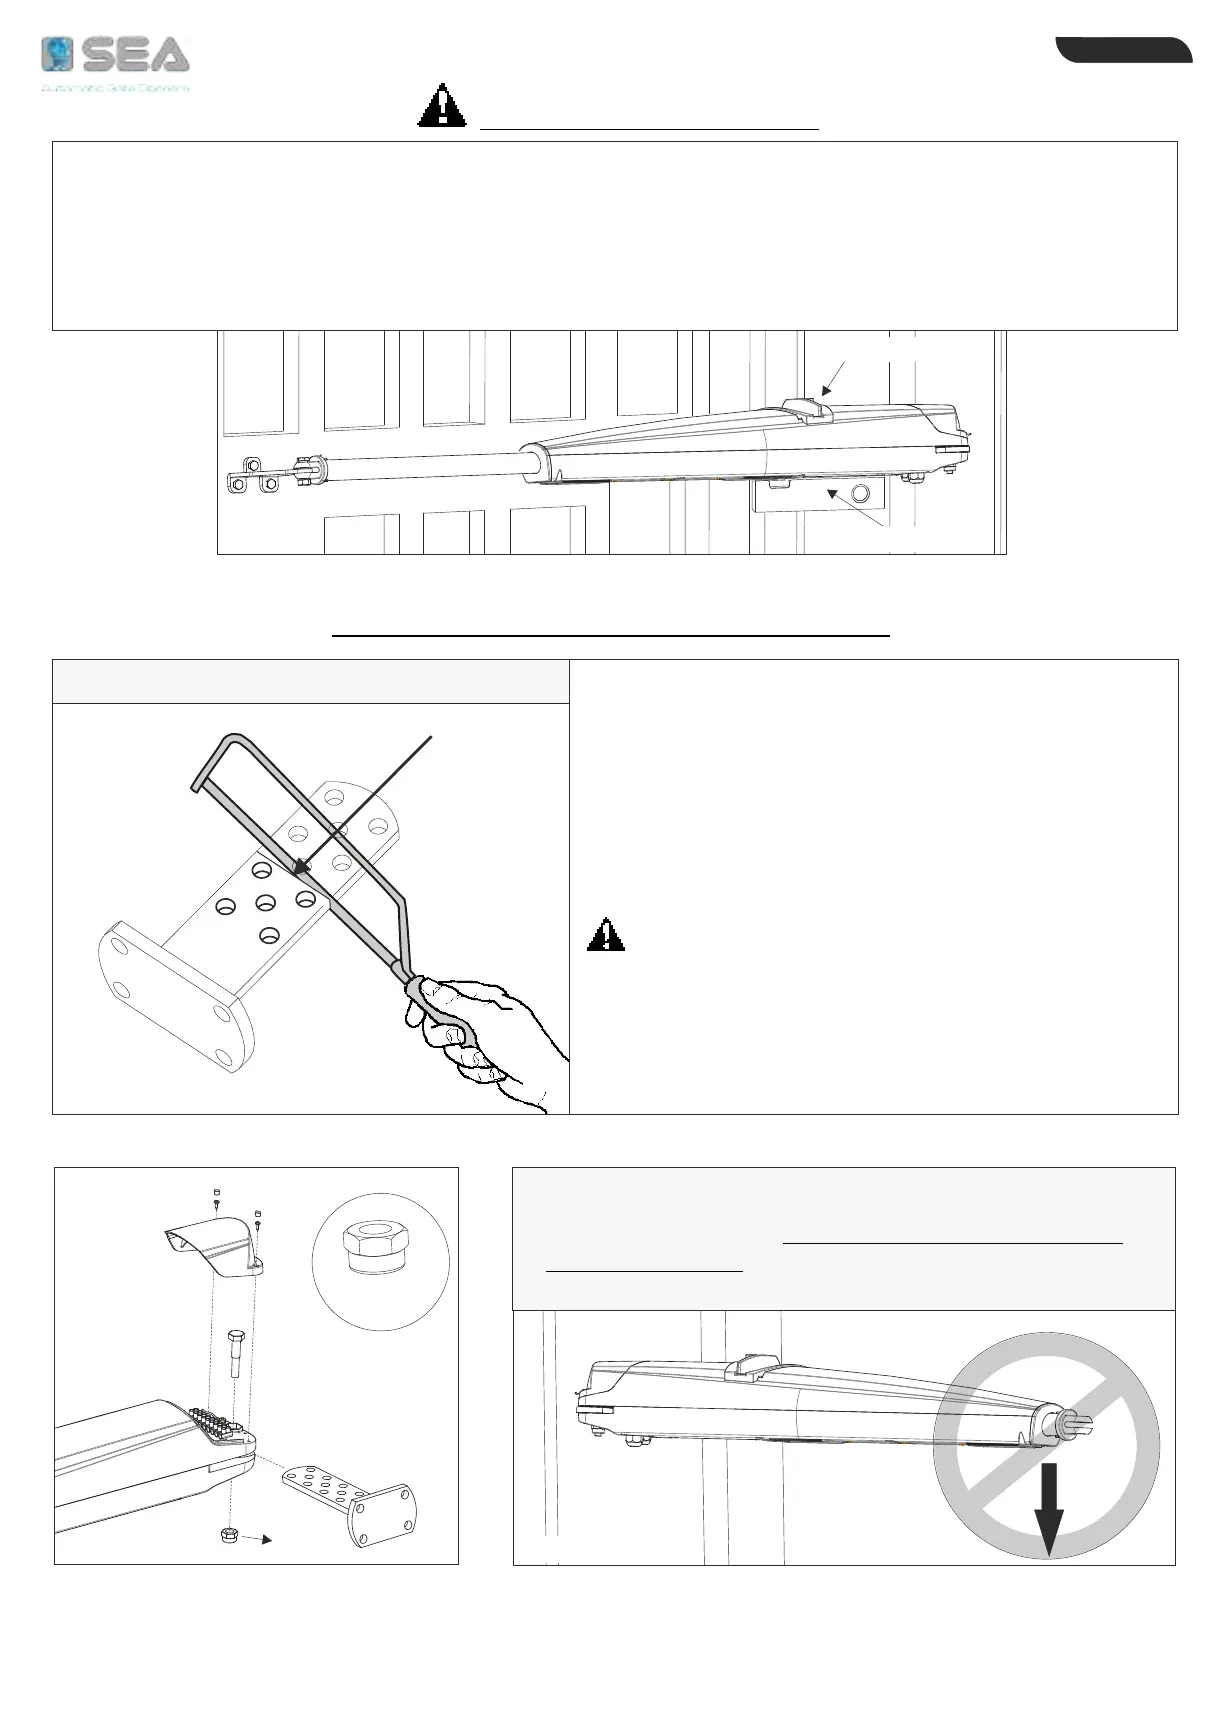
Fig. 17
1 - For the correct operation it is very important to position both the operator and its front
and rear fixing brackets, in a perfectly horizontal way, by using a level, as shown in Fig. 14
2 - Before mounting operator on the rear and the front brackets, lubricate with water repellent grease
3 - The operator must be mounted with the release facing upwards (Fig. 14)
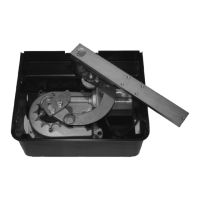
Livella
Level
Fig. 14
PRELIMINARY NOTES
Release
REAR FIXING BRACKET MOUNTING
REAR FIXING BRACKET TO BE SCREWED
WARNING!
once the rear bracket has been fixed, immediately
fix the front bracket, always keeping the operator in a
horizontal position. Do not leave the front of the operator
detached because it would fall down causing damage
ENGLISH
International registered trademark n. 804888