22
.
5) When you are sure that everything is
aligned correctly, mix up a generous
amount of Flash 30 Minute Epoxy. Ap-
ply a thin layer to the mounting slot
and to bottom of the vertical stabilizer
mounting area. Apply epoxy to the bot-
tom and top edges of the ller block and
to the lower hinge also. Set the stabilizer
in place and realign. Double check all of
your measurements once more before
the epoxy cures. Hold the stabilizer in
place with T-pins or masking tape and
remove any excess epoxy using a paper
towel and rubbing alcohol. Allow the
epoxy to fully cure before proceeding.
C/A glue.
Hinge.
ELEVATOR PUSHROD
INSTALLATION.
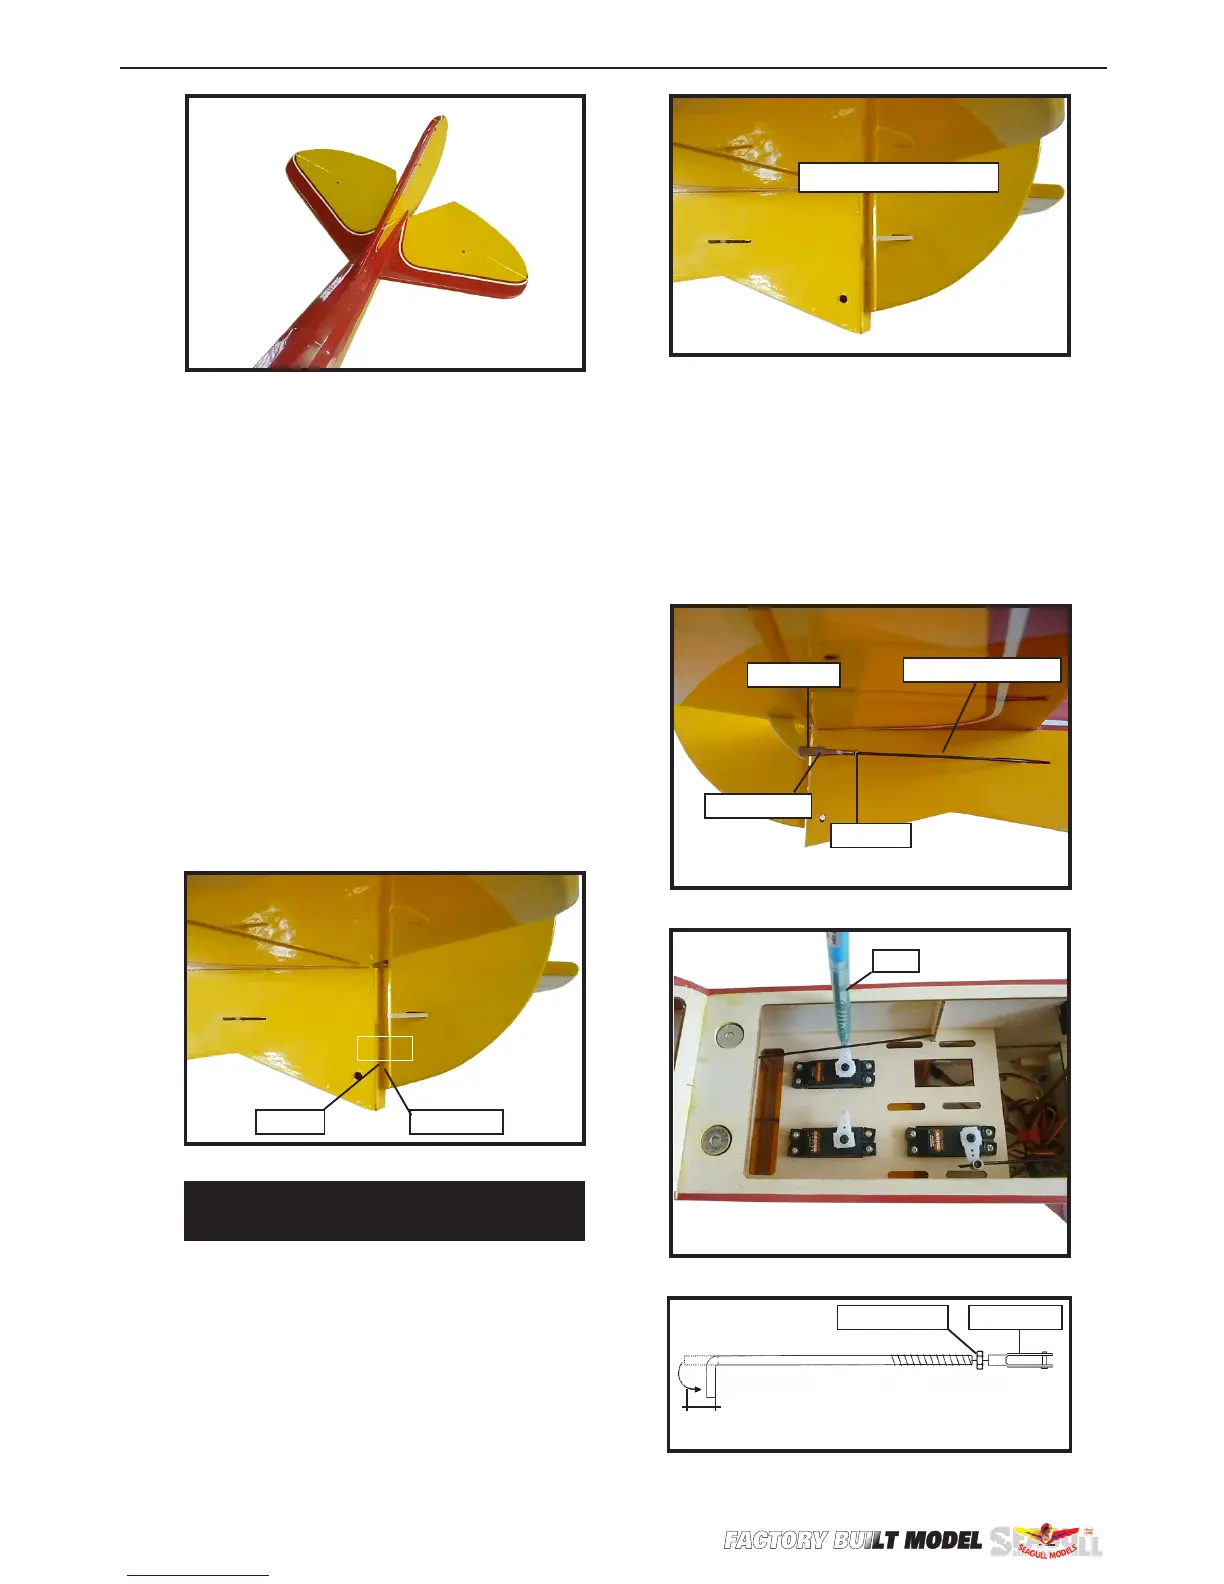
Elevator control horn.
1) Install the elevator control horn using
the same method as with the aileron con-
trol horns.
2) Position the elevator control horn on
the both side of elevator.
3) read one clevis and M2 lock nut on
to each elevator control rod. read the
horns on until they are ush with the
ends of the control rods.
4) Elevator and rudder pushrods assem-
bly as pictures below.
M2 clevis.M2 lock nut.
8mm
Pen.
Hex nut.
Fuel tubing.
M2 clevis.
Elevator pushrod.