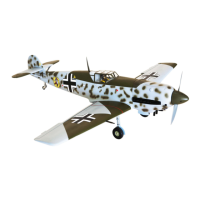
31
BALANCING.
1) It is critical that your airplane be
balanced correctly. Improper balance will
cause your plane to lose control and
crash. THE CENTER OF GRAV-
ITY IS LOCATED 75MM BACK
FROM THE LEADING EDGE OF
THE WING AT THE WING ROOT.
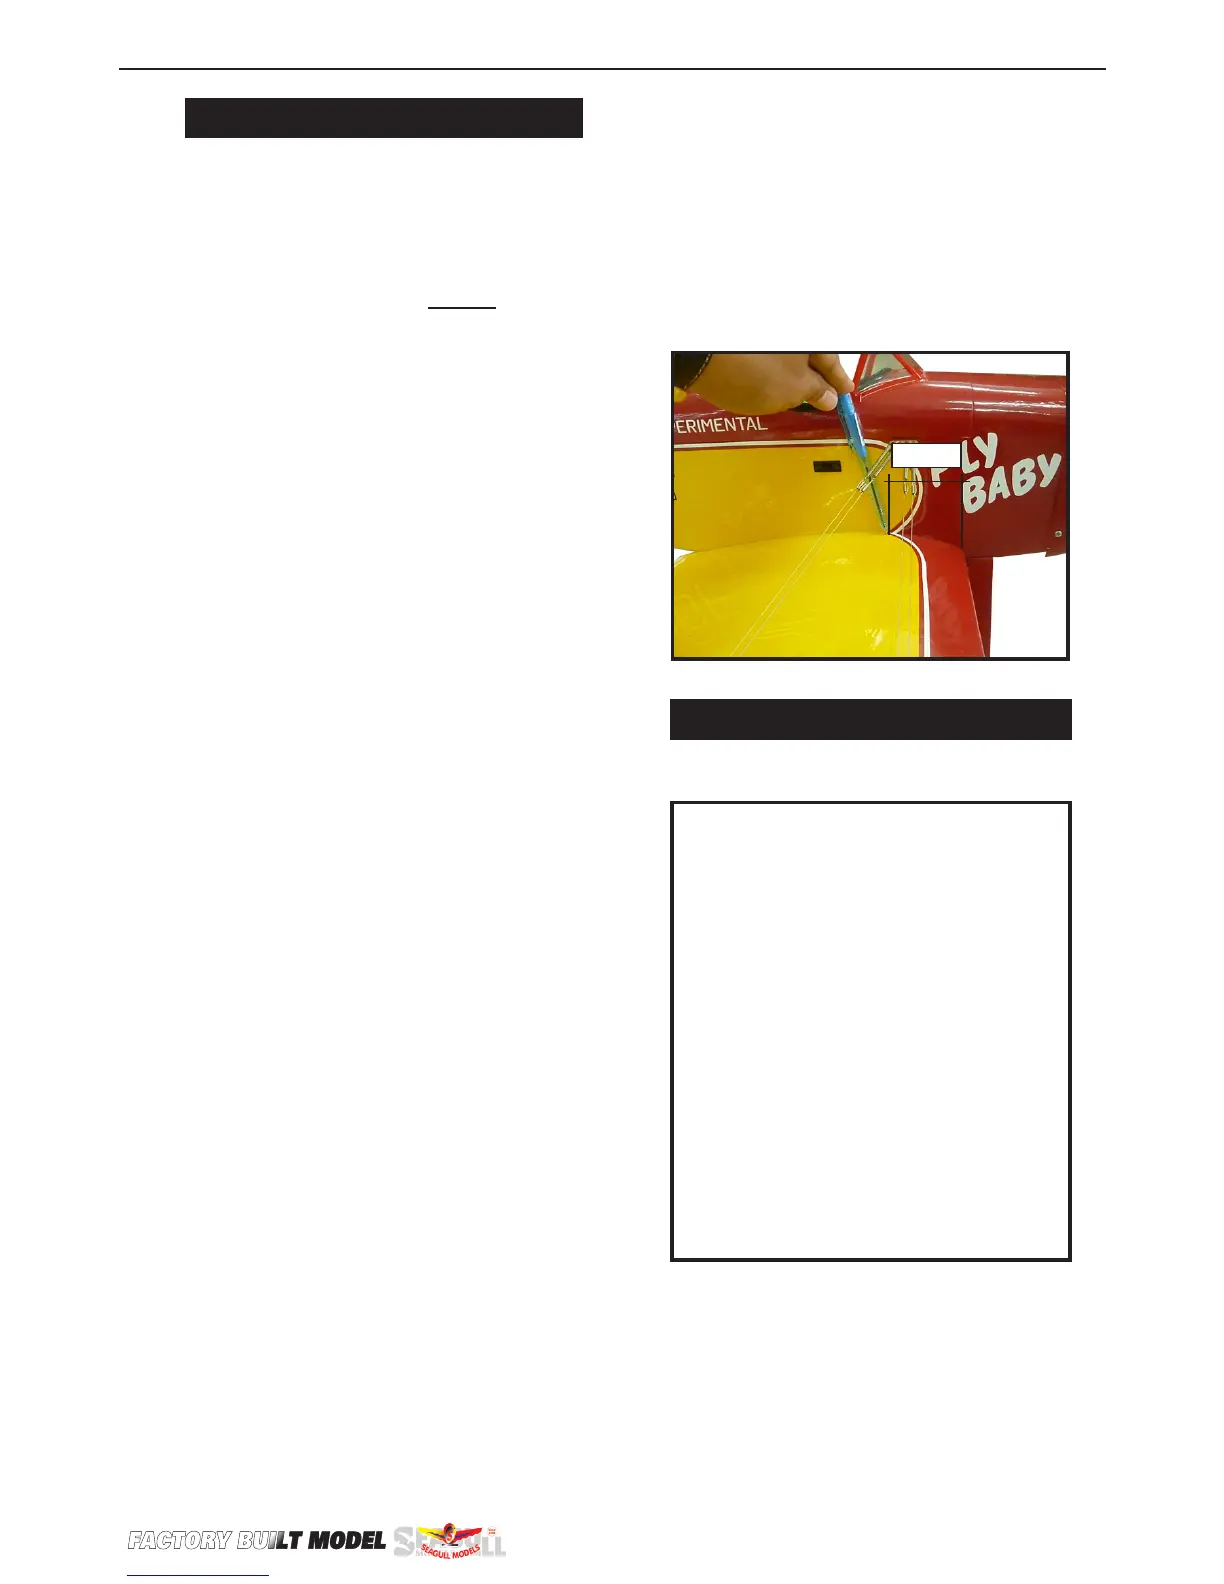
2) Mount the wing to the fuselage. Place
a piece of masking tape on the bottom of
each wing 75mm back from the leading
edge at the wing root.
3) With the model upright, place your
ngers on the masking tape and carefully
li the plane. is is the point at which
your model should balance for your rst
ights. Later, you may wish to experi-
ment by shiing the balance up to 75mm
forward or back to change the ying
characteristics. Moving the balance for-
ward may improve the smoothness and
arrow- like tracking, but it may then re-
quire more speed for take o and make it
more dicult to slow down for landing.
Moving the balance a makes the model
more agile with a lighter and snappier
”feel”. In any case, please start at the loca-
tion we recommend.
With the wing attached to the fuselage,
all parts of the model installed ( ready to
y), and empty fuel tanks, hold the mod-
el at the marked balance point with the
stabilizer level.
Li the model. If the tail drops when
you li, the model is “tail heavy” and you
must add weight* to the nose. If the nose
drops, it is “nose heavy” and you must
add weight* to the tail to balance.
75mm
CONTROL THROWS.
Ailerons:
High Rate :
Up : 25 mm
Down : 25 mm
Low Rate :
Up : 15 mm
Down : 15 mm
Elevator:
High Rate :
Up : 25 mm
Down : 25 mm
Low Rate :
Up : 15 mm
Down : 15 mm
Rudder:
High Rate :
Right : 30 mm
Le : 30 mm
Low Rate :
Right : 20 mm
Le : 20 mm
*If possible, rst attempt to balance the
model by changing the position of the re-
ceiver battery and receiver. If you are un-
able to obtain good balance by doing so,
then it will be necessary to add weight to
the nose or tail to achieve the
proper balance point.