27
.
INSTALLATION PILOT AND CANOPY.
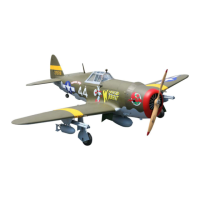
1) Locate items necessary to install pilot,
seats.
2) A scale pilot is included with this ARF.
e Seagull Pilot included tting well to
the cockpit. (or you can order others scale
pilot gures made by Seagull factory.
ey are available at Seagull distributors.)
If you are going to install a pilot gure,
please use a sanding bar to sand the base
of the gure so that it is at.
Epoxy.
10mm
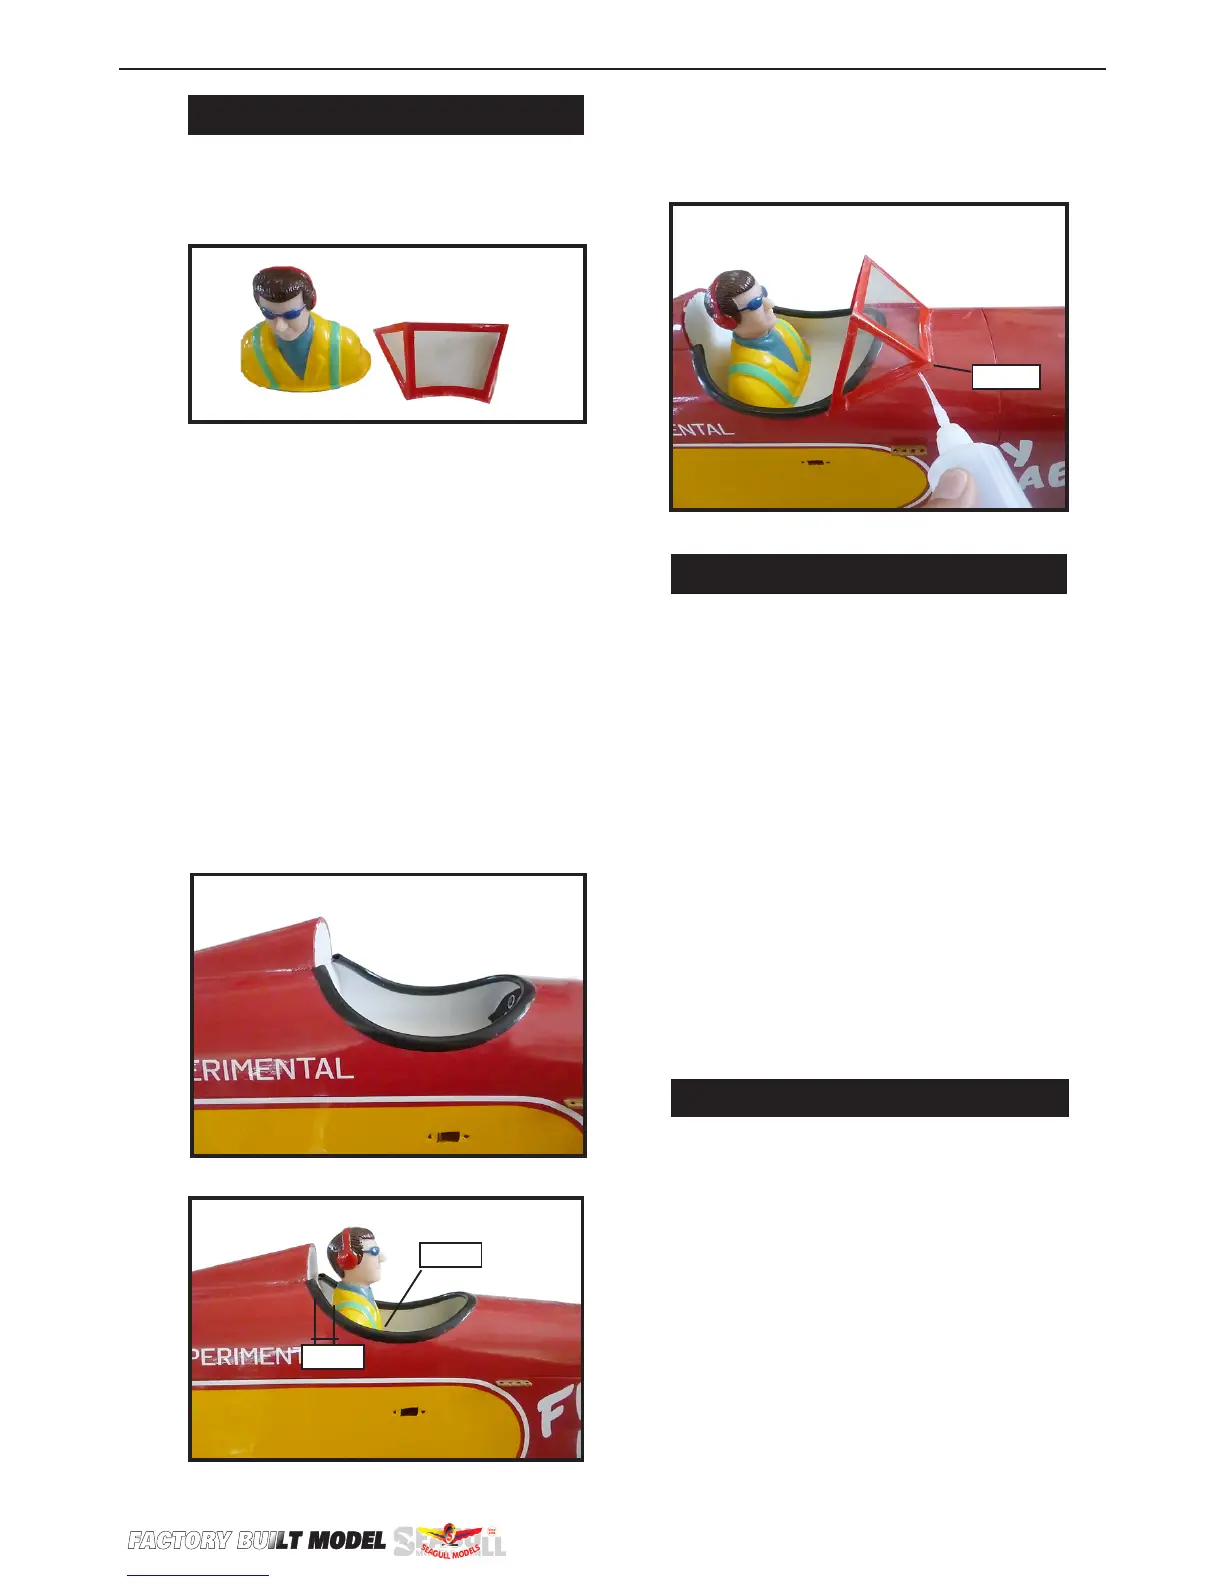
4) Position the canopy onto the fuselage.
Trace around the canopy and onto the fu-
selage using a felt-tipped pen.
Epoxy.
3) Position the pilot gure on the cano-
py oor as shown. Use epoxy to glue the
base of the pilot gure, please see pic-
tures as shown.
2) If all the decals are not precut, please
use scissors or a sharp hobby knife to cut
the decals from the sheet. Please be cer-
tain the model is clean and free from oily
ngerprints and dust. Position decal on
the model where desired, using the pho-
tos on the box and aid in their location.
INSTALLING BATTERY - RECEIVER.
1) Plug the ve servo leads and the switch
lead into the receiver. Plug the battery
pack lead into the switch also.
2) Wrap the receiver and battery pack in
the protective foam rubber to protect
them from vibration.
1) If all the decals are precut and ready to
stick. Please be certain the model is clean
and free from oily ngerprints and dust.
Position decal on the model where de-
sired, using the photos on the box and
aid in their location.
APPLY THE DECALS.