Do you have a question about the Seastar Solutions Seastar Jackplate and is the answer not in the manual?
Ensures safe operation by understanding manual, checking components, and using approved parts.
Follow all instructions, avoid substitutions, and perform clearance checks to prevent interference.
Verify immediate response, inspect for damage, and confirm no interference before operating.
Wear PFD, use engine shut-off cord, maintain water pressure, and avoid full tilt steering.
Rinse jackplate thoroughly with fresh, clean water only; avoid corrosive cleaning agents.
Ensure bolts are torqued, inspect jackplate for damage, wear, binding, and check electrical cables.
Details on adding an anode to protect the jackplate in a machined pocket.
Jackplate maintains position for short term, but use trailer locks for long term storage.
Information on critical safety warnings and where to contact SeaStar Solutions if labels are missing.
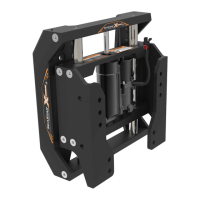
Lists included jackplate parts, relay wiring harness, rocker switch, and necessary tools.
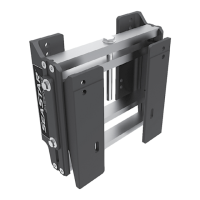
Procedure for mounting the jackplate to the transom using engine bolts and appropriate hardware.
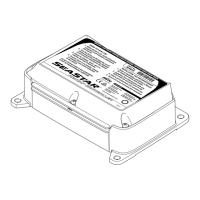
Instructions for mounting the relay wiring harness and connecting it to the boat's battery.
Steps for cutting an opening, routing wiring, and connecting the rocker switch for jackplate control.
Guidance on lifting and mounting the outboard engine onto the jackplate using specified hardware.
Essential checks for steering, trim, and component interference after installation.
Details the two-year limited warranty for materials and workmanship from date of purchase.
Procedure for returning products under warranty, including obtaining an RGA number and addressing goods.
Provides contact information including phone number, email, and operating hours for technical assistance.
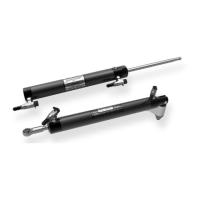
| Type | Hydraulic Jackplate |
|---|---|
| Material | Aluminum |
| Maximum Horsepower | 300 HP |
| Lift Range | 6 inches |
| Color | Black |
| Mounting Pattern | Standard |