13
Installation Instructions and Owner's Manual
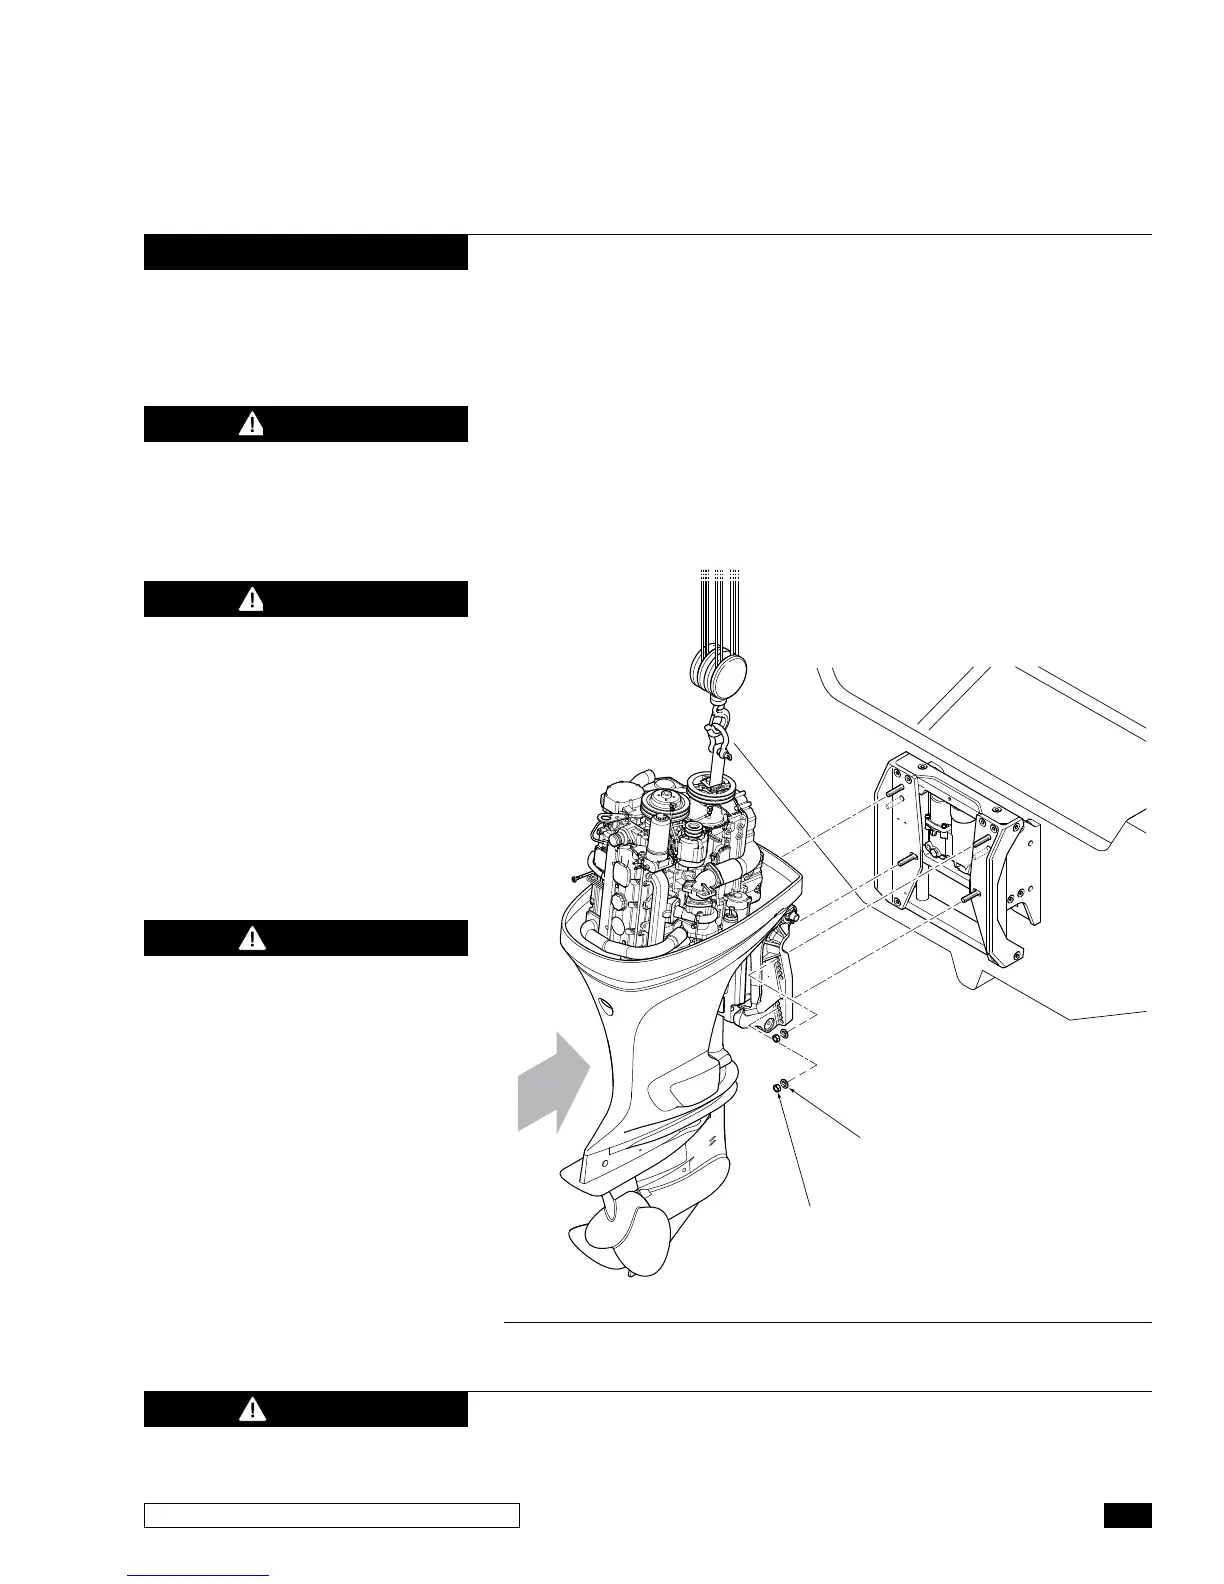
NUT
(NOT SUPPLIED)
WASHER
(NOT SUPPLIED)
1. Using an appropriate hoist and lifting eye, lift the outboard
into place.
2. Select the hole set on your outboard engine that will best suit
the boat and application.
3. Move the engine forward on the hoist while feeding the bolts
into the mounting holes.
4.
Install the washers and nuts and tighten. Ensure approved bolts,
nuts and washers are used. See Section 2.1.
5. Using a torque wrench, tighten to 90 ft-lbs. (122 Nm) or to
engine manufacturer's recommended value for installation on
Jackplate.
CAUTION
Perform the Clearance Checks prior to water testing. See Section 2.6.
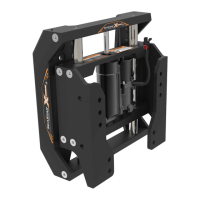
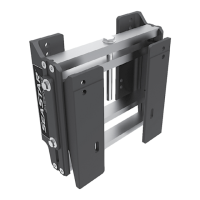
Figure 14. Outboard installation.
WARNING
CRUSH HAZARD. Moving Jack-
plate parts can crush. Keep all
body parts free and clear when
actuating the Jackplate.
2.5 Mount Outboard to Jackplate
Jackplate position can be extended
or retracted during installation to
improve tool access to mounting
hardware.
NOTICE
WARNING
For SeaStar Standard Duty Jack-
plates the MAXIMUM supported
horsepower is 300 HP.
For
SeaStar
Xtreme Jack
plates the
MAXIMUM supported horsepower
is 400 HP.
WARNING
All engine mounting hardware
must conform to the standards
specified in Section 2.1.
 Loading...