10
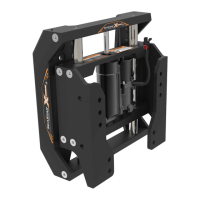
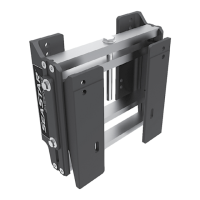
SeaStar Hydraulic Jackplate
Before operating the Jackplate,
check mounting bolt clearances
and ensure that shift and throttle
cables, electrical lines, tiebars,
fuel hoses, and all other equipment
are clear of the Jackplate so they
will not be pinched or kinked when
the unit is moved up and down.
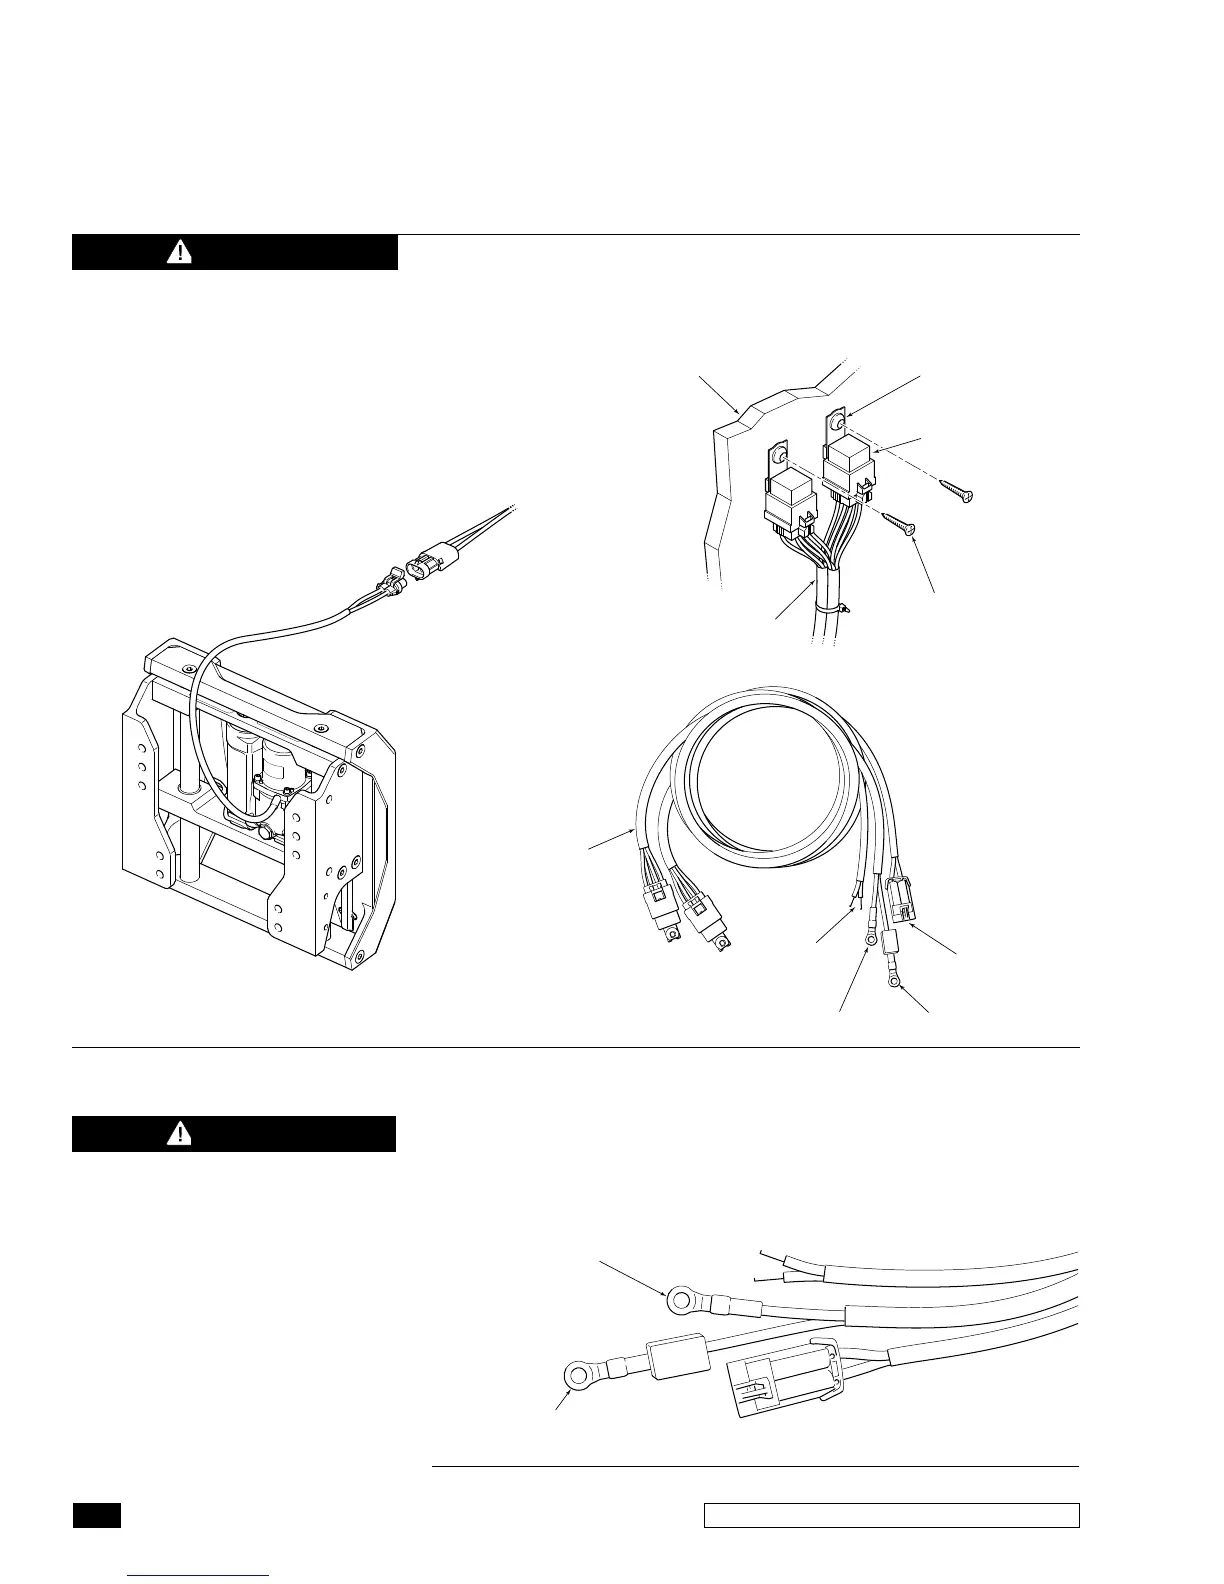
CONNECT TO
BATTERY (+)
CONNECT TO
BATTERY (–)
Figure 10. Battery connections.
MOUNTING
PANEL
2 X MOUNTING SCREWS
(NOT SUPPLIED)
RELAY WIRING
HARNESS
2 X JACK PLATE
RELAY
MOUNTING
HOLES
RELAYS MUST BE
ATTACHED TO DRY
COMPARTMENT IN
REAR OF BOAT
ACTUATOR
CONNECTOR
CIRCUIT BREAKER (
+
)RING TERMINAL (–)
SWITCH
LEADS
RELAY WIRING
HARNESS
CAUTION
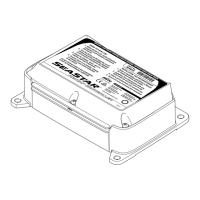
Figure 9. Relay Wiring Harness installation and connections.
2.3 Install Relay Wiring Harness
1. Find a dry and accessible place to mount the Relay Wiring
Harness. Use the mounting holes on the relay brackets to
secure the harness to the boat.
2. Attach the ring terminal from the circuit breaker to a 12V
positive (+) post on the outboard engine battery.
3. Attach the black ring terminal to a negative (-) post on the
same battery as step 2.
Ensure the harness has proper
strain
relief and is routed to avoid
damage/pinching/chafing.
CAUTION
 Loading...