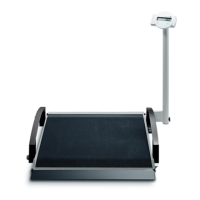
98 •
The wireless group currently set (in this case: wire-
less group 0 "ID 0") is displayed.
If wireless group "0" already exists, use the arrow
keys to select a different ID (in this case: wireless
group 1 "ID 1").
7. Confirm your selection of wireless group.
The scale suggests a channel number for Channel
1 (in this case, C1 "0").
You can adopt the proposed channel number or
use the arrow keys to set a different channel
number.
8. Confirm your selection for Channel 1.
The device suggests a channel number for Channel
2 (in this case, C2 "30").
You can adopt the proposed channel number or
use the arrow keys to set a different channel
number.
NOTE
Double-digit channel numbers are displayed
without a space. The display "C230" therefore
means: Channel "2", channel number "30"
9. Confirm your selection for Channel 2.
The device suggests a channel number for Channel
3 (in this case, C3 "60").
You can adopt the proposed channel number or
use the arrow keys to set a different channel
number.
10. Confirm your selection for Channel 3.
The message StOP appears in the display.
The device waits for signals from other wireless-
capable devices in range.
NOTE
On some devices, a special switch-on proce-
dure has to be followed if they are going to be
integrated in a wireless group. Follow the
instructions for use for the device in question.
11. Switch on the device, e.g. a wireless printer, you
want to integrate in the wireless group.
When the wireless printer is detected, you will hear
a beep.