Do you have a question about the Sega Initial D and is the answer not in the manual?
Addresses loose screws on the steering assembly, potential damage, and the use of Loctite and proper torque.
Details the process of removing the control panel, including tools and connectors.
Instructions for removing the steering wheel, M12 nut, and separating the steering handle assembly.
Guides on removing stopper plate, belt, and shaft, with required tools.
Steps for reassembling the steering assembly, applying Loctite, and centering the shaft with the cam.
Covers VR bracket adjustment, resistance measurement, and setting the volume value for the steering handle.
| Category | Arcade Game Machines |
|---|---|
| Genre | Racing |
| Developer | Sega |
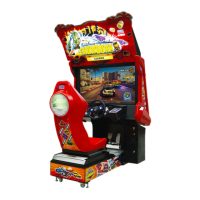
| Cabinet Type | Upright |
| Maximum Players | 2 (linked cabinets) |
| Arcade System | Sega NAOMI |
| Title | Initial D |
| Number of Players | 1 |
| Controls | Steering wheel, gear shift, accelerator, brake |
| Display | CRT |
| Game Modes | Time Attack |
| CPU | Hitachi SH-4 |
| Graphics | PowerVR |
| Sound | Yamaha |
| Gameplay | Driving simulation with a focus on drift racing |
| Cabinet | Standard arcade cabinet with steering wheel and gear shift |