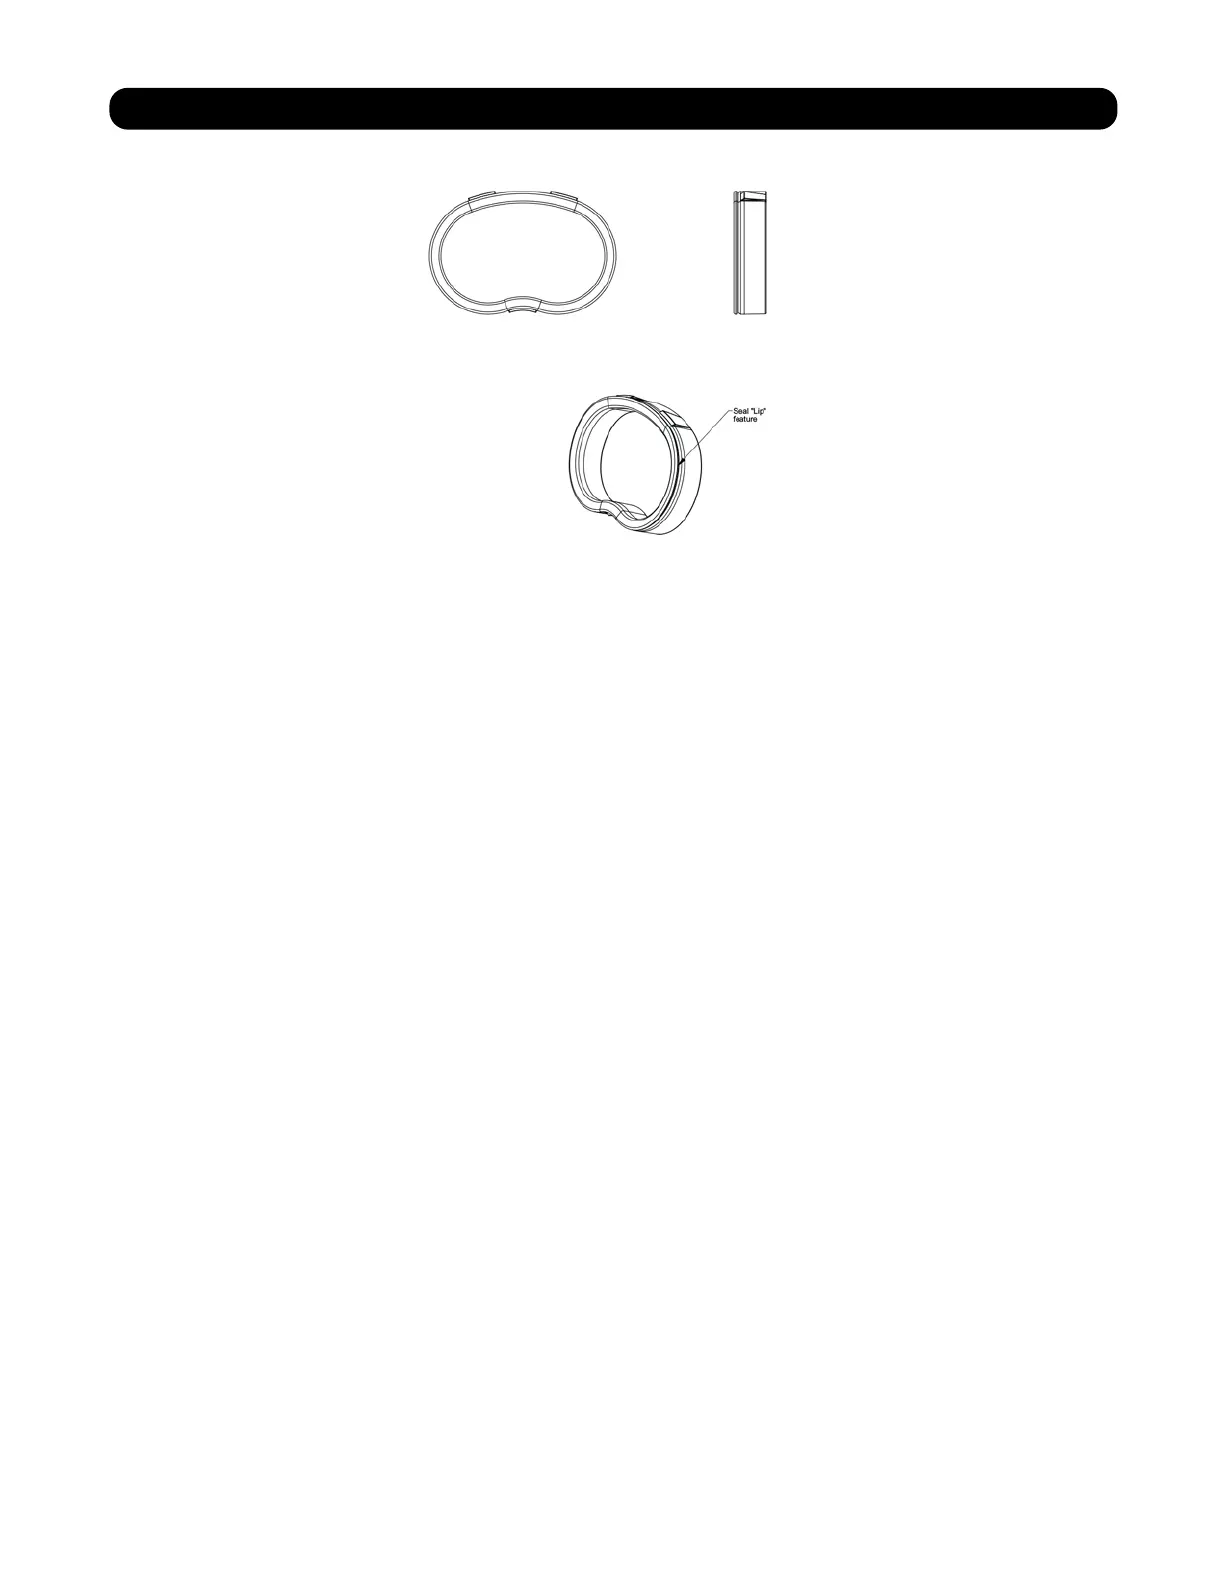
Servicing the Transfer Cap Assemblies
To remove seals gently pull out on the outer lip of the seal to lift the seal out from its
cavity being careful not to damage the face surface of the seal. To reassemble re-seat
the seals into the seal cavity of the control valve body being sure that the lip of the seal
is facing outward. With seals in place put a thin film of silicone grease on the tops of the
seals and the flat surface of the discs. Prior to reinstalling the discs the drive shaft
should be removed and the O-rings cleaned, inspected and lubricated with silicone
grease. The shaft can then be installed into the disc prior to installation. With the outlet
disc assembled to the shaft the orientation of the shaft to the inlet disc can be assured
by installing the set with the through hole on the outlet disc at the six o’clock position.
The easiest thing would be to remove both disc drives and assemble the outlet side first
then each disc could be fitted on the shaft individually. At this point the transfer valve cap
assemblies can be reinstalled. Note: That both transfer caps only mount in one
orientation. Prior to installation of cap assembly be sure to check that the stainless steel
spring and the plastic spring support is in place attached to the middle of the cap
assembly. Next you can wipe the outside edge of the O-ring on the cap and the inside
mating area of the valve with a clean cloth and reapply a thin layer of silicone grease.
BE SURE NOT TO USE ANYTHING HYDRO CARBON BASED SUCH AS VASELINE OR PETROLEUM
JELLY TO LUBRICATE PLASTIC COMPONENTS OR O-RINGS AS THEY WILL BE DAMAGED BY
THE HYDROCARBONS AND POTENTIATLLY CAUSE FAILURES THAT CAN RESULT WITH LEAKS.
 Loading...