10
Inserting the water fi lter (optional)
1. Remove the water tank.
2. Remove the sieve attachment in the water tank and keep it for future
reference.
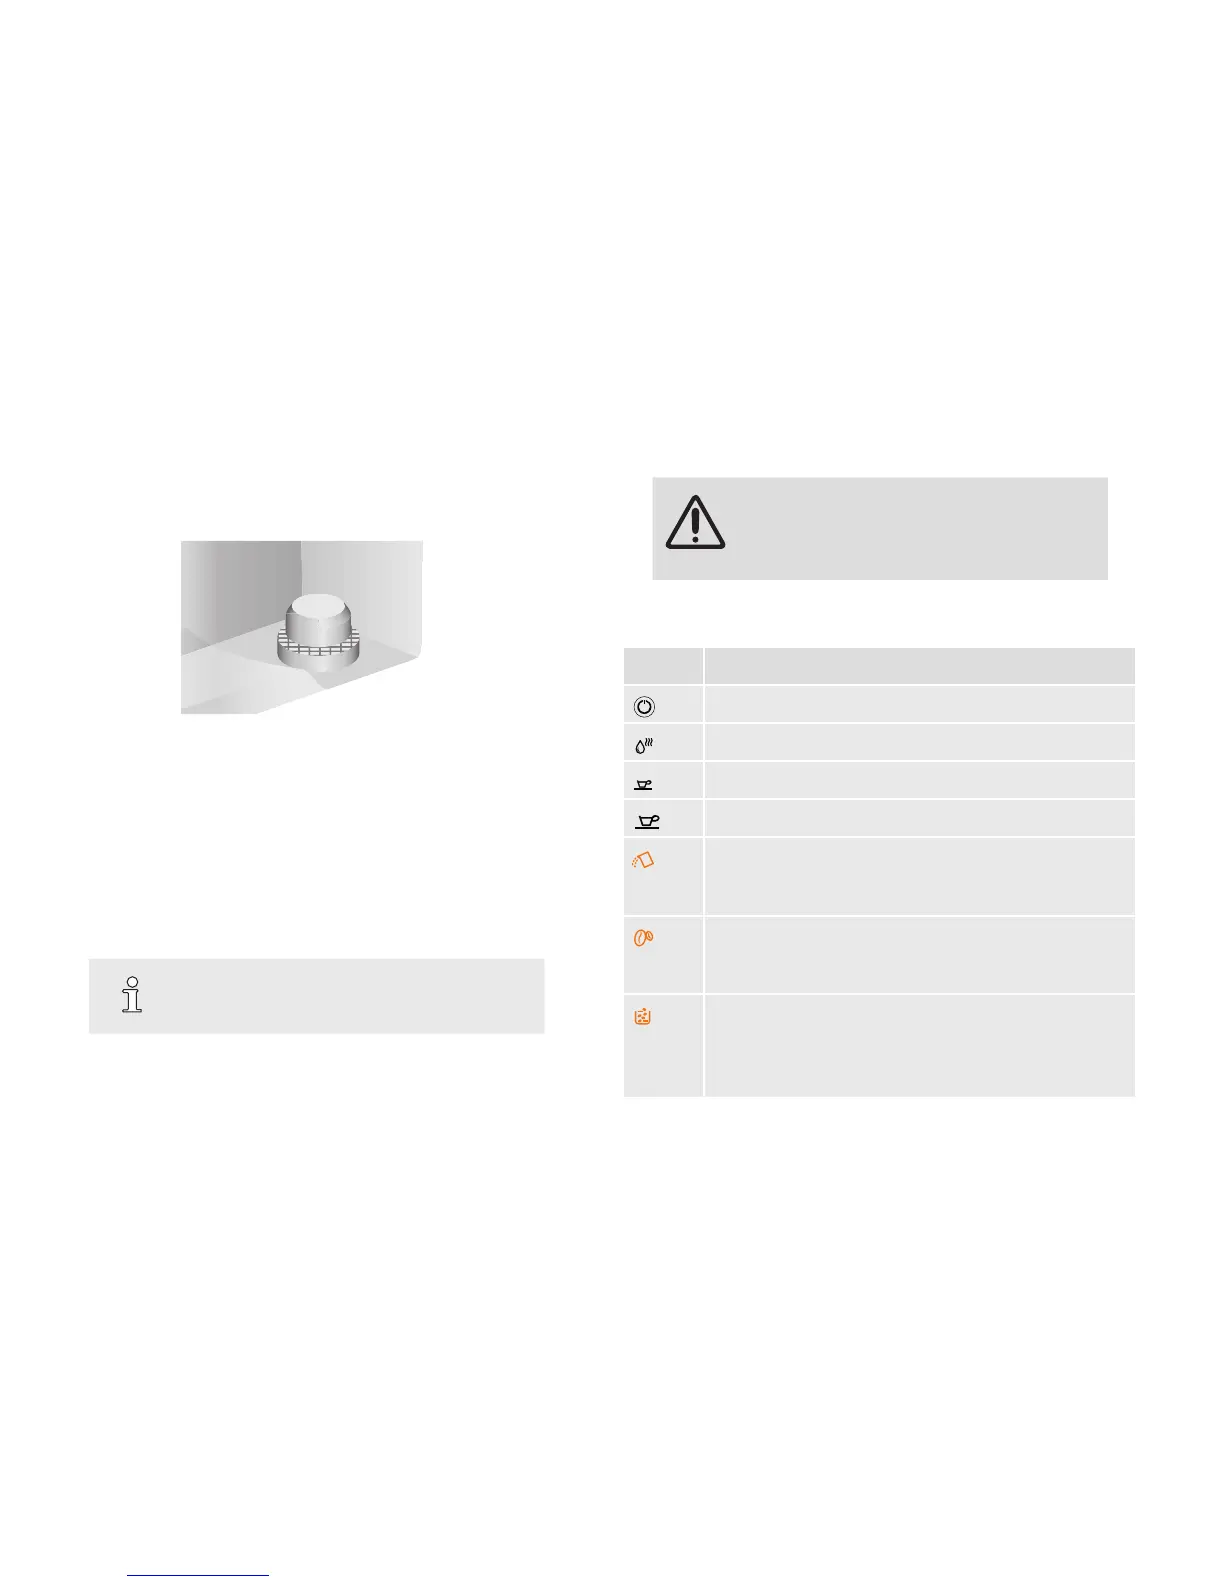
Fig. 4: Sieve attachment in water tank
3. Flush the water lter completely and with the opening upwards in a
separate vessel until no more air bubbles appear.
4. Place the water lter rmly on the valve of the water tank.
5. Please ll water container to MAX mark.
6. Re-insert the water tank.
7. Draw hot water, ►“Drawing hot water” on page 11. You can cancel
the process as soon as hot water ows from the outlet.
TIP
If the water lter oates in the water tank, it is not
ushed correctly. Carry out 3. a second time.
8.
5 Preparing beverages
WARNING!
Risk of scalding!
– Do not place any part of the body under the
outlet while the appliance is in operation.
5.1 Operation
Symbol Bedeutung
On-/Off-Button (►“Preparing the appliance“ on page 9)
Drawing hot water (►“Drawing hot water“ on page 11)
Drawing Espresso (►“Preparing coffee/espresso“ on page 11)
Drawing Coffee (►“Preparing coffee/espresso“ on page 11)
LED ashes: Water tank not correctly inserted / only small
amount of water in water tank (►“Preparing the appliance“
on page 9)
LED ashes: Only small amount of beans in bean container
(►“Preparing the appliance“ on page 9) or coffee chute
is soiled (►“Cleaning the coffee chute“ on page 15)
LED is lit: Coffee grounds container is full (►“Cleaning the
appliance“ on page 13)
LED ashes: Coffee grounds container has not been properly
inserted (►“Cleaning the appliance“ on page 13)