11
LED ist lit: Brewing unit has not been properly inserted
(►“Cleaning the appliance“ on page 13)
Led ashes: Maintenance lid has not been properly attached
(►“Cleaning the appliance“ on page 13)
LED is lit: Appliance must be descaled
(►“Descaling the appliance“ on page 15)
LED ashes: Descaling in process
LED is lit: Appliance is emptied and then switches off
(►“Emptying the appliance“ on page 18)
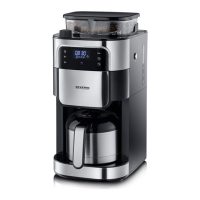
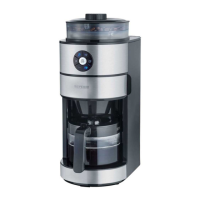
5.2 Preparing coffee/espresso
1. Press one of the two LED buttons for espresso ( ) or coffee ( ).
 The appliance prepares the coffee/espresso.
2. Wait until the appliance has nished the preparation of the coffee/
espresso.
TIP
If you would like to change the amount of coffee,
keep one of the two buttons ( or ) pressed
during the beverage preparation until the appliance
nishes dispensing the desired amount of coffee
(max. 250 ml). The amount of coffee dispensed is
saved by the appliance. Next time you press button
or , the appliance will dispense the amount
of coffee saved.
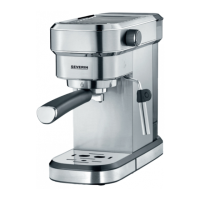
5.3 Drawing hot water
1. Press button .
 The appliance dispenses hot water from the outlet.
2. Wait until the appliance is nished dispensing hot water.
TIP
If you would like to change the water quantity, keep
button pressed during the beverage preparation
until the appliance nishes dispensing the desired
amount of water (max. 250 ml). The amount of
water dispensed is saved by the appliance. Next
time you press button , the appliance will
dispense the amount of water saved.
5.4 Adjusting the grind
CAUTION!
Adjust the grind only while the appliance is grinding
the coffee beans; otherwise the grinder may be
damaged.
TIP
A ne grind is recommended for a light roast and a
coarse grind for a dark roast. The roast is normally
printed on the coffee packaging.
1. Place a cup under the outlet.
2. Open the bean container lid.